Administration settings
This section refers to the functionality of uploading a new platform license, updating your password, as well as managing the support session.
Add License
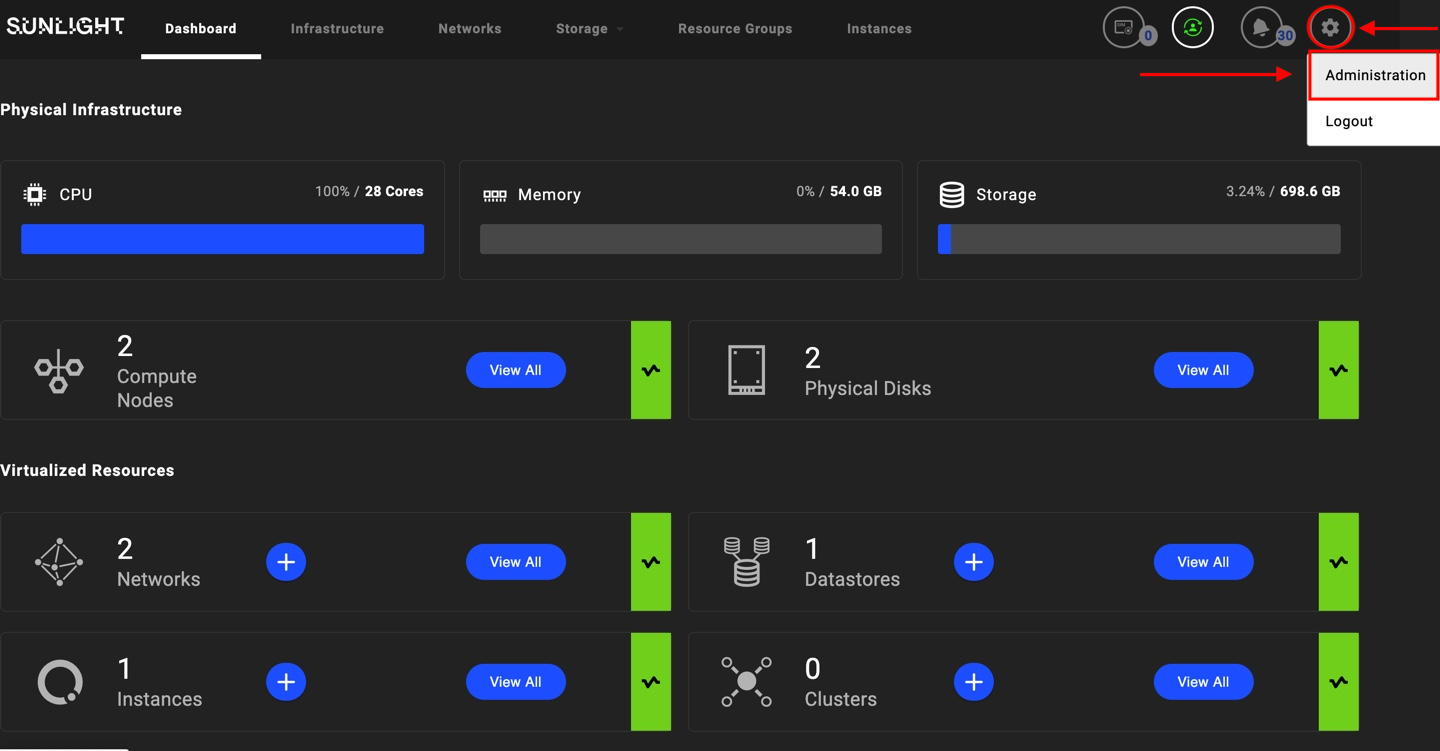
On the Administrator page, select the "details" option of the License section, as illustrated below.

This feature allows users to check the status of the existing license and its expiration date. An existing license can be deleted by clicking on the configuration option and selecting 'Delete'.
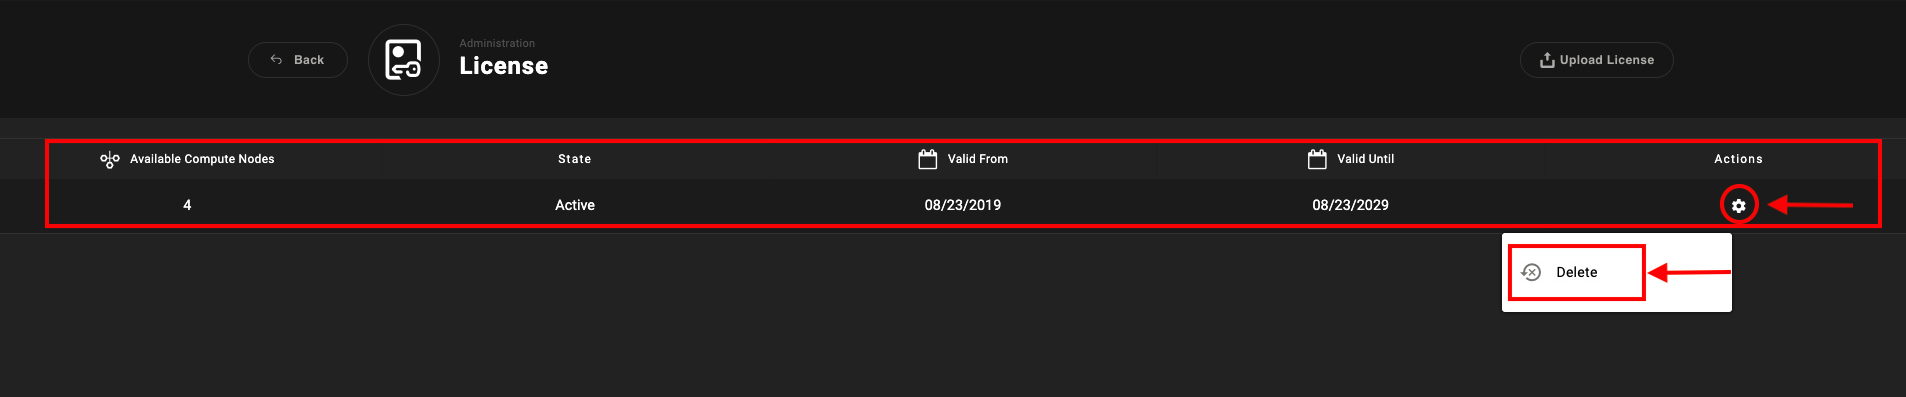
You can re-activate the platform by uploading a new valid license, provided by Sunlight.io. By selecting the 'Upload License' option, you are able to register a new valid license, as shown in the image below.

Support Session
Enable or disable the support session.
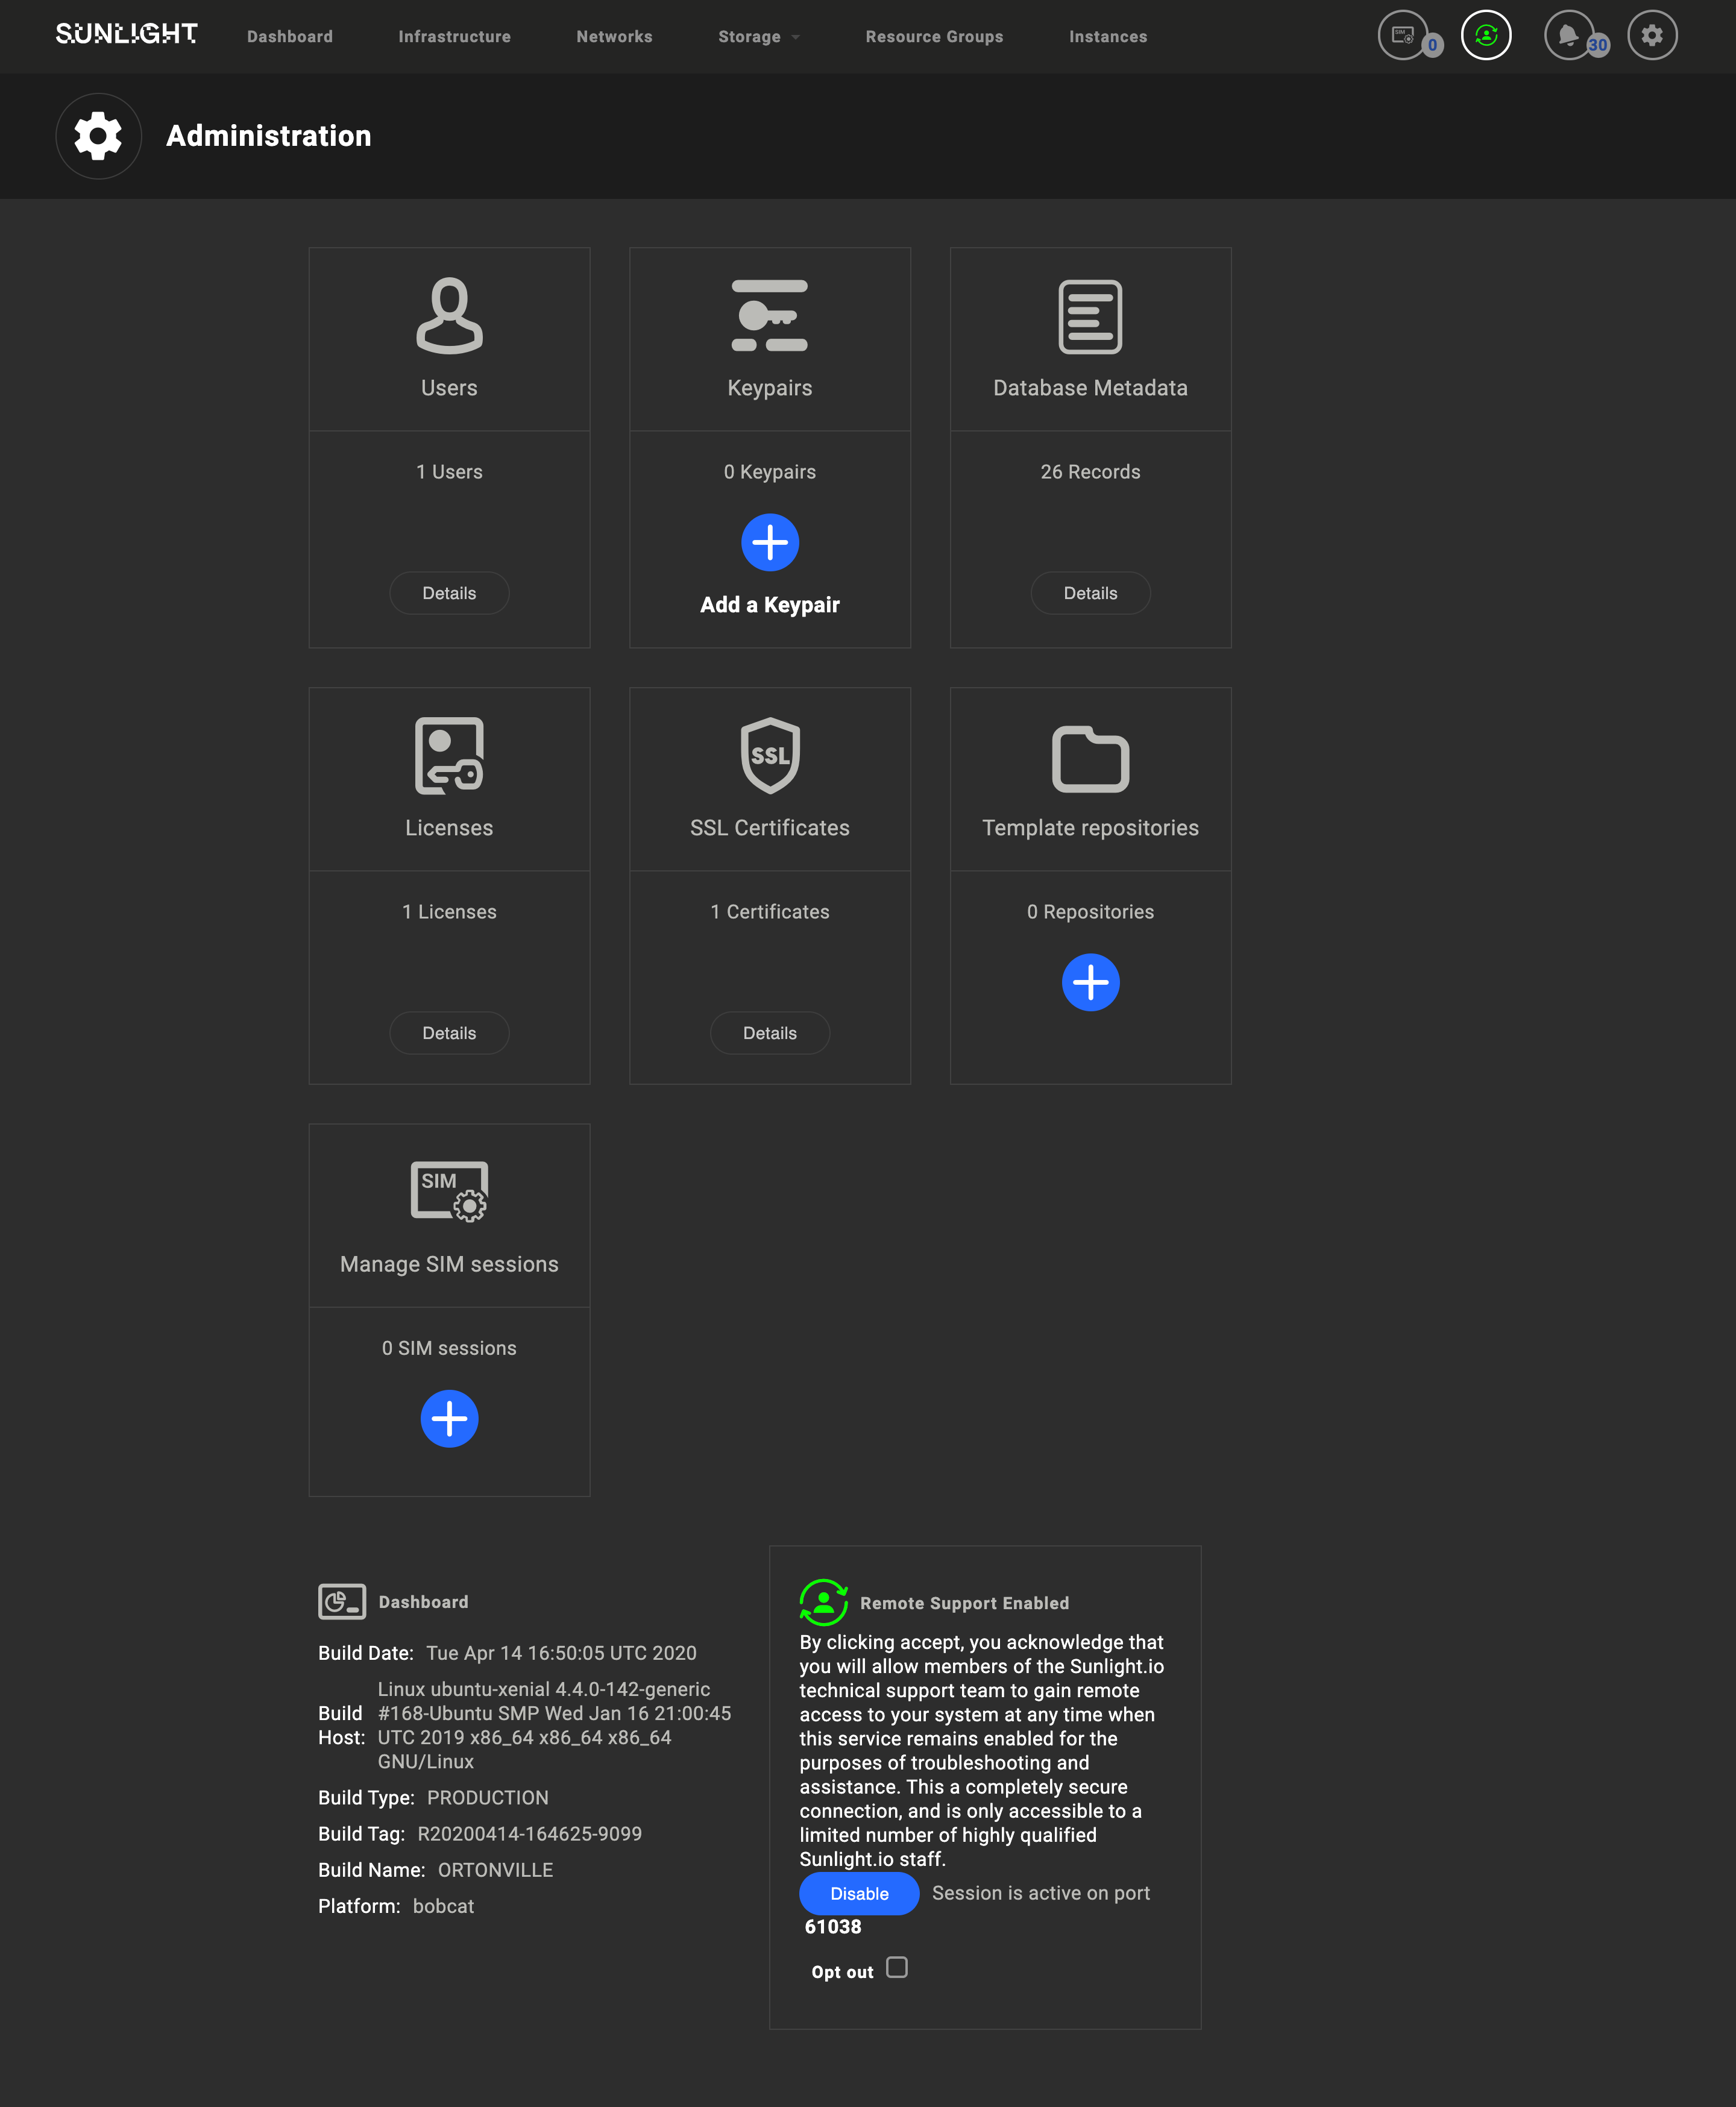
You can authorize the Sunlight technical support team in order to acquire remote access to the platform, by selecting the “Enable” option. This service is set to "Enable" by default, for troubleshooting and assistance purposes. This connection is completely secure and the platform is accessible to a limited number of highly qualified Sunlight.io staff.
In case the 'Opt out' check box is selected, as depicted in the image below, the support session will not be auto activated by default, following a possible system reboot or an automatic failover process.

You can reset the support session, in order to be auto-activated by default, by deselecting the “Opt-out” option.
As soon as the support session is enabled, a green status indicator is displayed next to the notification messages on the top of the page, as illustrated in the following image.

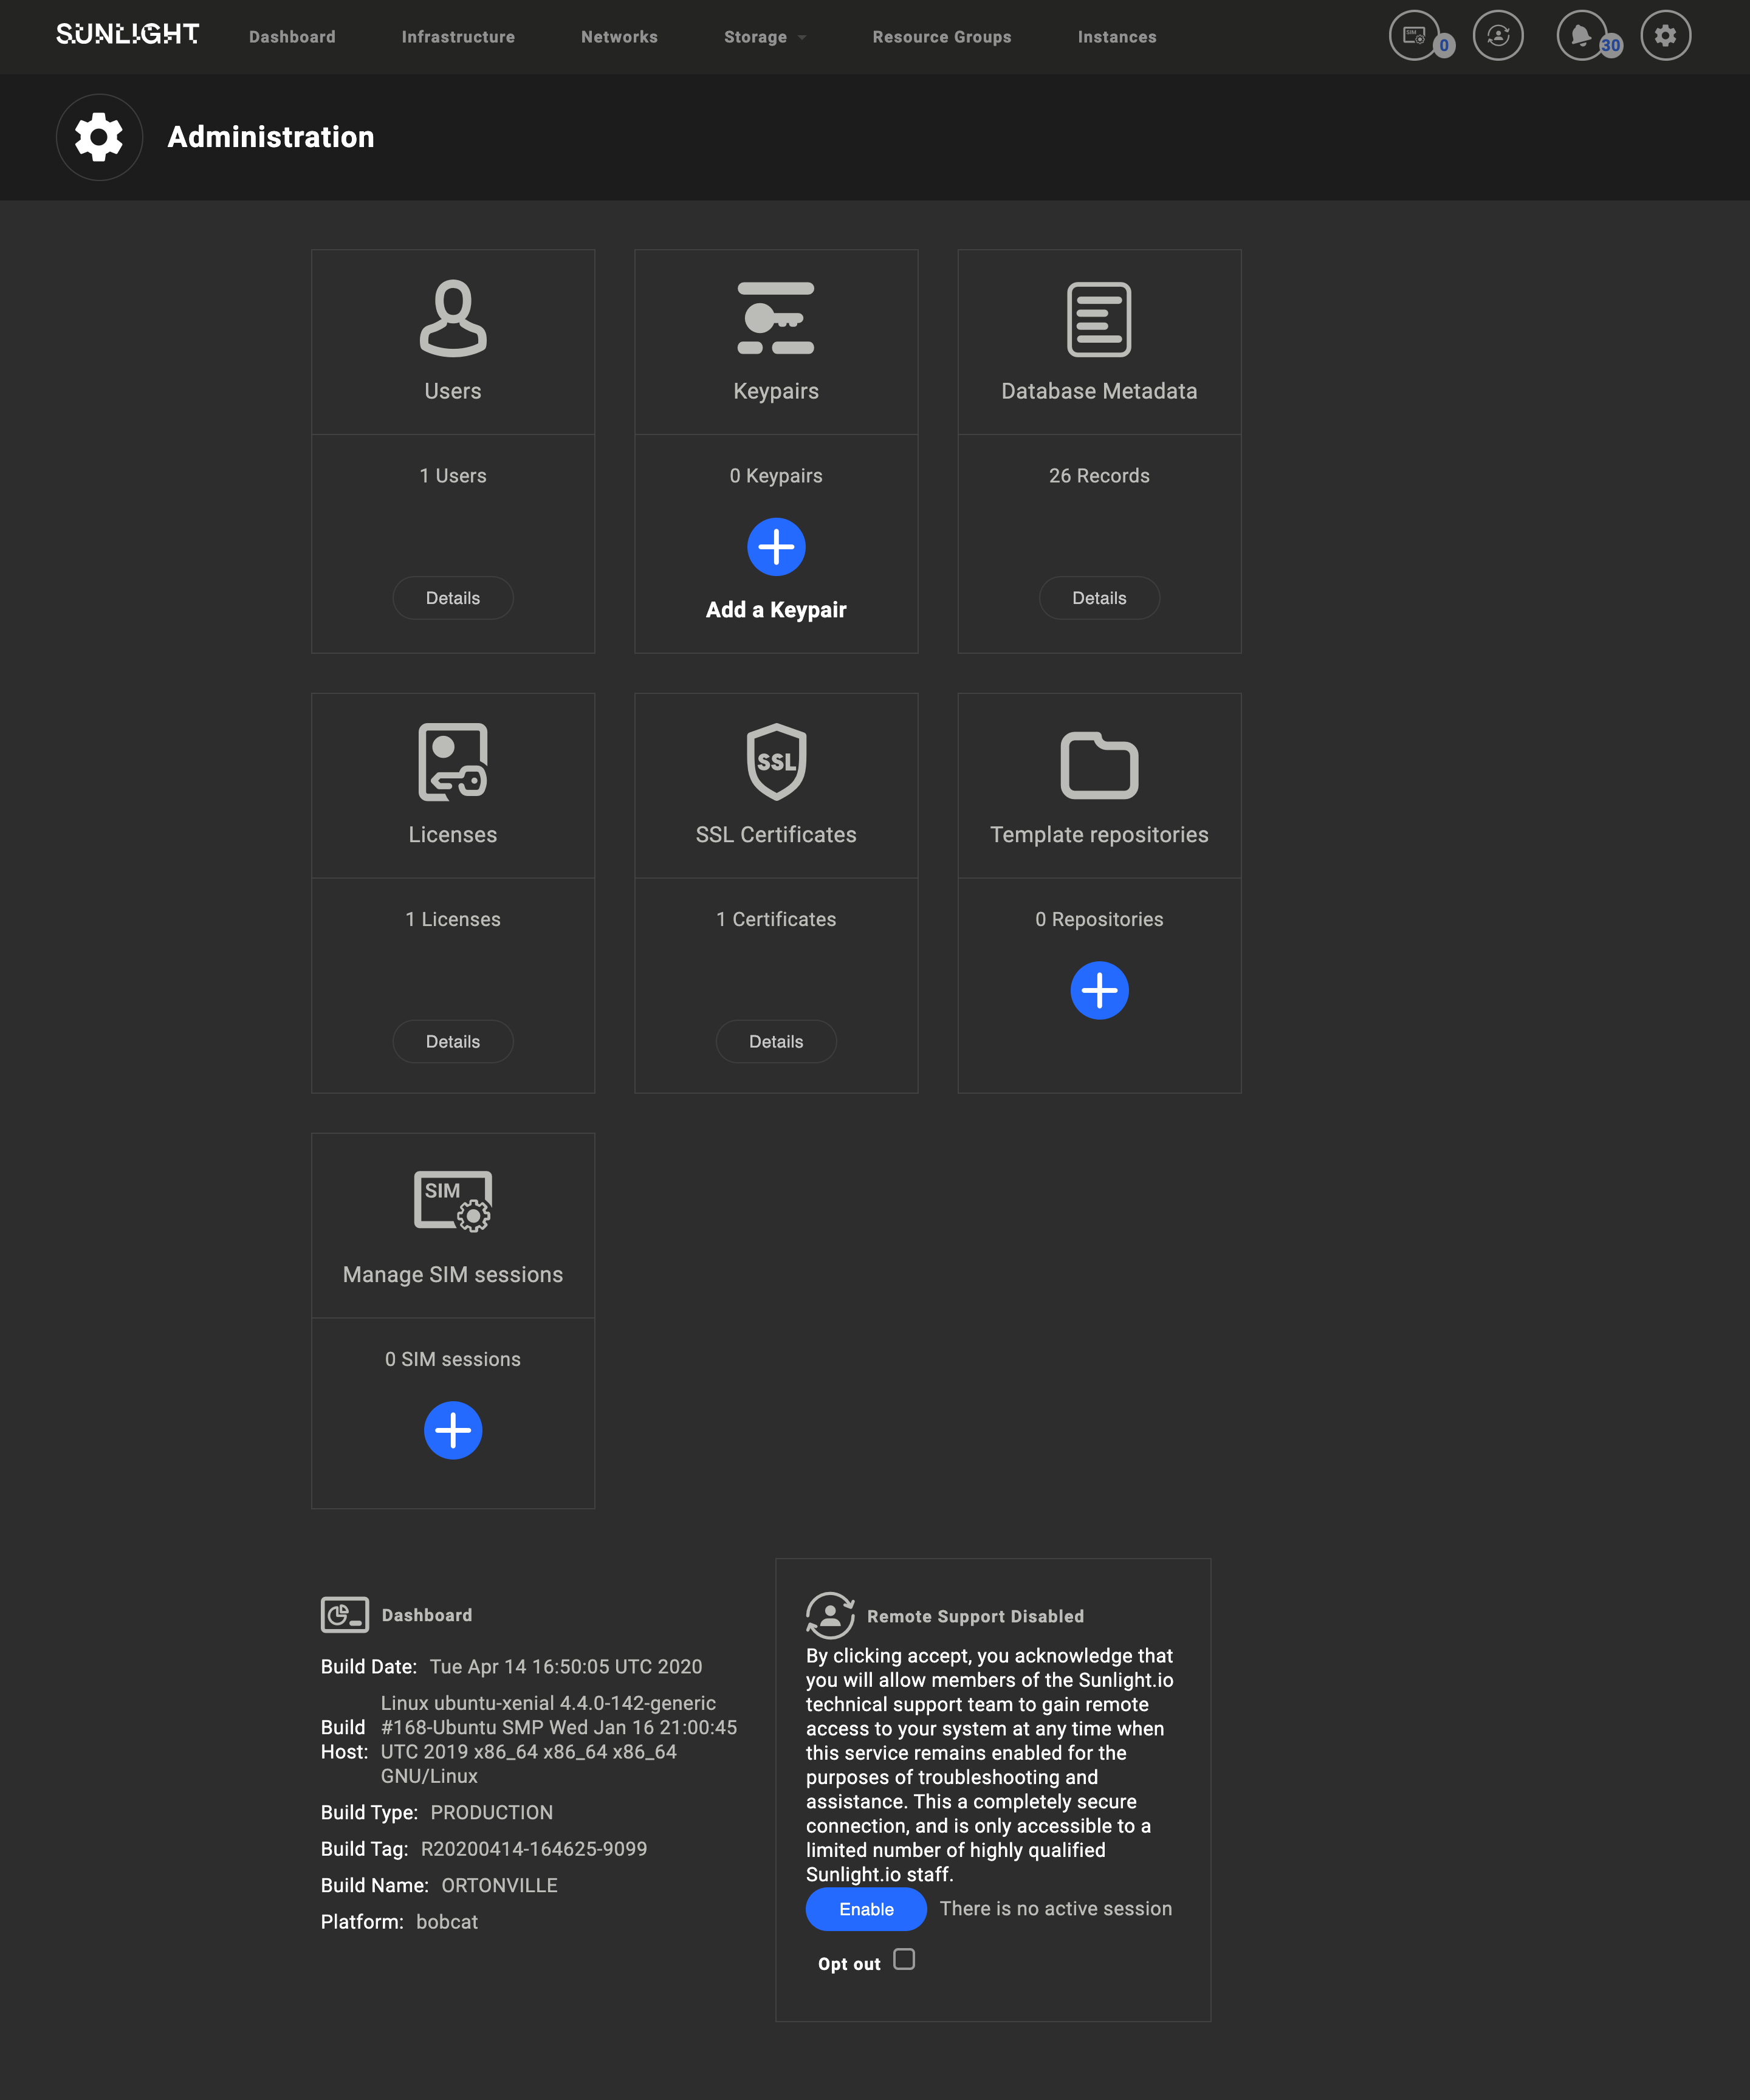
By selecting the 'Disable' option , the remote support access of the platform is terminated. The system can no longer be supported by the Sunlight.io technical staff and the green indicator is powered off, as depicted in the image below. This option can be re-enabled at any time, by selecting "enable" once again.
Note
Please note that the support session is activated by default after each clean system installation
Support session - Loss of connection
Internet connectivity of the Sunlight cluster is required, in order for the support session service to be enabled, for acquiring remote access to the platform.
In cases where there is no internet connection, the support session fails and the support session ID cannot be provided to the end user. A message is displayed in the support session settings indicating the internet connectivity issue, as depicted in the following image
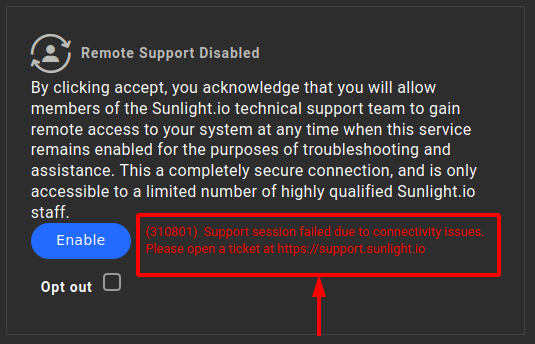
In such an event, Sunlight recommends users to create a support ticket through the following link : Sunlight.io support
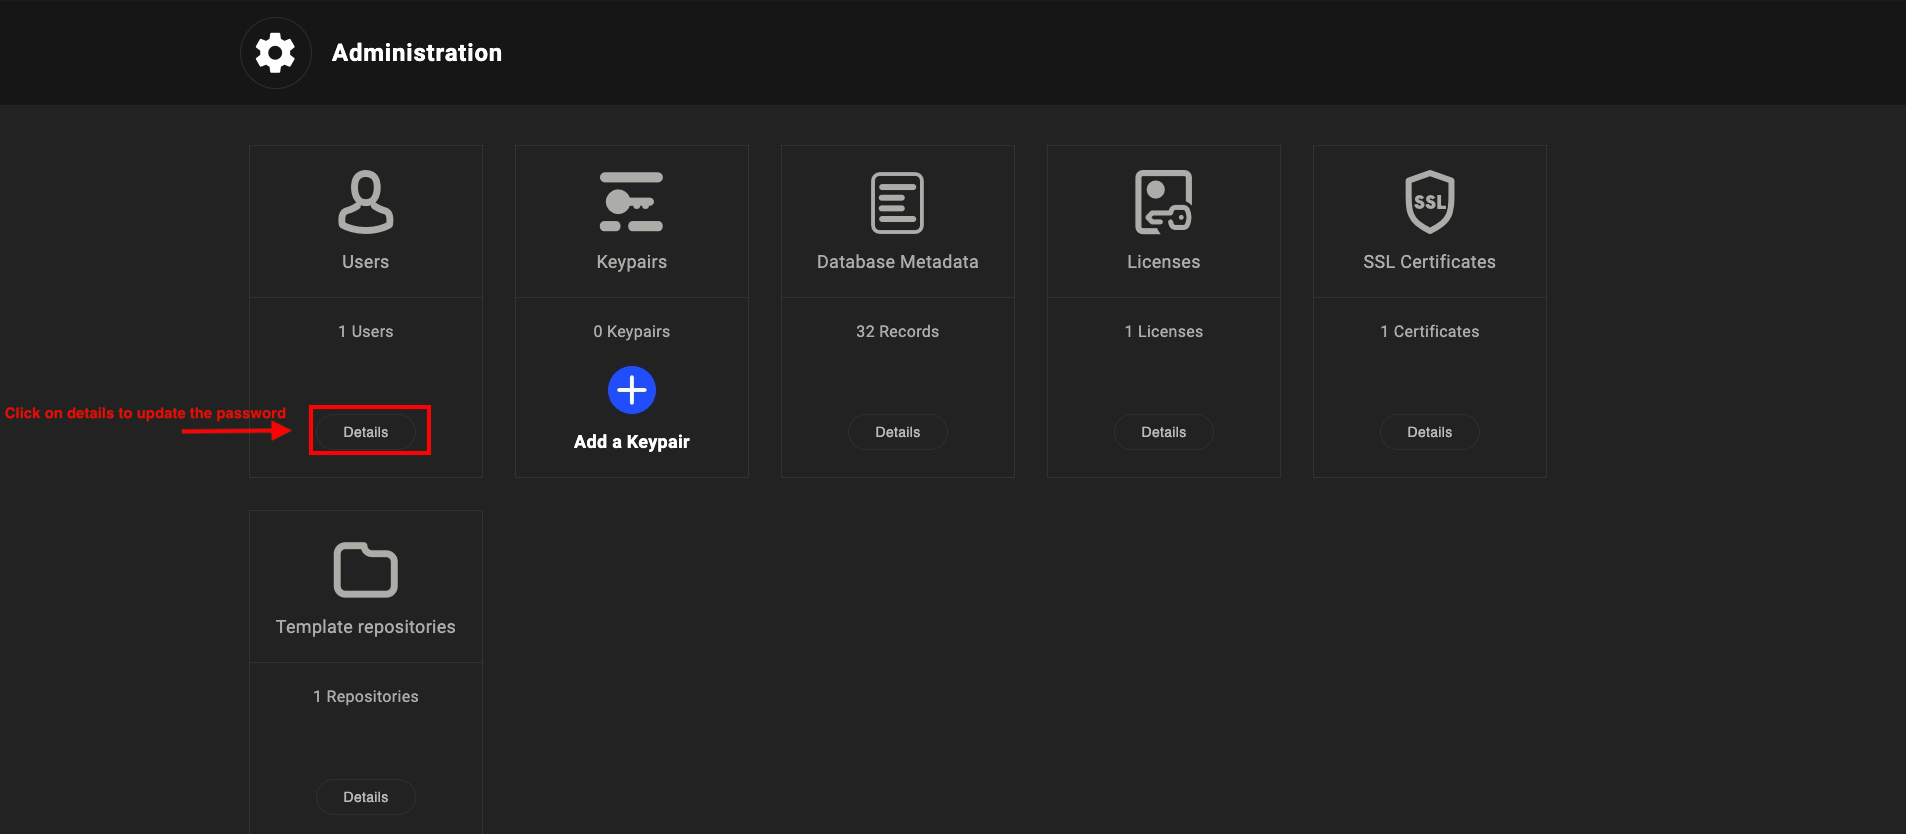
Add User/Update Password
In the Administration settings, the user is able to update existing Username/Password credentials, by selecting "details" at the Users section, as indicated in the image below.
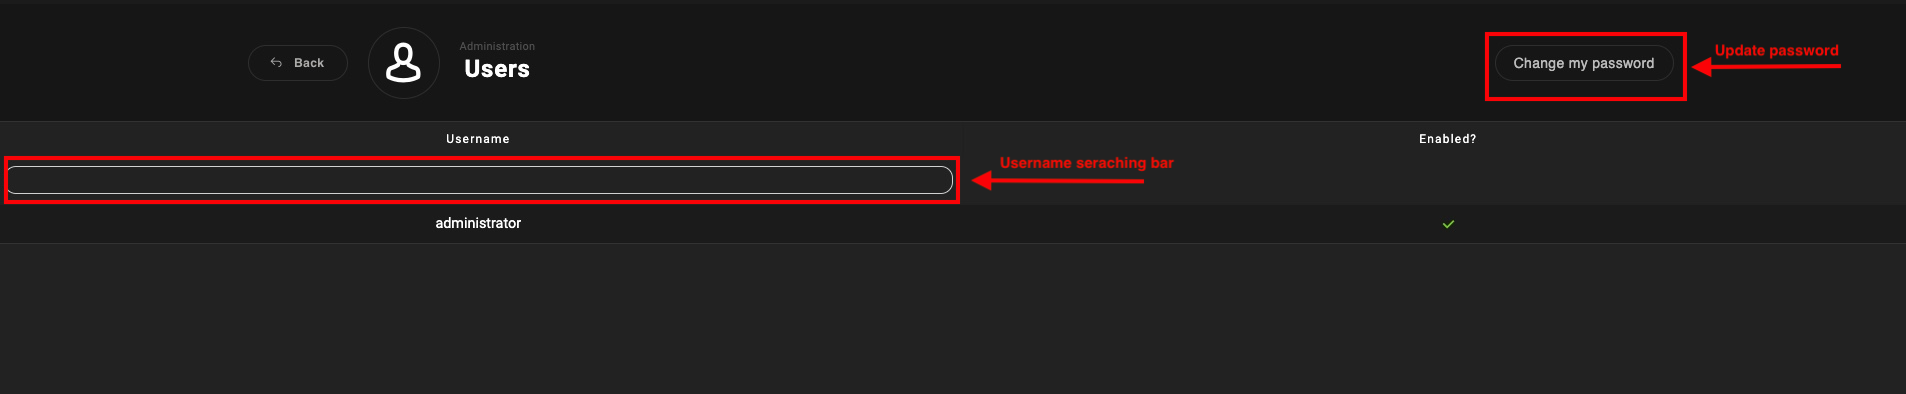
This section offers searchable usernames and the functionality to update the existing password of a selected user.
Select the 'Back' option, to navigate to the previous 'Users' section.
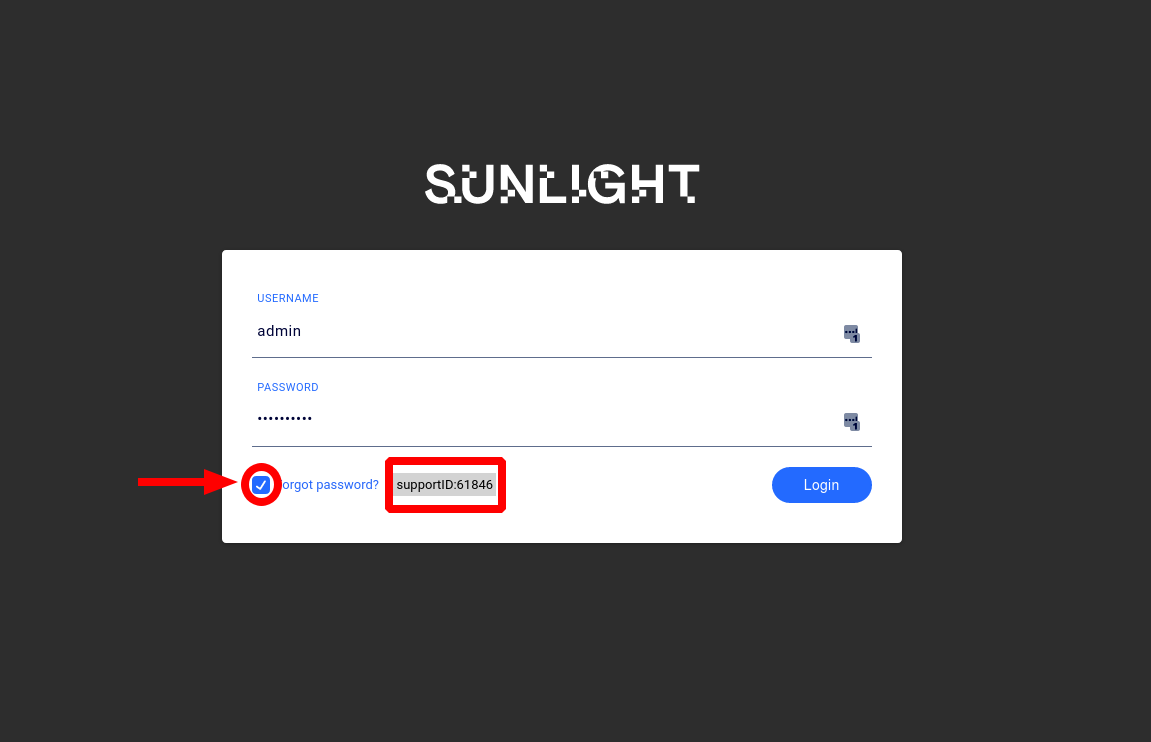
In case you forgot your password, you can hover over the "Forgot password" option at the login UI page, where the following message will be displayed:
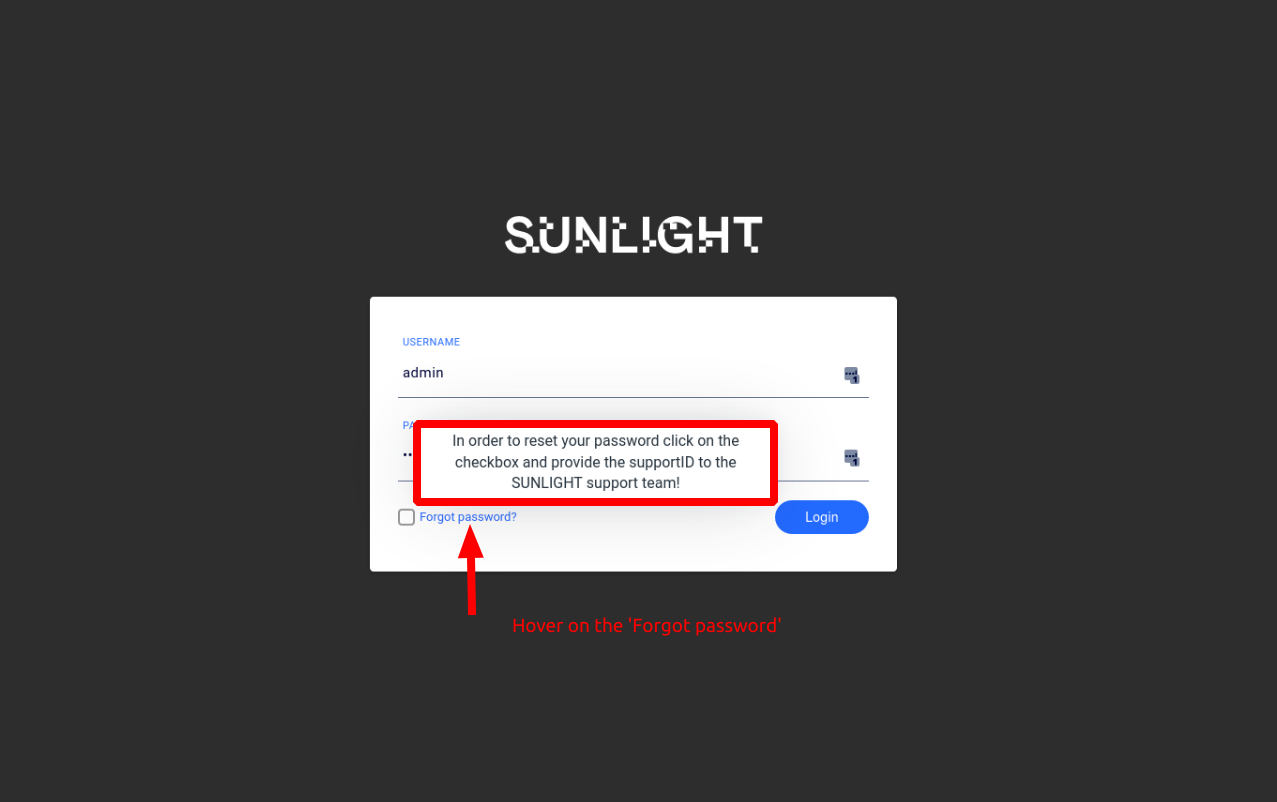
This message provides information on how to reset your password. Click on the checkbox, in order to acquire the support session ID, as illustrated in the image below, and provide this ID to the Sunlight support team.
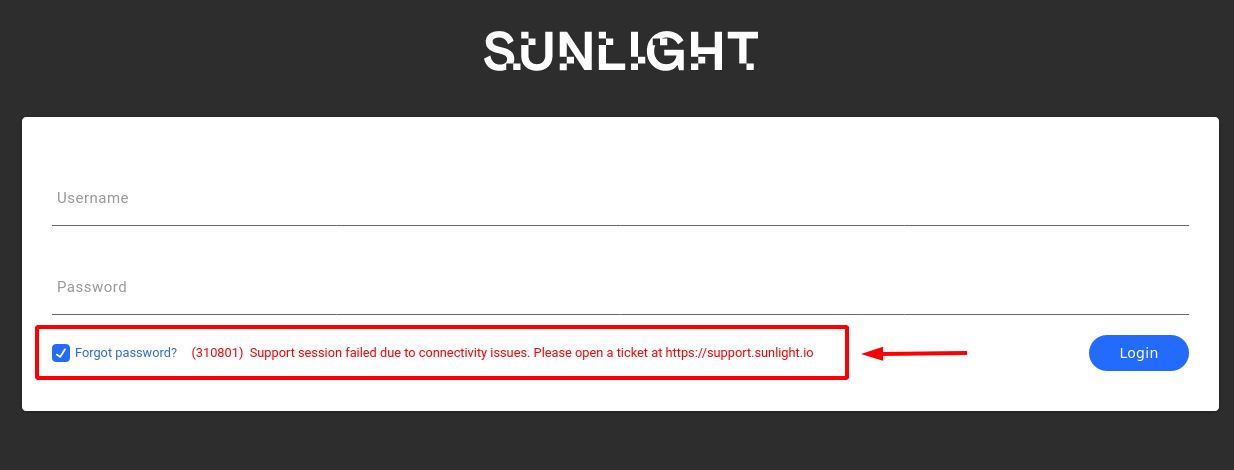
As already mentioned in the previous section ("Support session - Loss of connection"), in cases where there is no internet connection, the support session ID cannot be provided to the end user for retrieving the login password. In such an event, the following message is displayed indicating this connectivity issue and Sunlight recommends to create a ticket through the attached link : https://solutions.sunlight.io
Log Files
This section describes how to review the desired logs of the Sunlight system in runtime level.
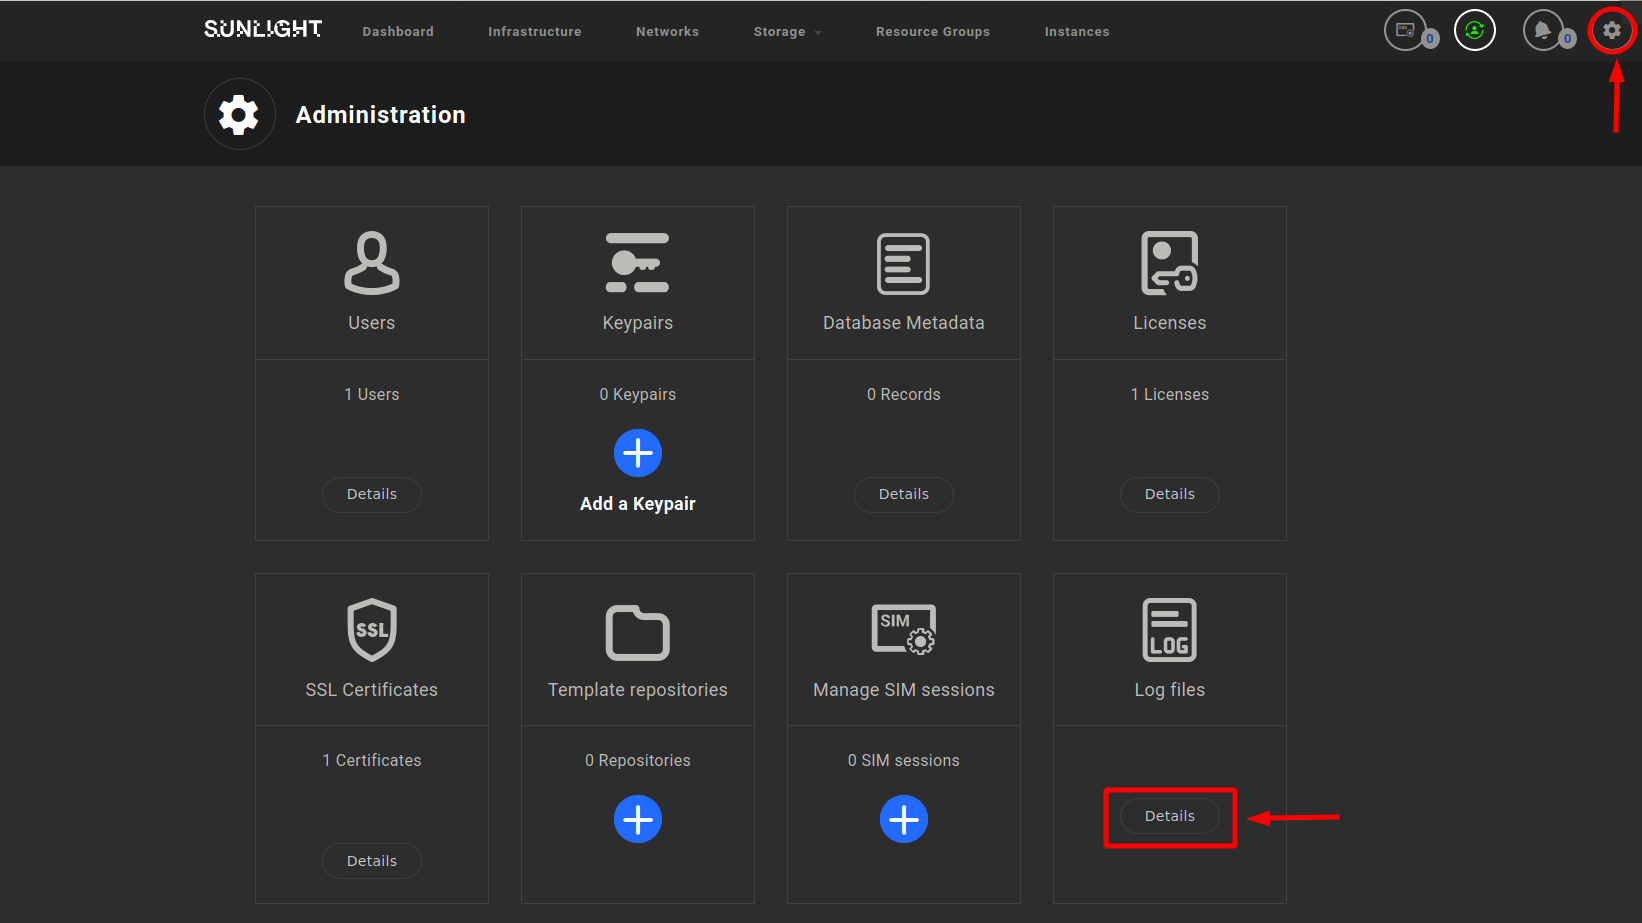
You can start by selecting the "details" option of the Log files section of the "Administrator" page, as illustrated below.
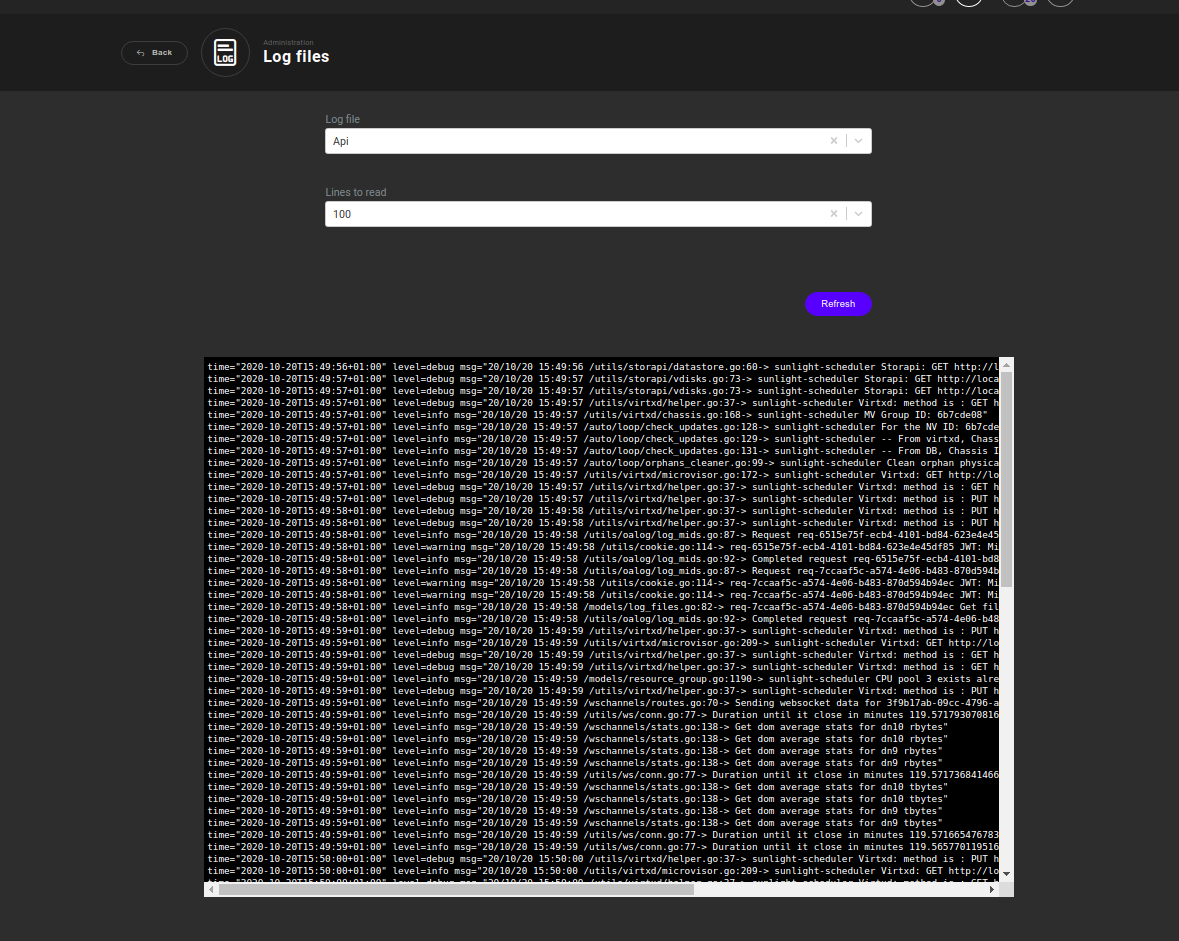
Select a log file within the range of the available list of system logs, as well as the number of lines you wish to review (bottom x lines of the log file).
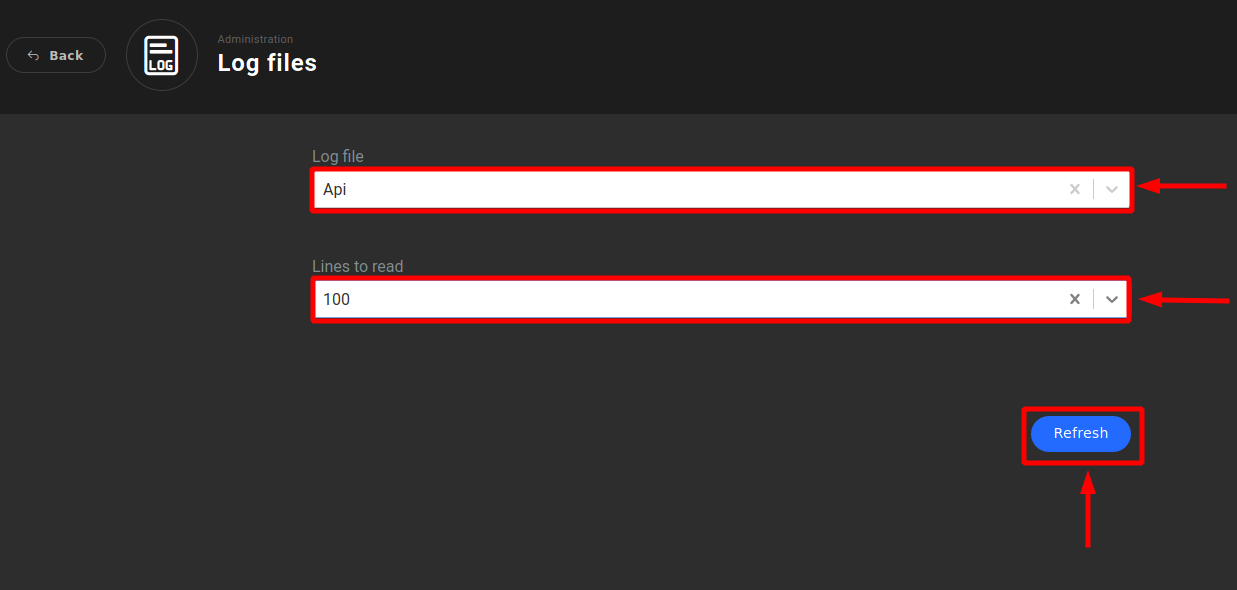
By clicking on the ‘Refresh’ button, the selected lines of the log file are displayed, as depicted in the following image.
Warning
In order to acquire the next lines of the log file, click again on the ‘Refresh’ button
In due course, Sunlight will offer the capability of downloading multiple log files, in a compressed format. In future iterations, Sunlight will also provide continuous pipping of log files on screen, without the need to refresh (tailing).
Secure Domain
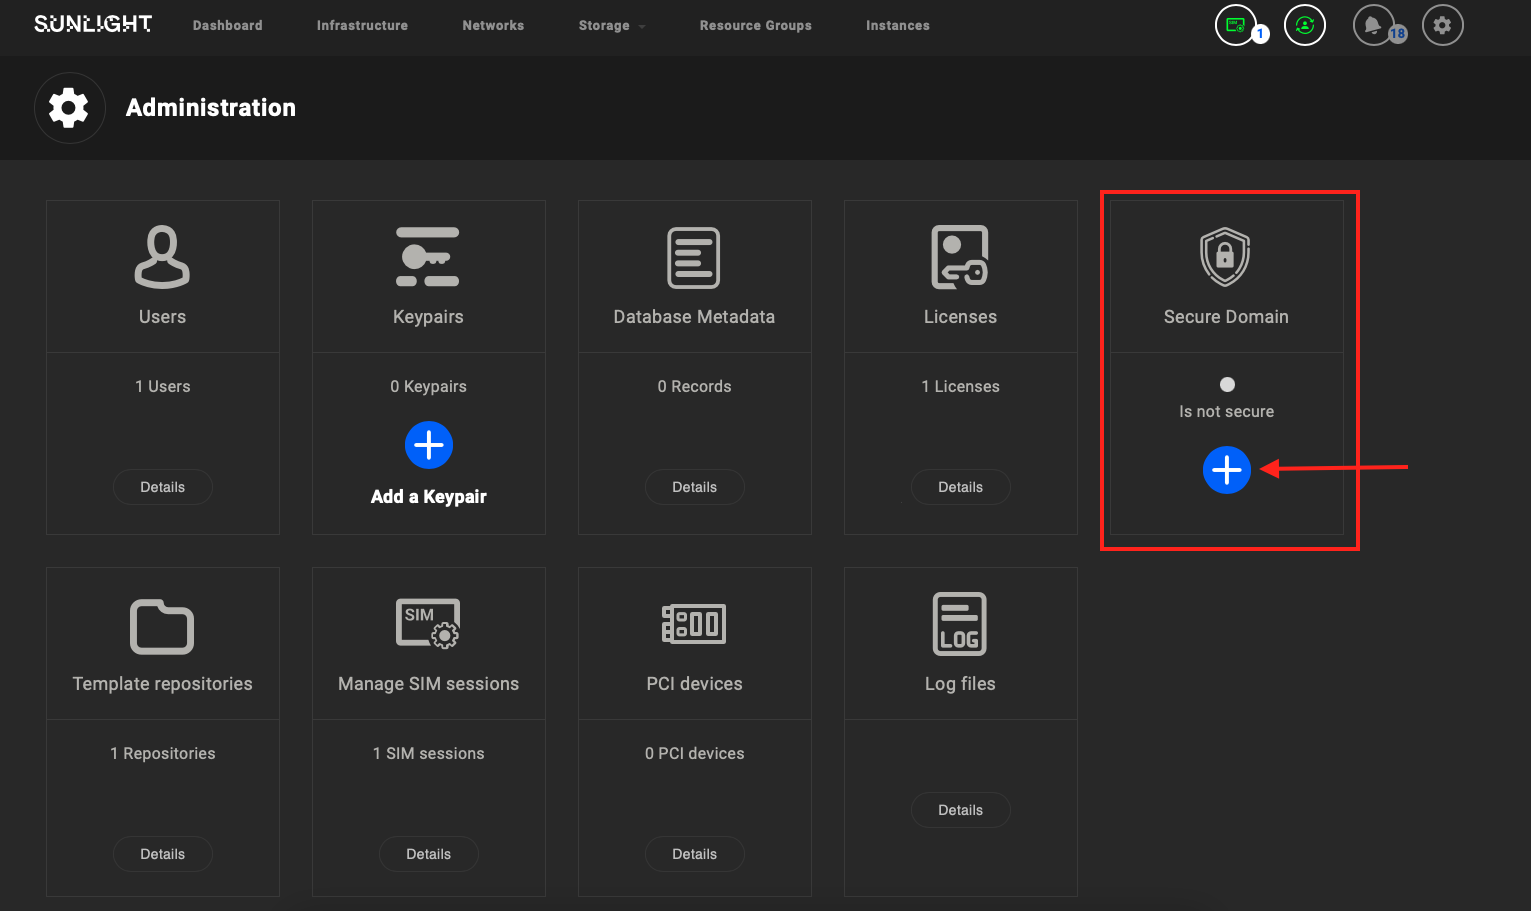
In order to serve the Sunlight dashboard via a secure URL (https), an SSL is required. In order to aquire such SSL (using the Let's Encrypt provider), you can start by selecting the "+" icon of the Secure Domain section of the "Administrator" page, as illustrated below.
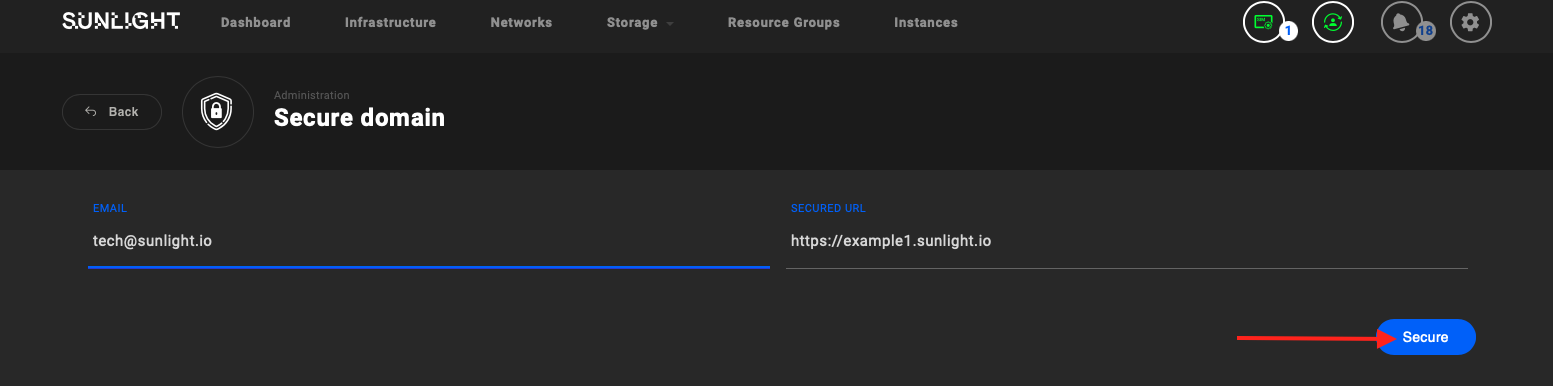
After that you will be redirected to a new add domain page where you can insert an email and the URL that is about to be secured.
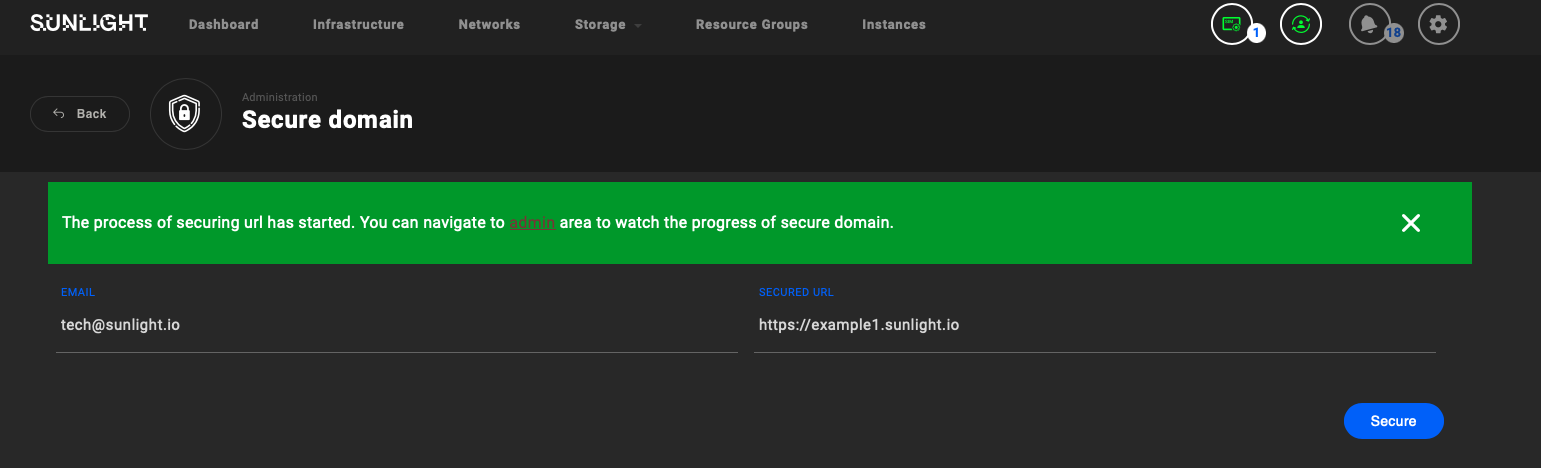
An alert box will display describing that the process began. Then, click on the 'admin' link to redirect to the administration page.
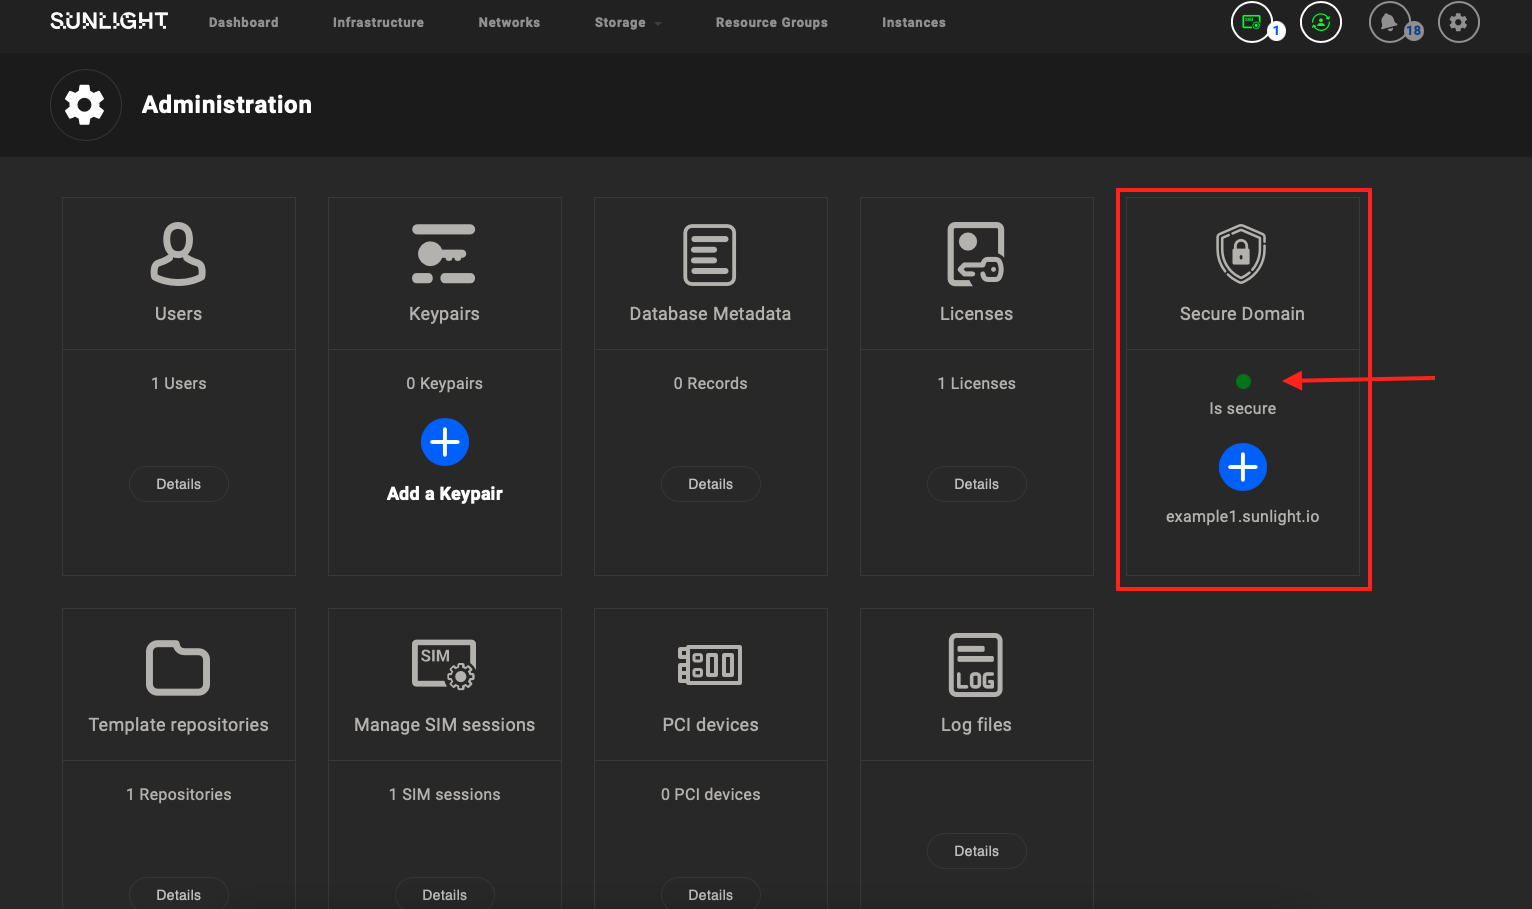
On the administration page, you can follow the procedure through the status dot that already exists in the secure domain box. The domain is secured if the status is green, as depicted below.
After that, you can use HTTPS to visit your secured URL.