VM creation
The "normal" users (that includes the "admin" user if required) can create VMs via the SIM dashboard, assuming that the admin user has previously created the appropriate roles, users, the resource groups required and has assigned roles to resource groups.
The option to Create VM is available through the Infrastructure -> Resource Groups page, by selecting the Actions gear icon:
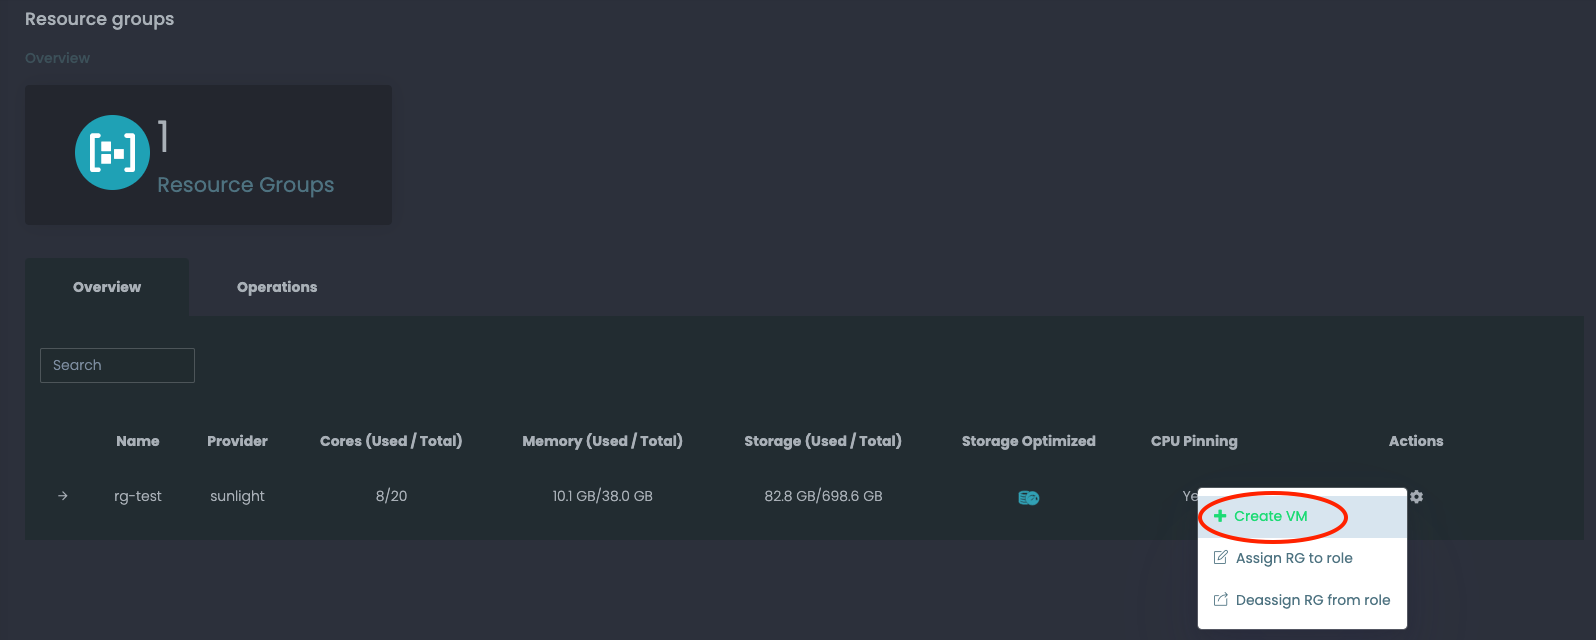
A very familiar screen (similar to the one from the cluster dashboard) appears, that allows users to create a VM via the SIM dashboard, to the respective cluster that the resource group belongs to.
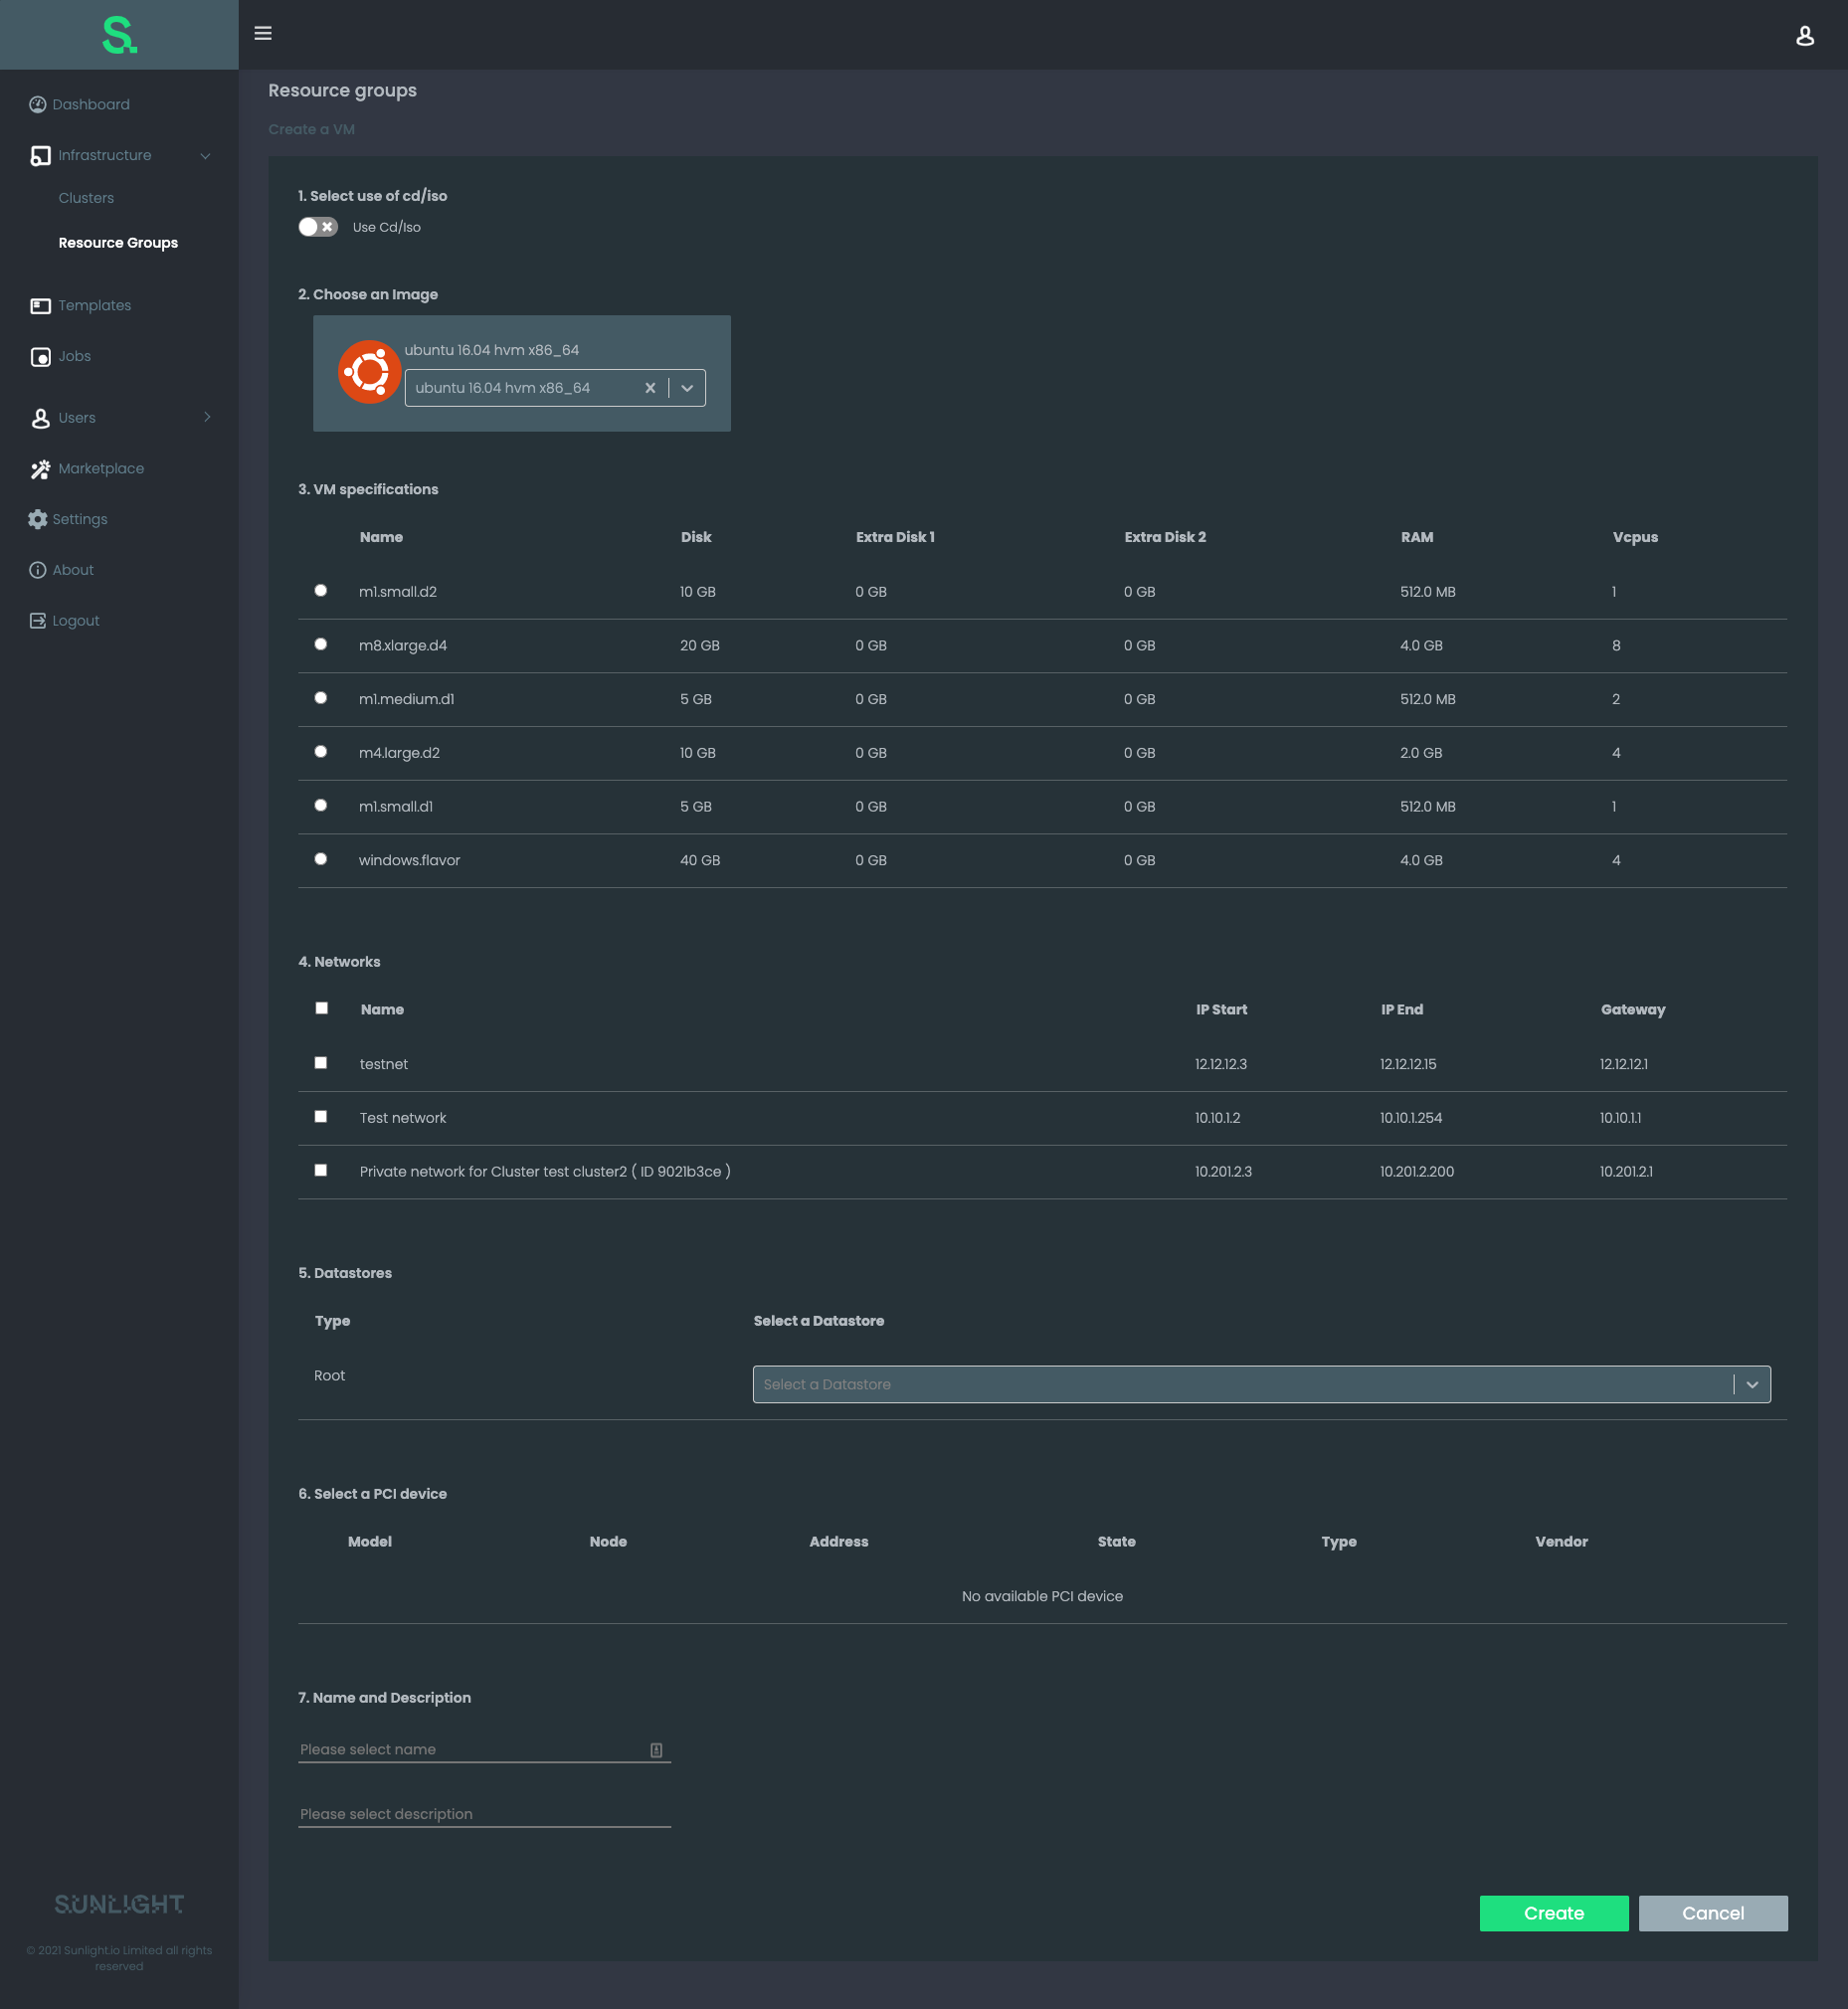
The user should specify the following options:
- Select use of cd/iso
- Choose from the available distro images
- Choose from the available VM flavours
- Choose from the available networks
- Choose from the available Datastores
- Select a PCI device, like a GPU, if one is available
- Type in a name and a description
and finally click Create.
The status of the VM creation is deplayed as follows:
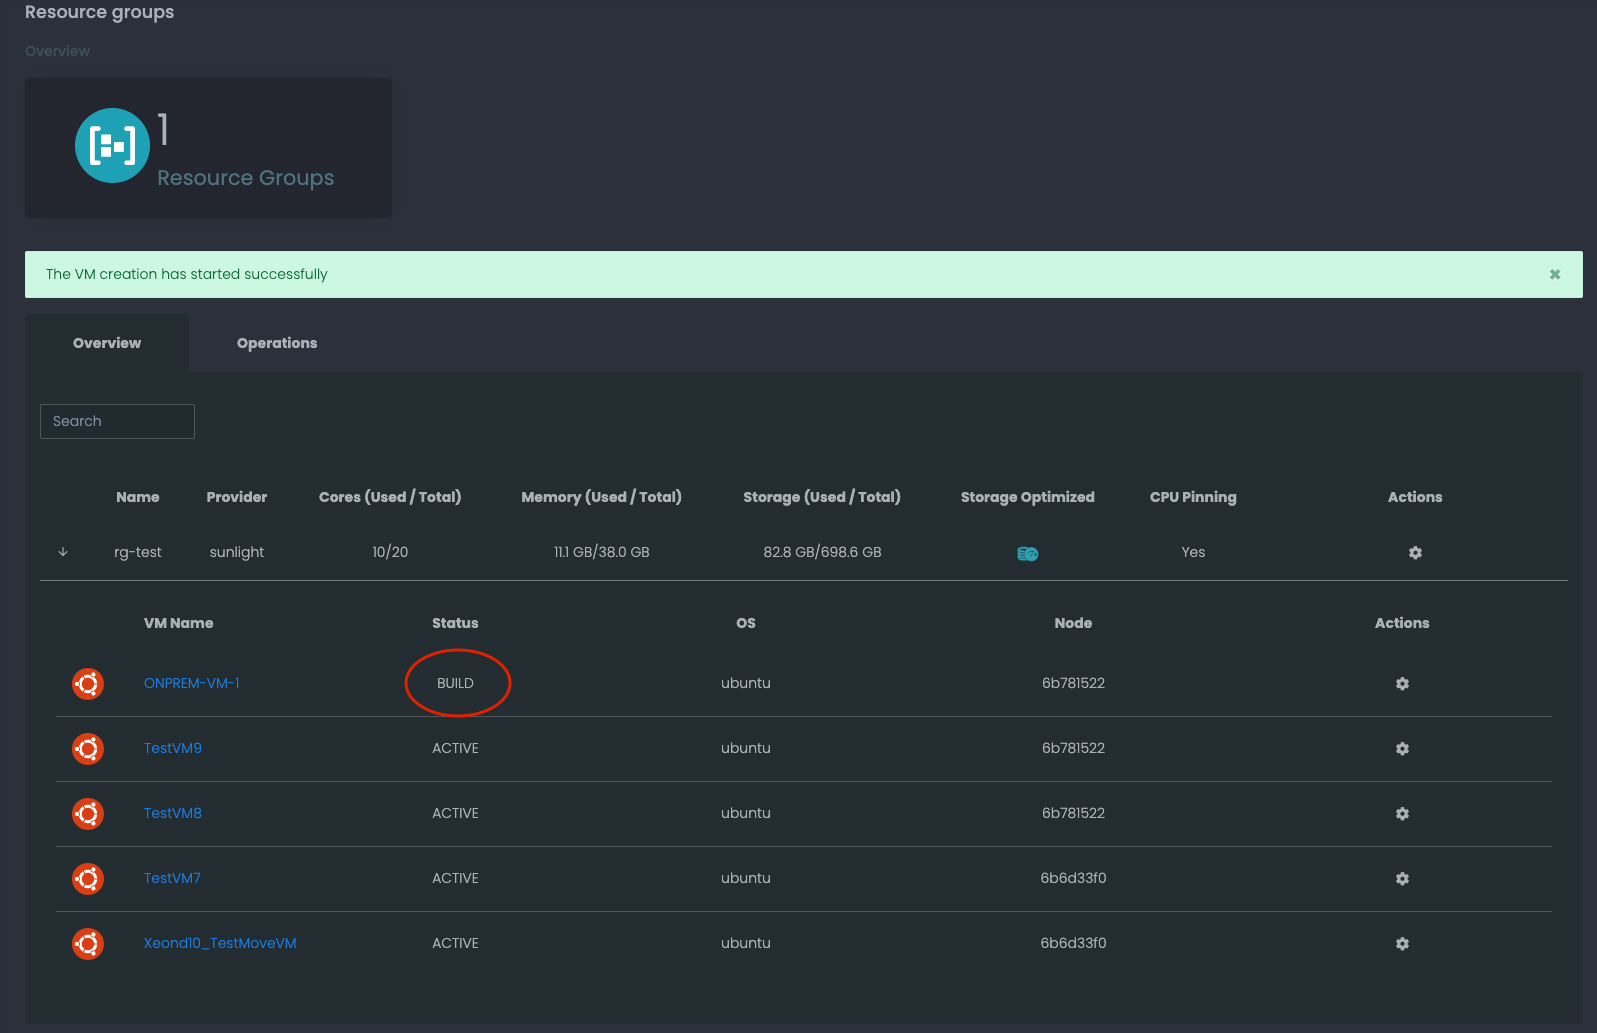
As soon as the VM is successfully created , the status is changed to ACTIVE
OTHER VM Actions
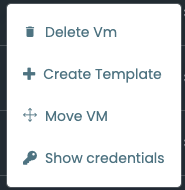
There are some additional actions the user is able to perform on a created VM, as presented below:
On premise clusters:
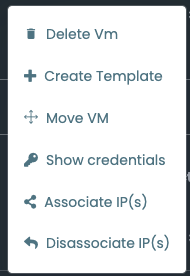
AWS clusters:
Delete VM
The following confirmation message appears if you choose to Delete VM:
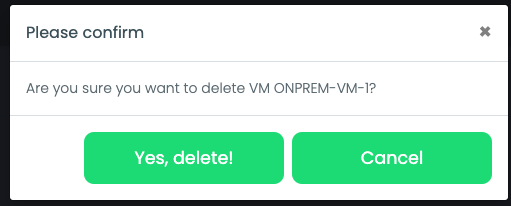
If you click on Yes, Delete! the VM will be permenantly removed.
Create Template
The following confirmation message appears if you choose to Create a Template:
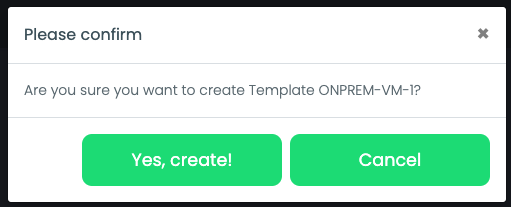
If you click on Yes, create!, a template of the specific VM will be created.
Move VM
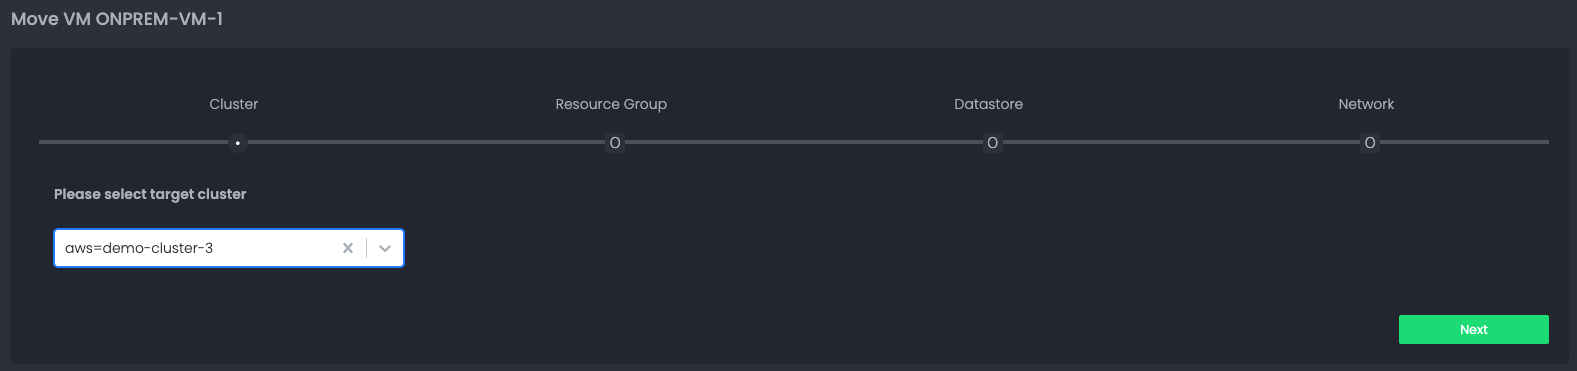
By choosing Move VM you are presented with a step wizard, as analysed below:
-
Choose the target cluster:
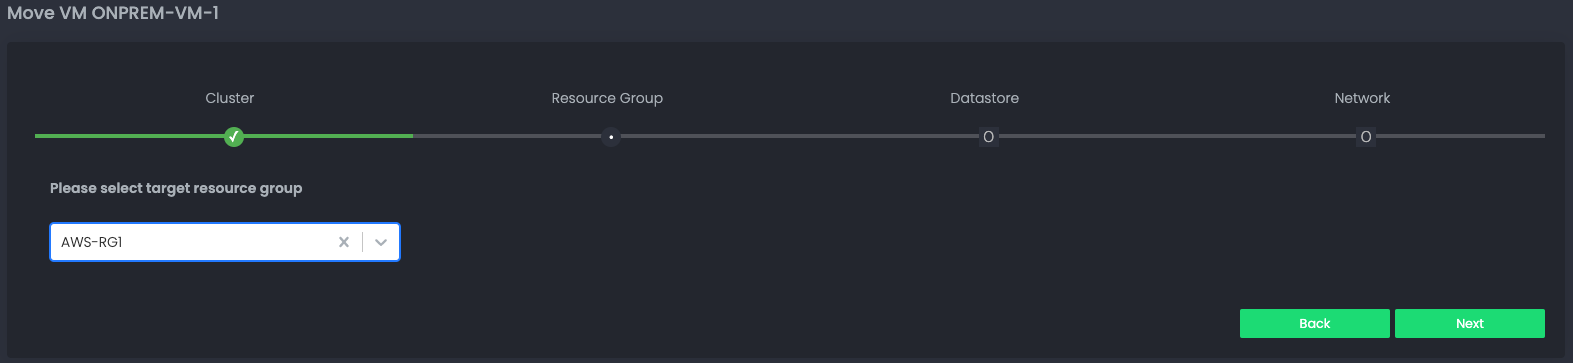
-
Choose a resource group for the target cluster:
-
Choose a datastore for the target cluster resource group:

-
Finally, you must choose a network for the target cluster resource group:
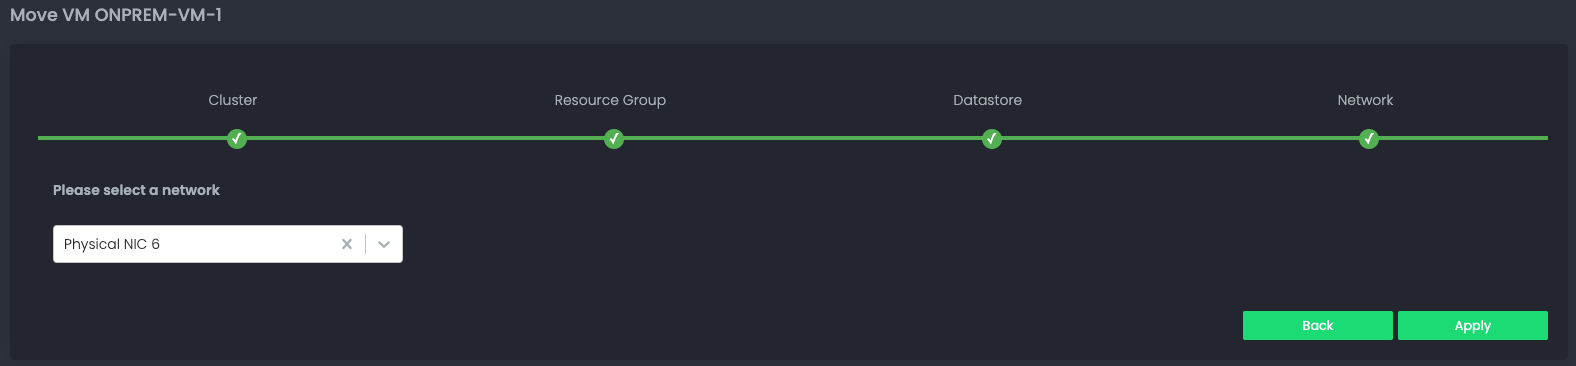
If you click on Apply the process of moving the VM from the initial cluster to the target cluster will be initialised.
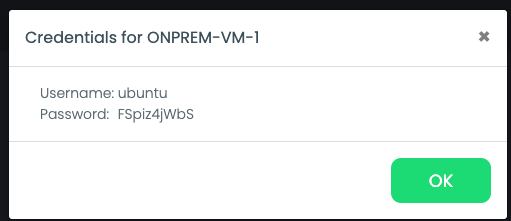
Show Credentials
If you need to view the default login credentials of a VM that has been created, select the Show credentials option through the Actions gear icon:
Associate IP(s)
In order to associate a public IP to a VM that has just been created, we need to assign some IP(s) to the cluster node that hosts the VM.
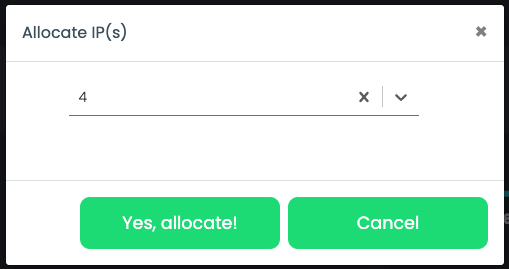
Navigate back to the clusters view, and select Allocate IP(s) through the Actions gear icon:

You need to choose how many IPs to allocate:
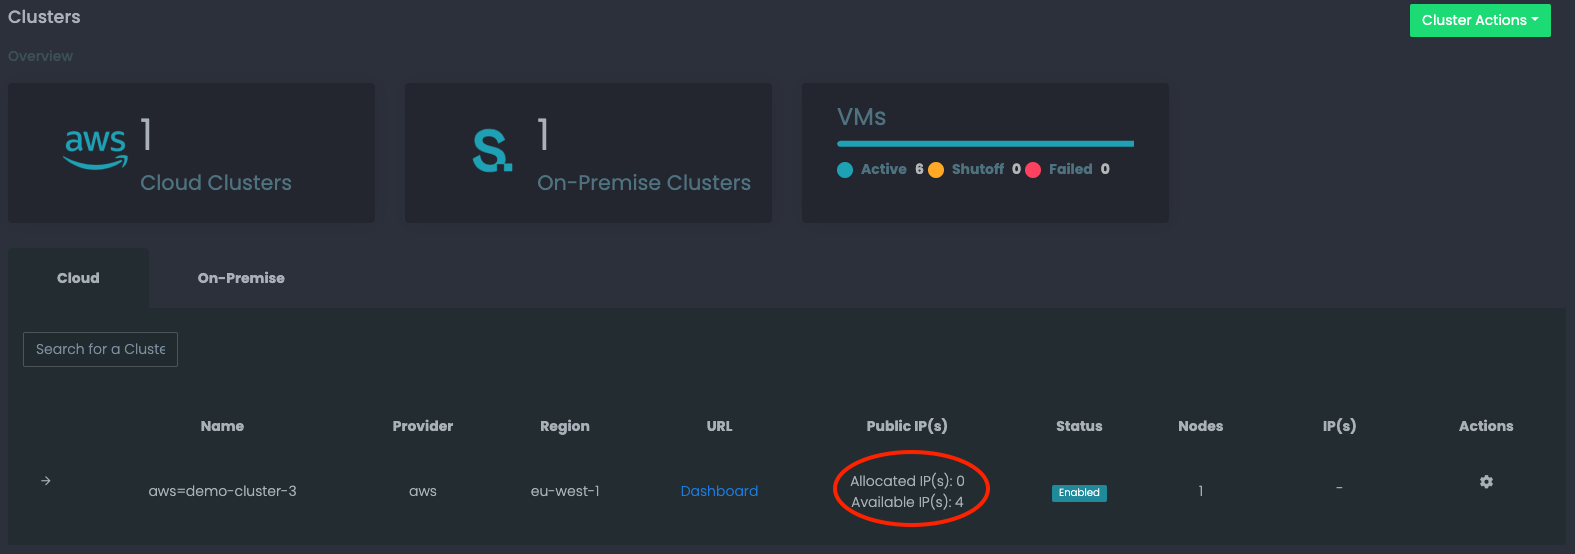
You can verify that the IP(s) have been appropriately allocated:
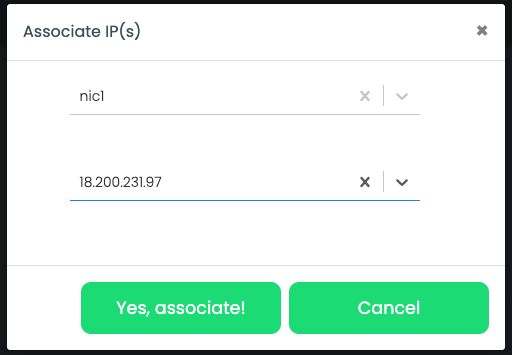
Next, returning to Resource groups and the specific VM, you can choose to assign a specific IP to a specific virtual network for that VM:
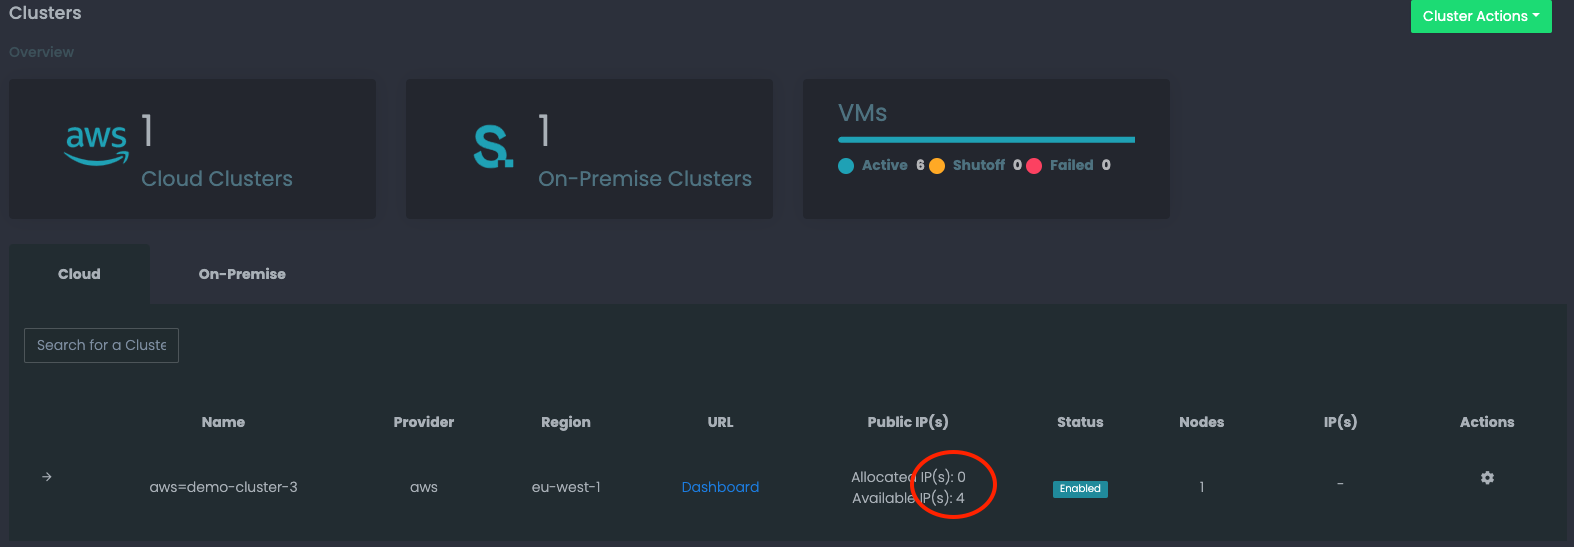
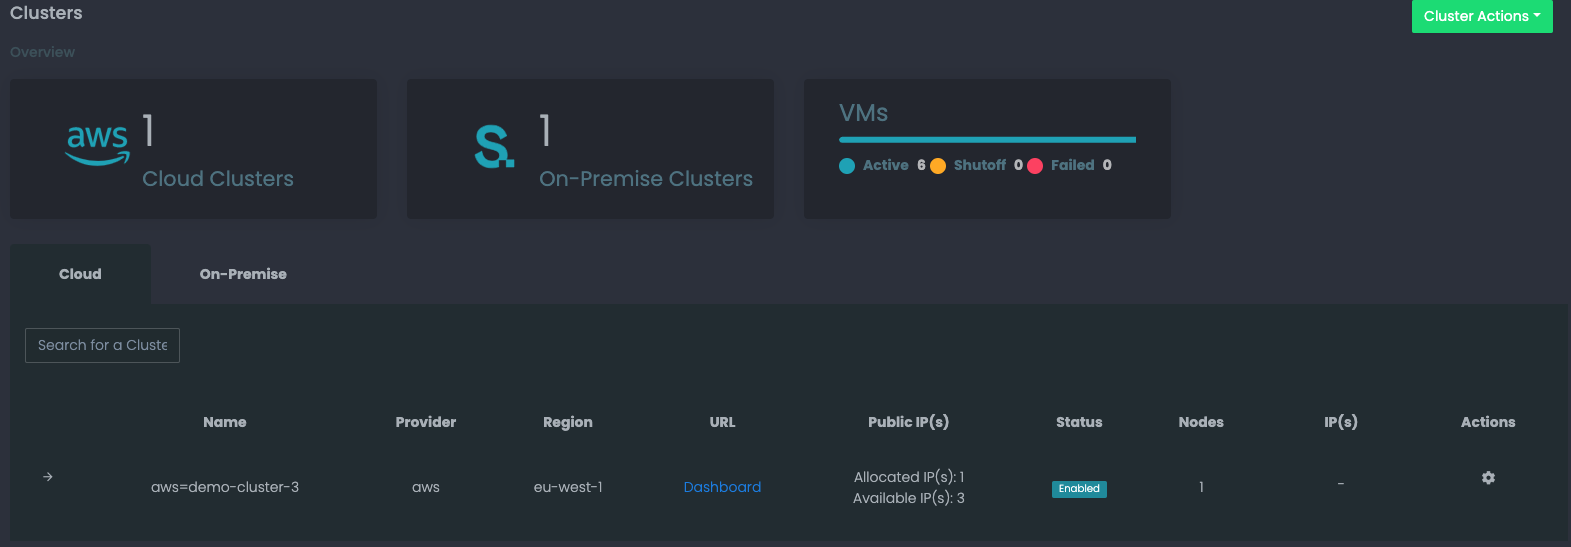
You can verify that the IP(s) have been allocated successfully, by monitoring the cluster available IP(s):
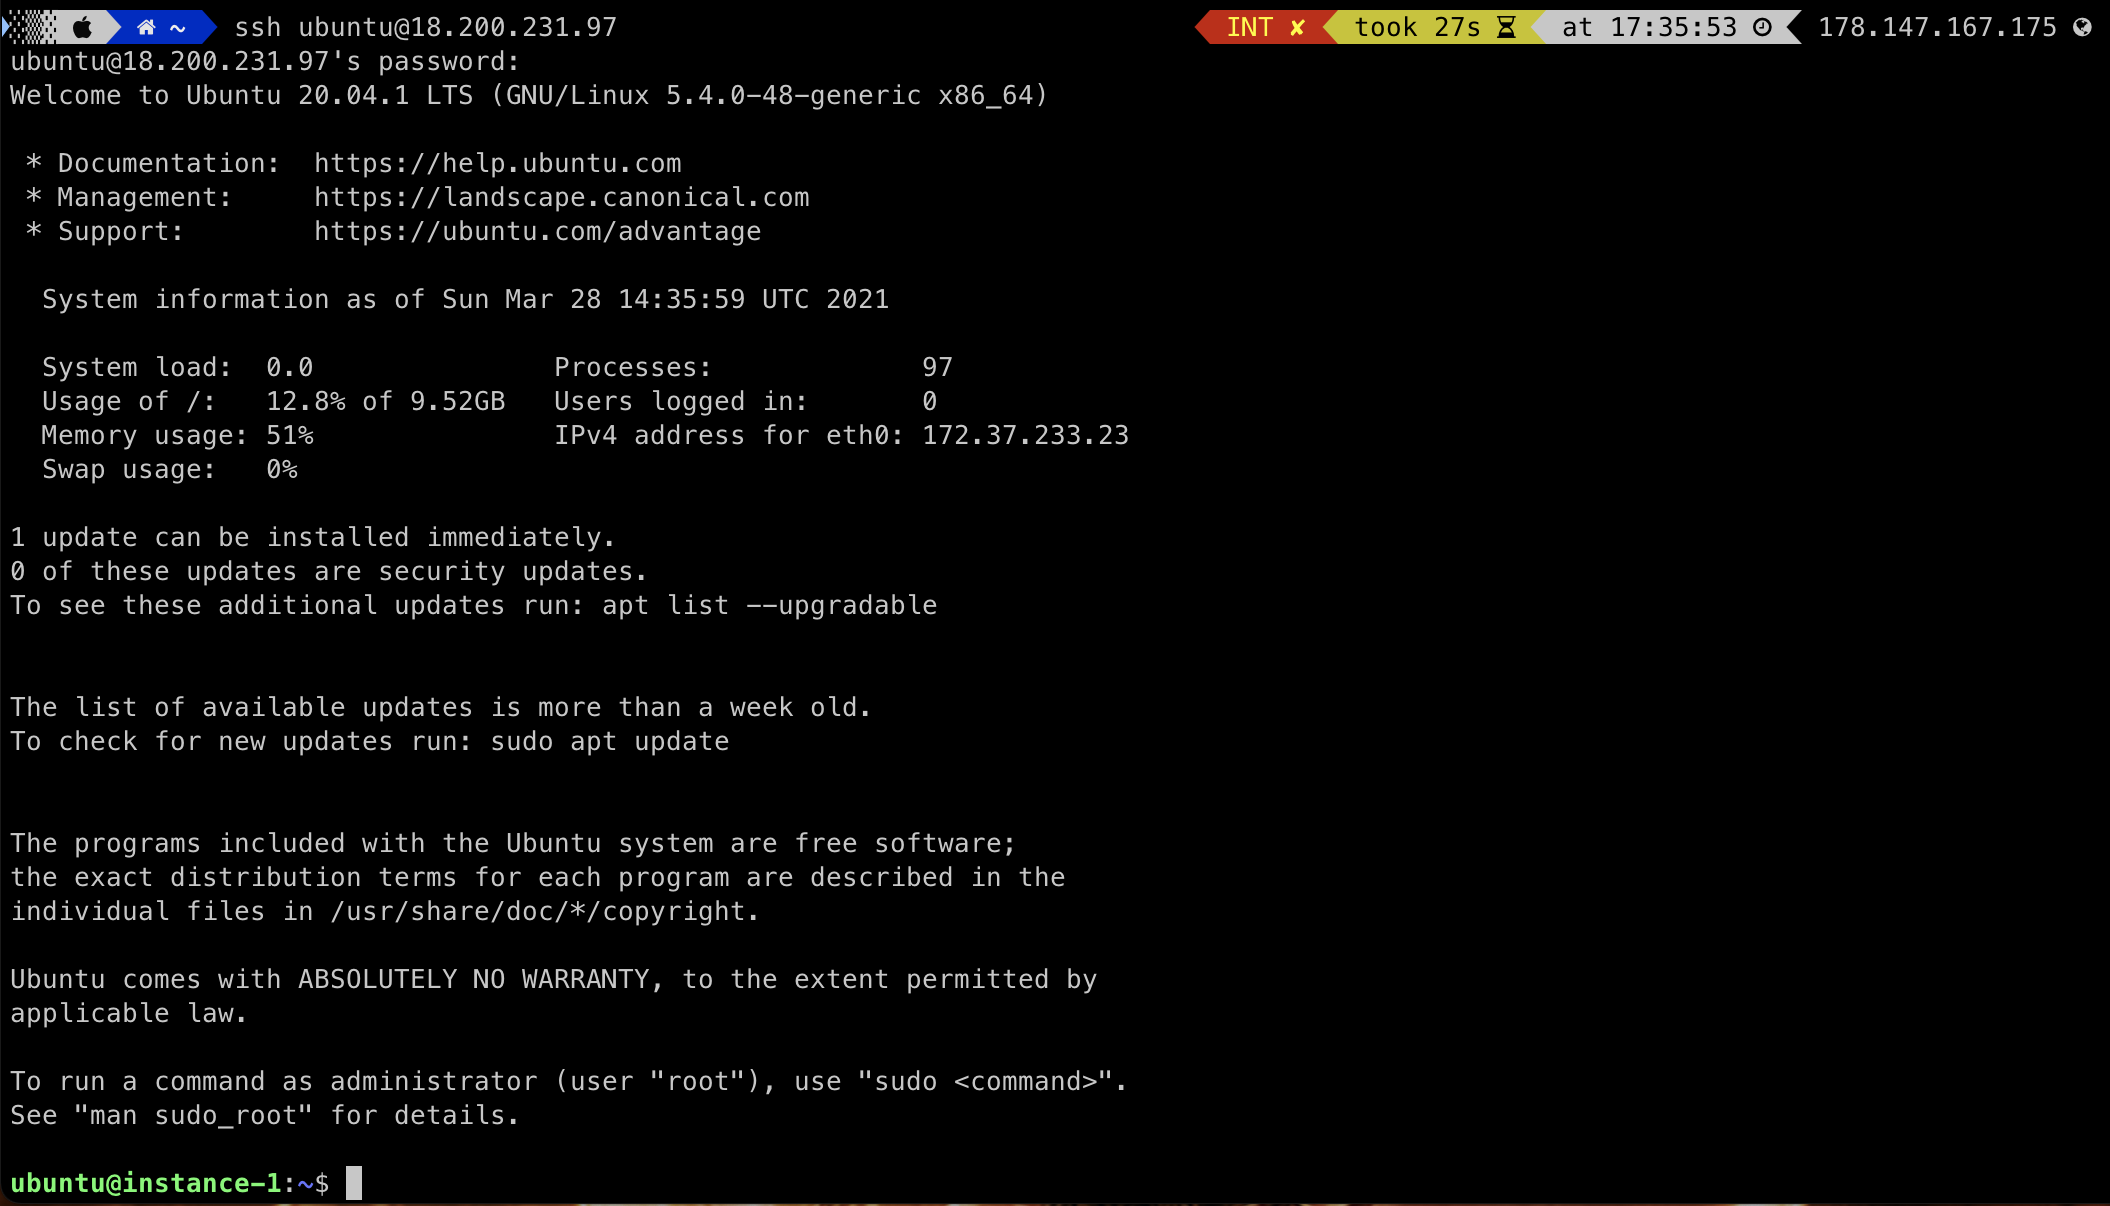
Additionally, you can login to the VM via its public IP, by using the VM credentials
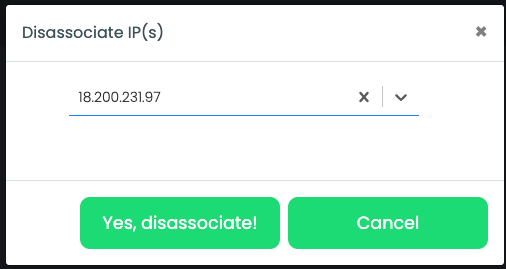
Disassociate IP(s)
The exact opposite actions can be performed when you need to dissasociate an IP from a VM:
You can verify that the IP(s) have been dissasociated from the VM, by reviewing the cluster available IP(s):