Configure Resource Groups
All server instances must belong to a resource group. The resource group is identified by a set of physical cores that are members of the group and is associated with a number of datastores and networks.
CPU Core Assignment
When creating or editing a resource group, a system administrator controls which cores are assigned to the group and therefore on which physical cores a server in the group can execute on. Additional attributes of a resource group are the CPU scheduler and pinning policy that is to be applied across the selected cores, the CPU core overcommit policy as well as the Fault Tolerance.
In order to create a resource group:
- Select the Resource Group tab.
- Click the Create Resource Group button.
- Fill in the configuration form through the following steps:
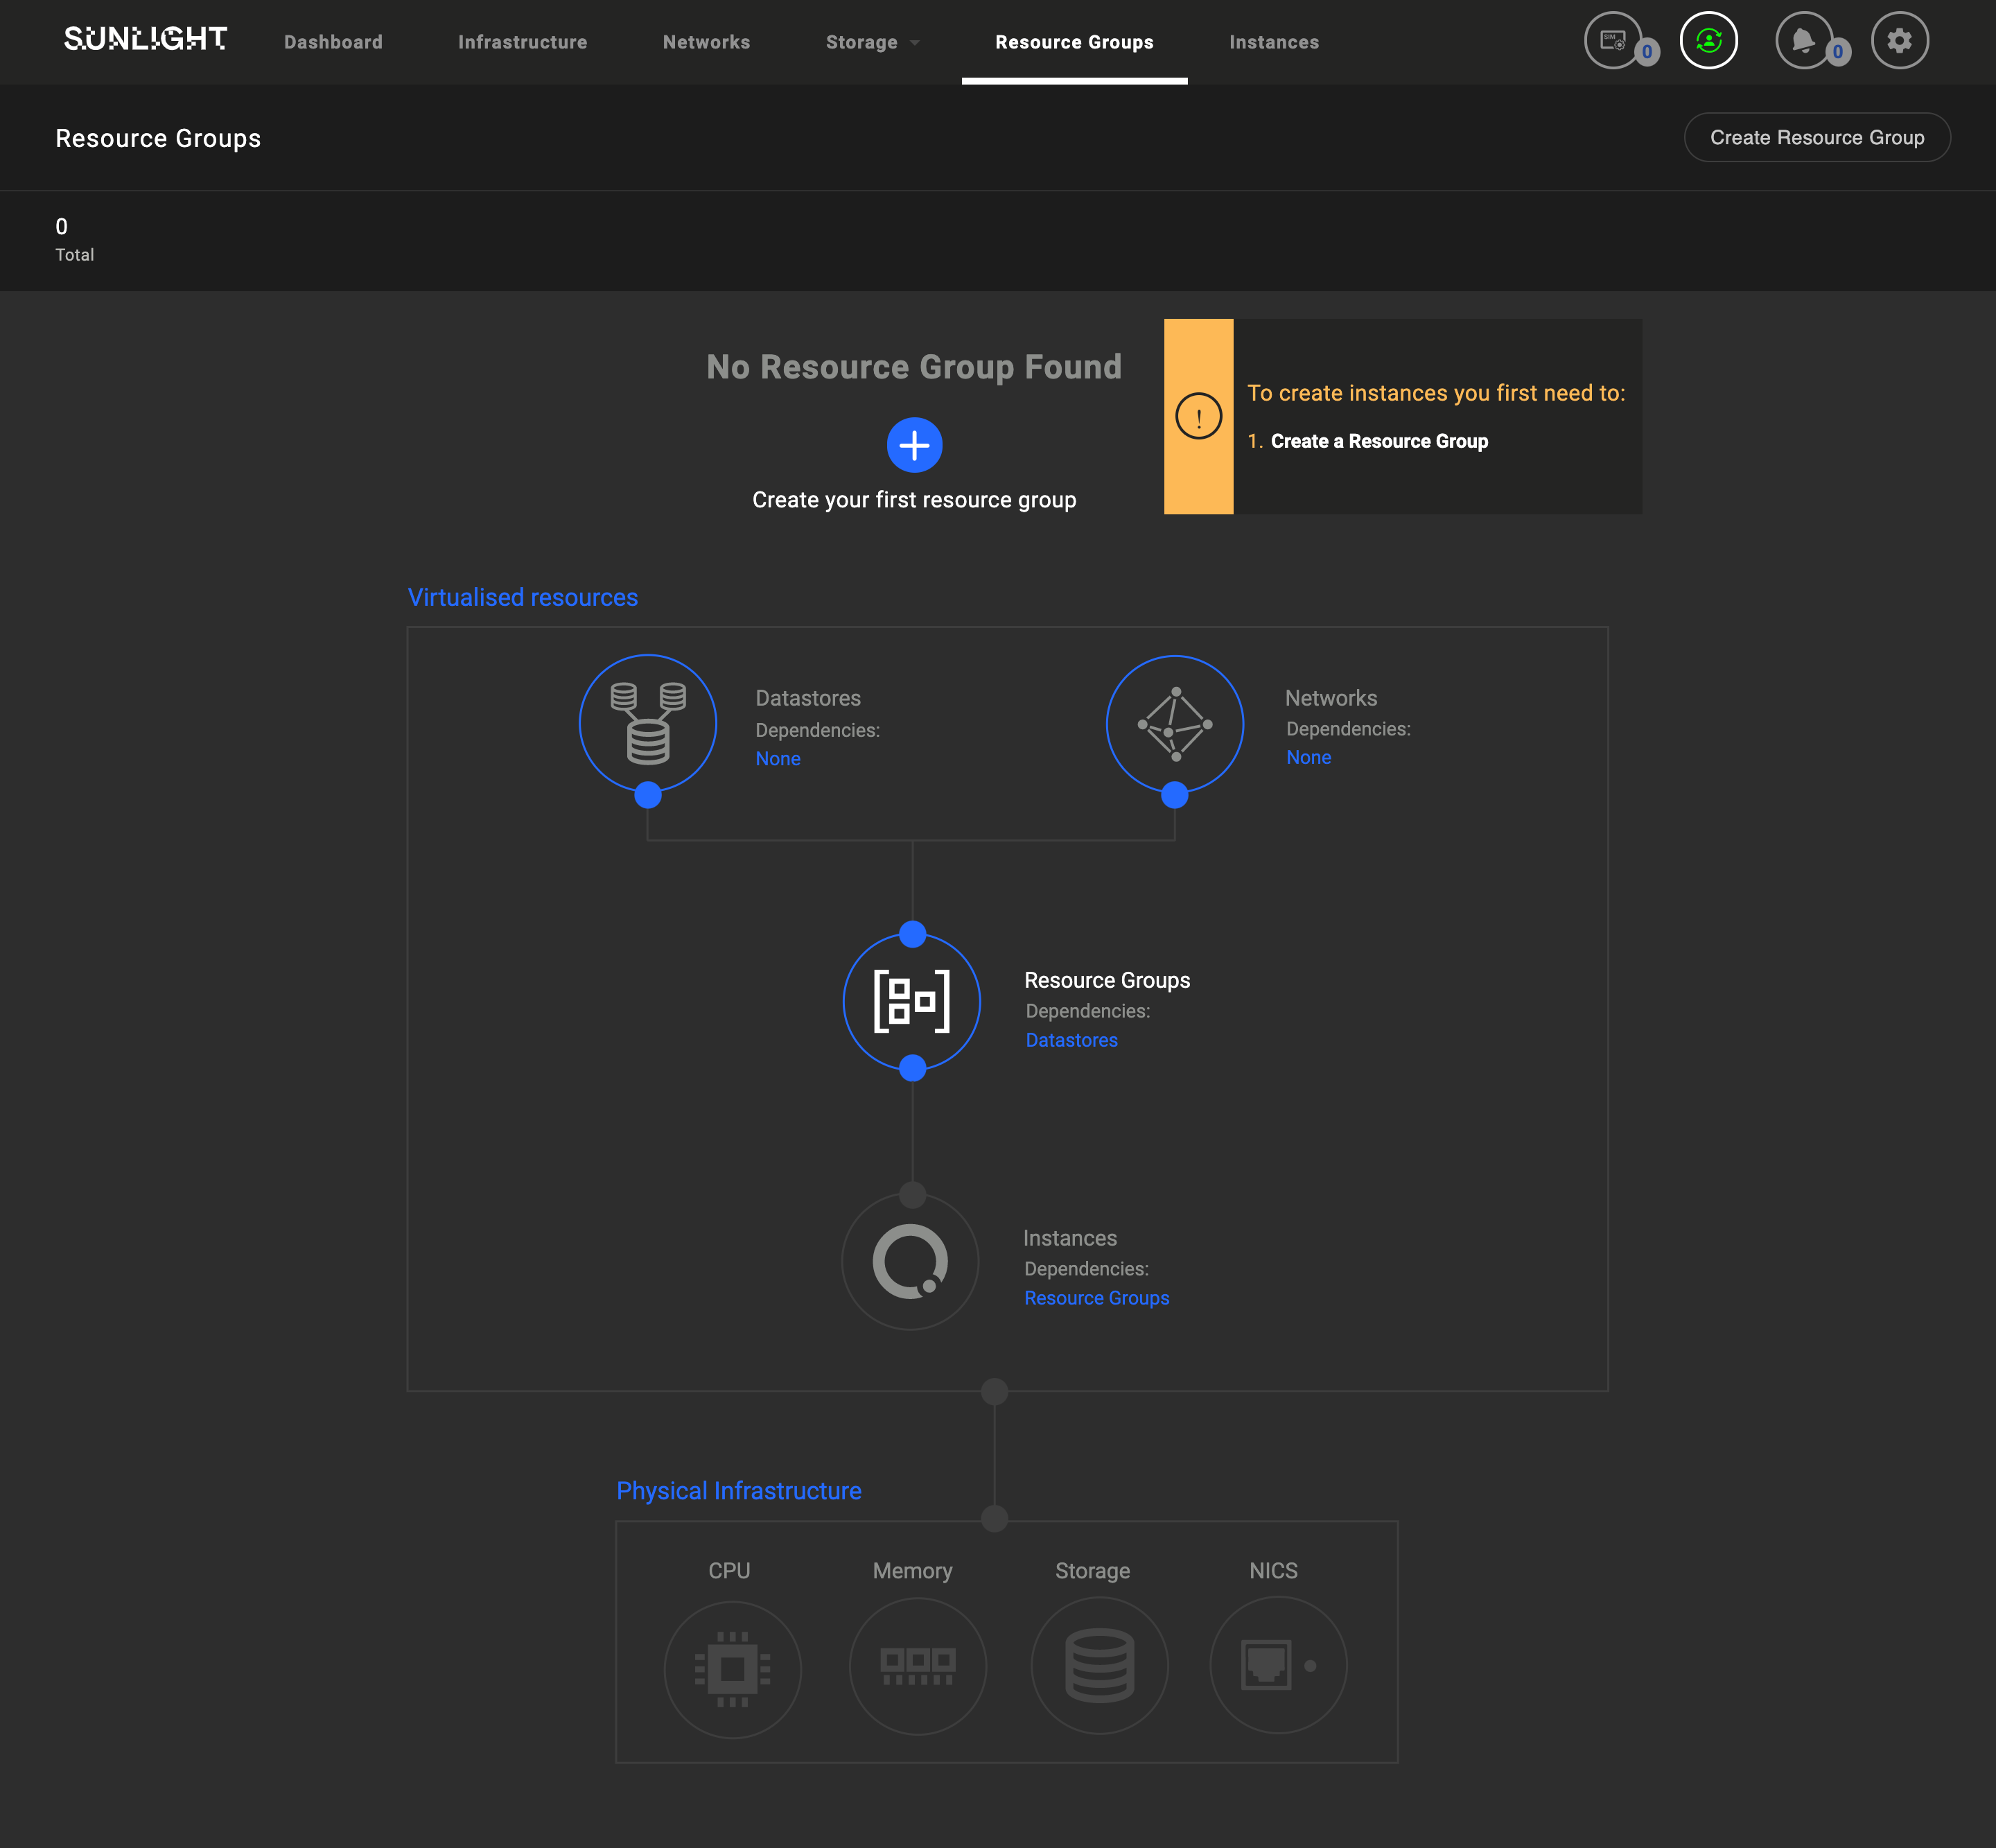
No Resource Group available:
In case the system has not been previously configured, the Resource Groups menu option should look like the following:
Step 1 - Select Storage Optimisation / Enable Fault Tolerance
The Storage Optimisation option is enabled by default.
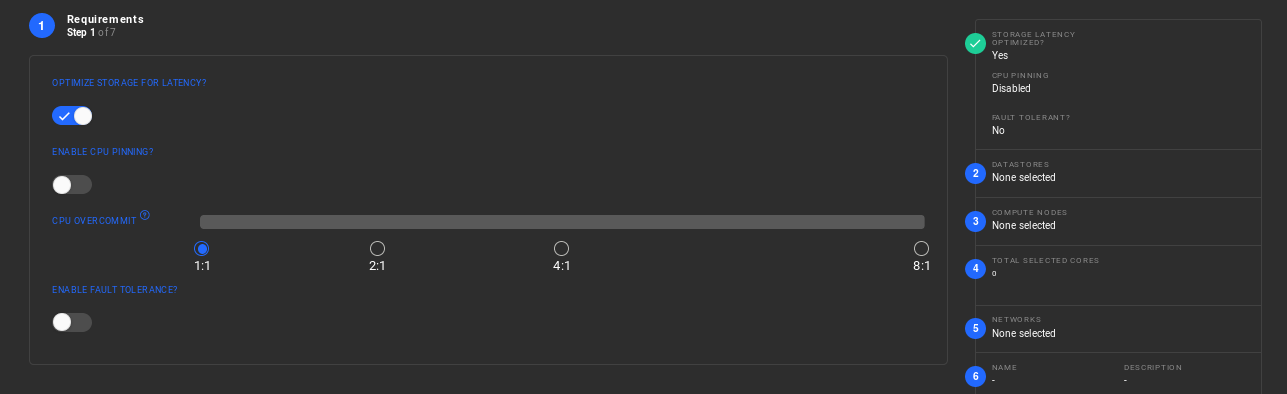
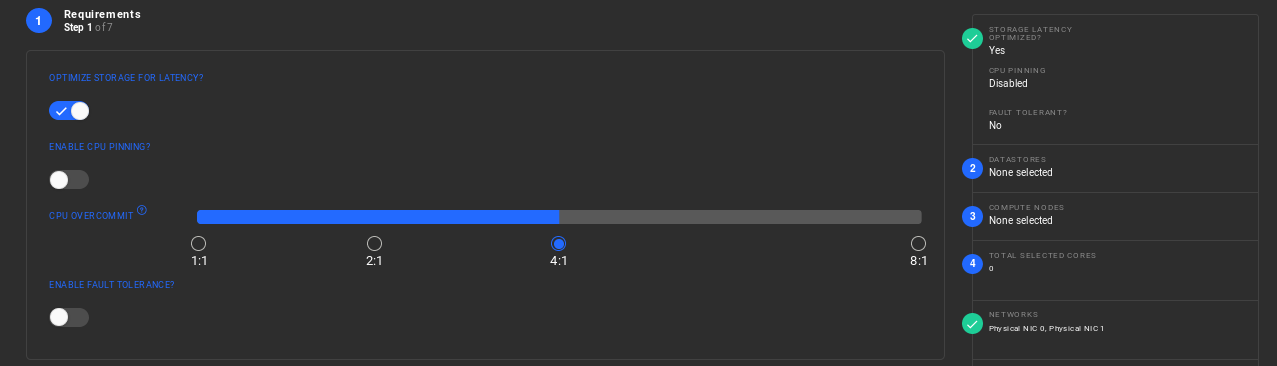
In the context of cores assignment, 'CPU overcommit' attribute is supported and can be applied across all of the selected cores. This feature provides the capability of allocating more than 1 virtual cores to a single physical core.Specifically, users can choose between the range of 2 to 8 virtual cores to be assigned to one single core.
By enabling the 'CPU Pinning' option, each virtual core corresponds to only one physical core, and as a result 'CPU overcommit' is disabled.
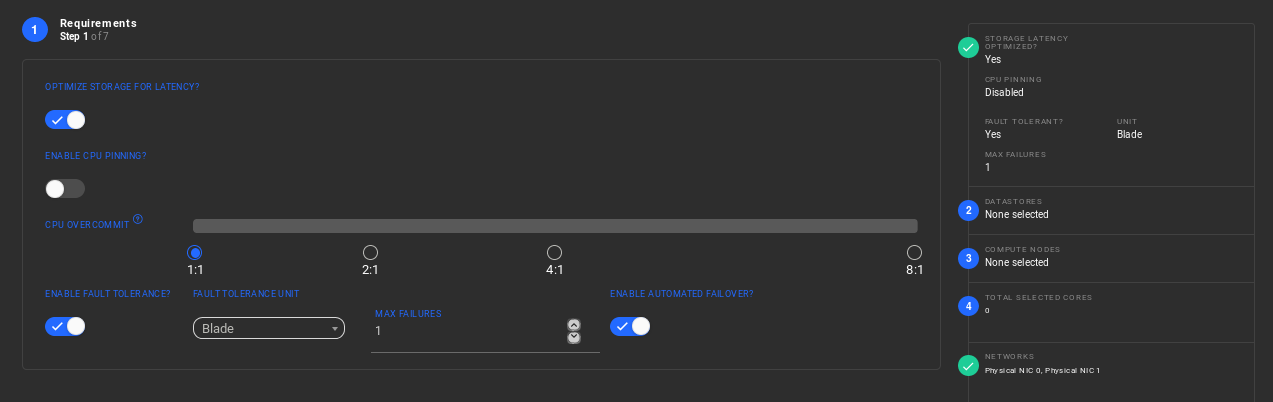
The 'Enable Fault Tolerance' option allows the specification of the Unit of fault tolerance required (Blade/Chassis/Rack) and the maximum number of Units allowed to be lost in order for the VMs and the user data to be recoverable. The option of Automated Failover, in the case of a failed Unit, is also available and the VMs start automatically.
Step 2 - Select available datastores that will hold VM data
Select one or more data stores that are accessible to the resource group according to step 1 selections

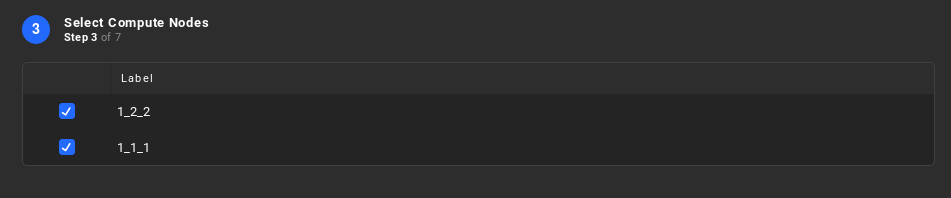
Step 3 - Select the compute node resources (NexVisors)
Select the members (compute nodes) that you want to make part of the resource group.
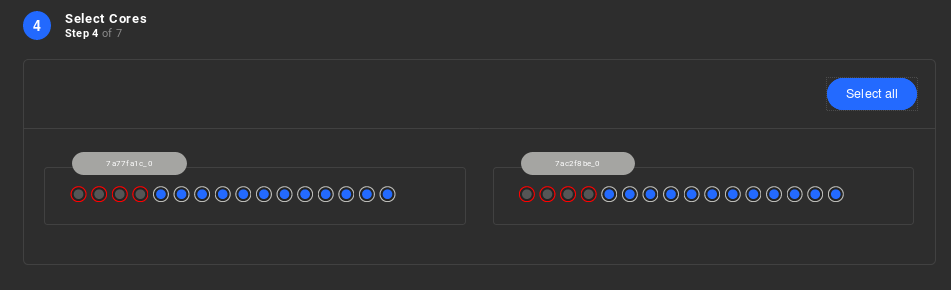
Step 4 - Select the cores that will be assigned to the group
Select the cores on each member to assign to the resource group.
Step 5 - Assign the networks to which the instances may have access
Select one or more networks that are accessible to the resource group.

Warning
Please note that we currently support the deletion of a network from the resource group only in case this network is not attached to any Sunlight instance. Once an instance is created and attached to a selected network of the resource group, this network can no longer be edited or removed.
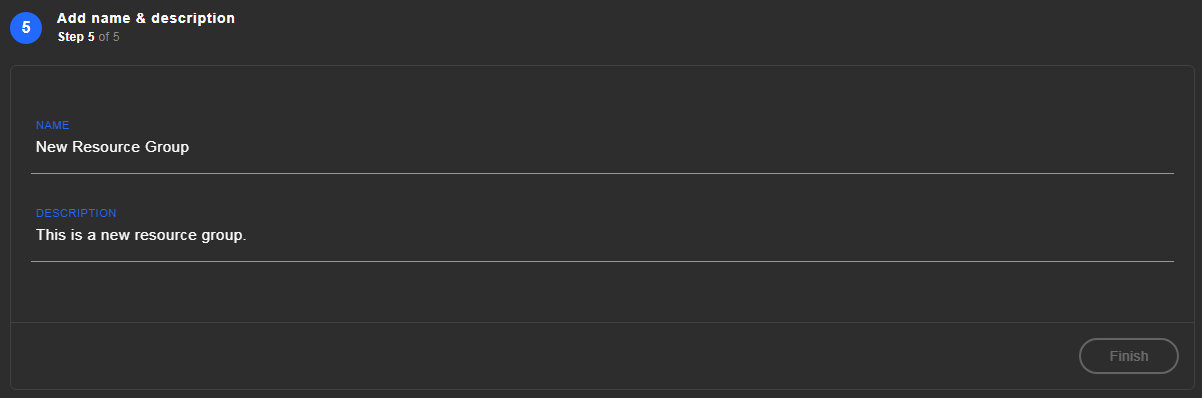
Step 6 - Finalise the configuration
Enter a name and a relevant description. Click the Finish button to complete the resource group creation.
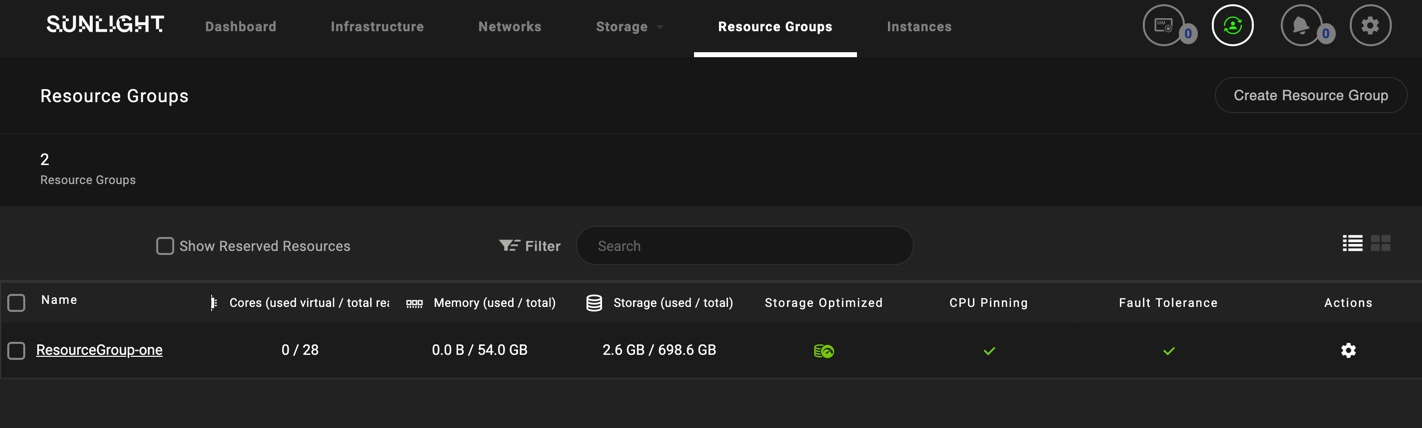
Availability of Resource Group(s)
In case the system has been previously configured, the Resource Groups menu option should look like the following example:
Note
The green check symbol (as seen on the screenshot above) indicates that the Resource Group is storage optimized.
User is able to click on the created resource group in order to navigate in the overview page.
