Configure Chassis Layout
Configuration of the chassis layout is one of the basic steps for configuring and managing your Sunlight Enterprise Software Platform. It is accomplished via the rack configurator utility that allows you to create a visual representation of your physical server layout in the Data Center. This section provides information on how to configure the chassis layout to achieve the best performance and reliability.
The system dashboard is displayed after logging into the UI using the credentials listed on the Getting Started page. The chassis layout configuration consists of two steps - chassis types configuration and racks configuration.
Configure Chassis Types
To configure the chassis types:
- Click the Infrastructure tab.
- Click the Configure Racks button on the top right side of the page.
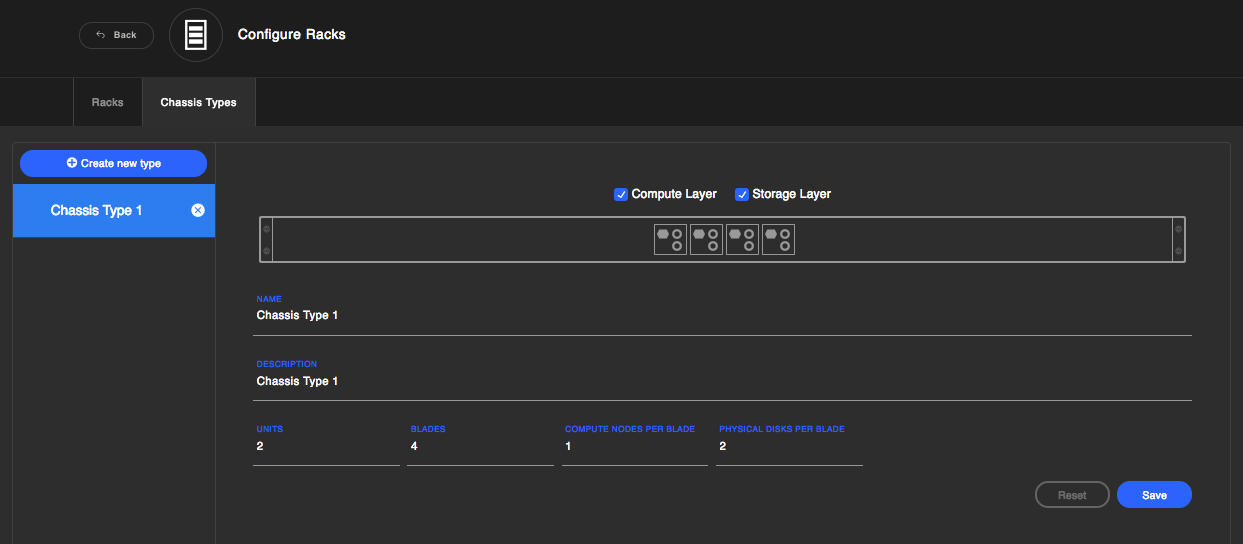
- Click on the Chassis Types tab on the right of the wizard.
- Your chassis should already be detected. Select the entry for your system, modify the height of the chassis in U's, the number of blades per chassis, the number of logical servers (Compute Nodes) per blade, and the storage drive configuration per blade.
- Click on the Save button


Configure Racks
To configure the racks:
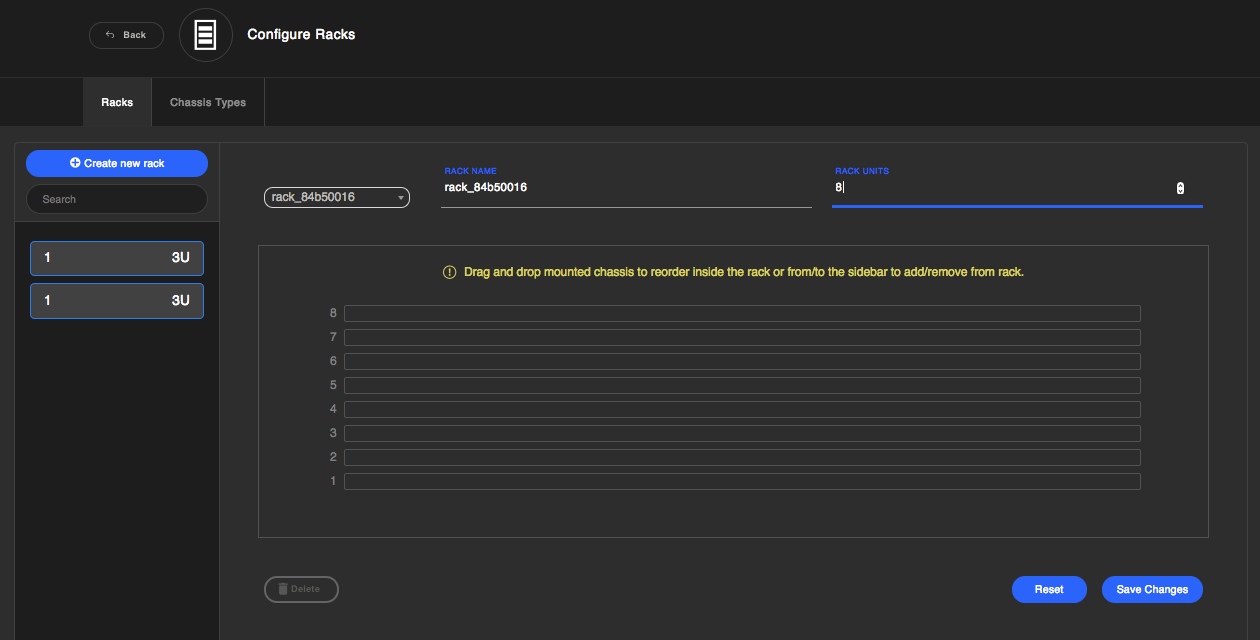
- Click the Racks tab under the Configure Racks wizard (as above).
- Specify the height dimension of your rack in U's.
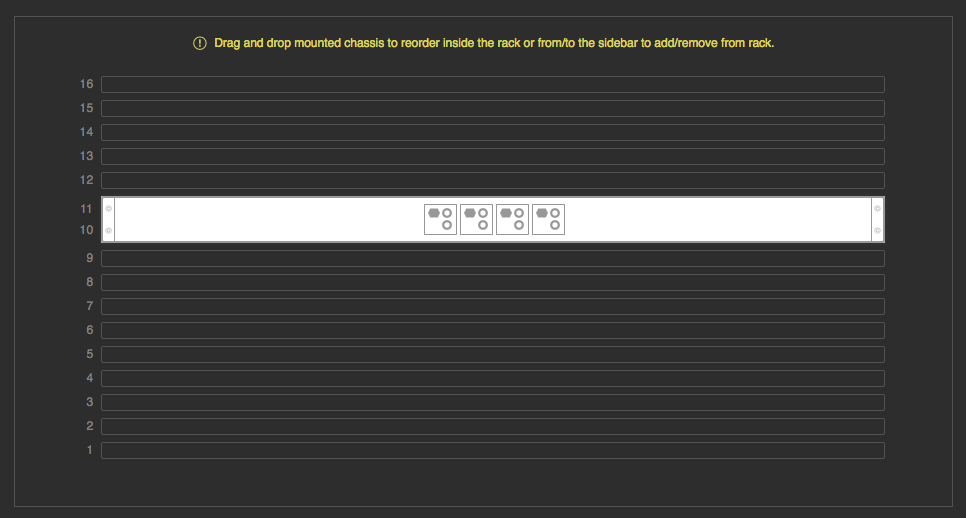
- Click and drag Discovered systems into the corresponding locations of the virtual rack.
- Save changes for each step performed.


This is an important step in configuring your system as it allows for correct optimizations further down the line as the deployment of real workloads and systems on the infrastructure is performed.
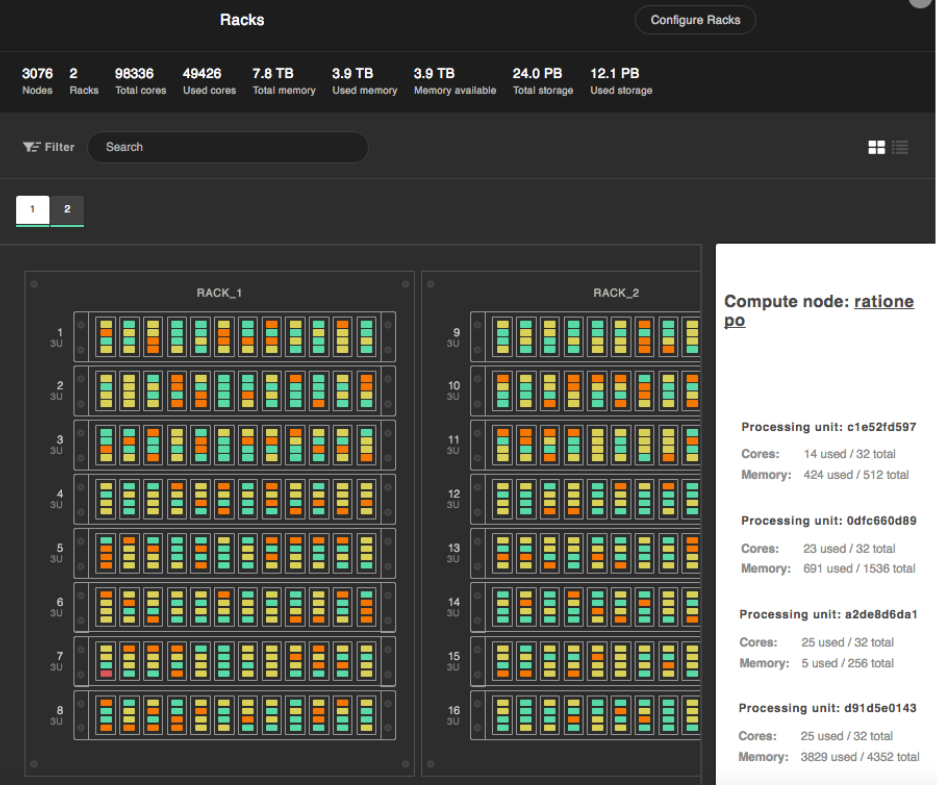
After the chassis layout configuration is complete, return to the Racks section to view an accurate visual representation of your server systems as they are currently positioned in your Data Center. Configuration of the chassis layout is the first step to configure the storage and network IO infrastructure.
