Configure Datastores
A datastore is a collection of physical drives with a redundancy policy applied. All the data that is stored on the system is thick provisioned.
Note that no over-commitment of storage is allowed (thin provisioning comes with an associated risk that the system may run out of physical storage if excessive data is stored on the disks).
In order to present local storage drives to the server workloads as a unified storage layer, you must select available drives and create a distributed ‘Datastore’ across them.
To configure datastores:
- Click the Datastores tab.
- Click the Create Datastore button.
- Fill in the storage configuration form step by step:
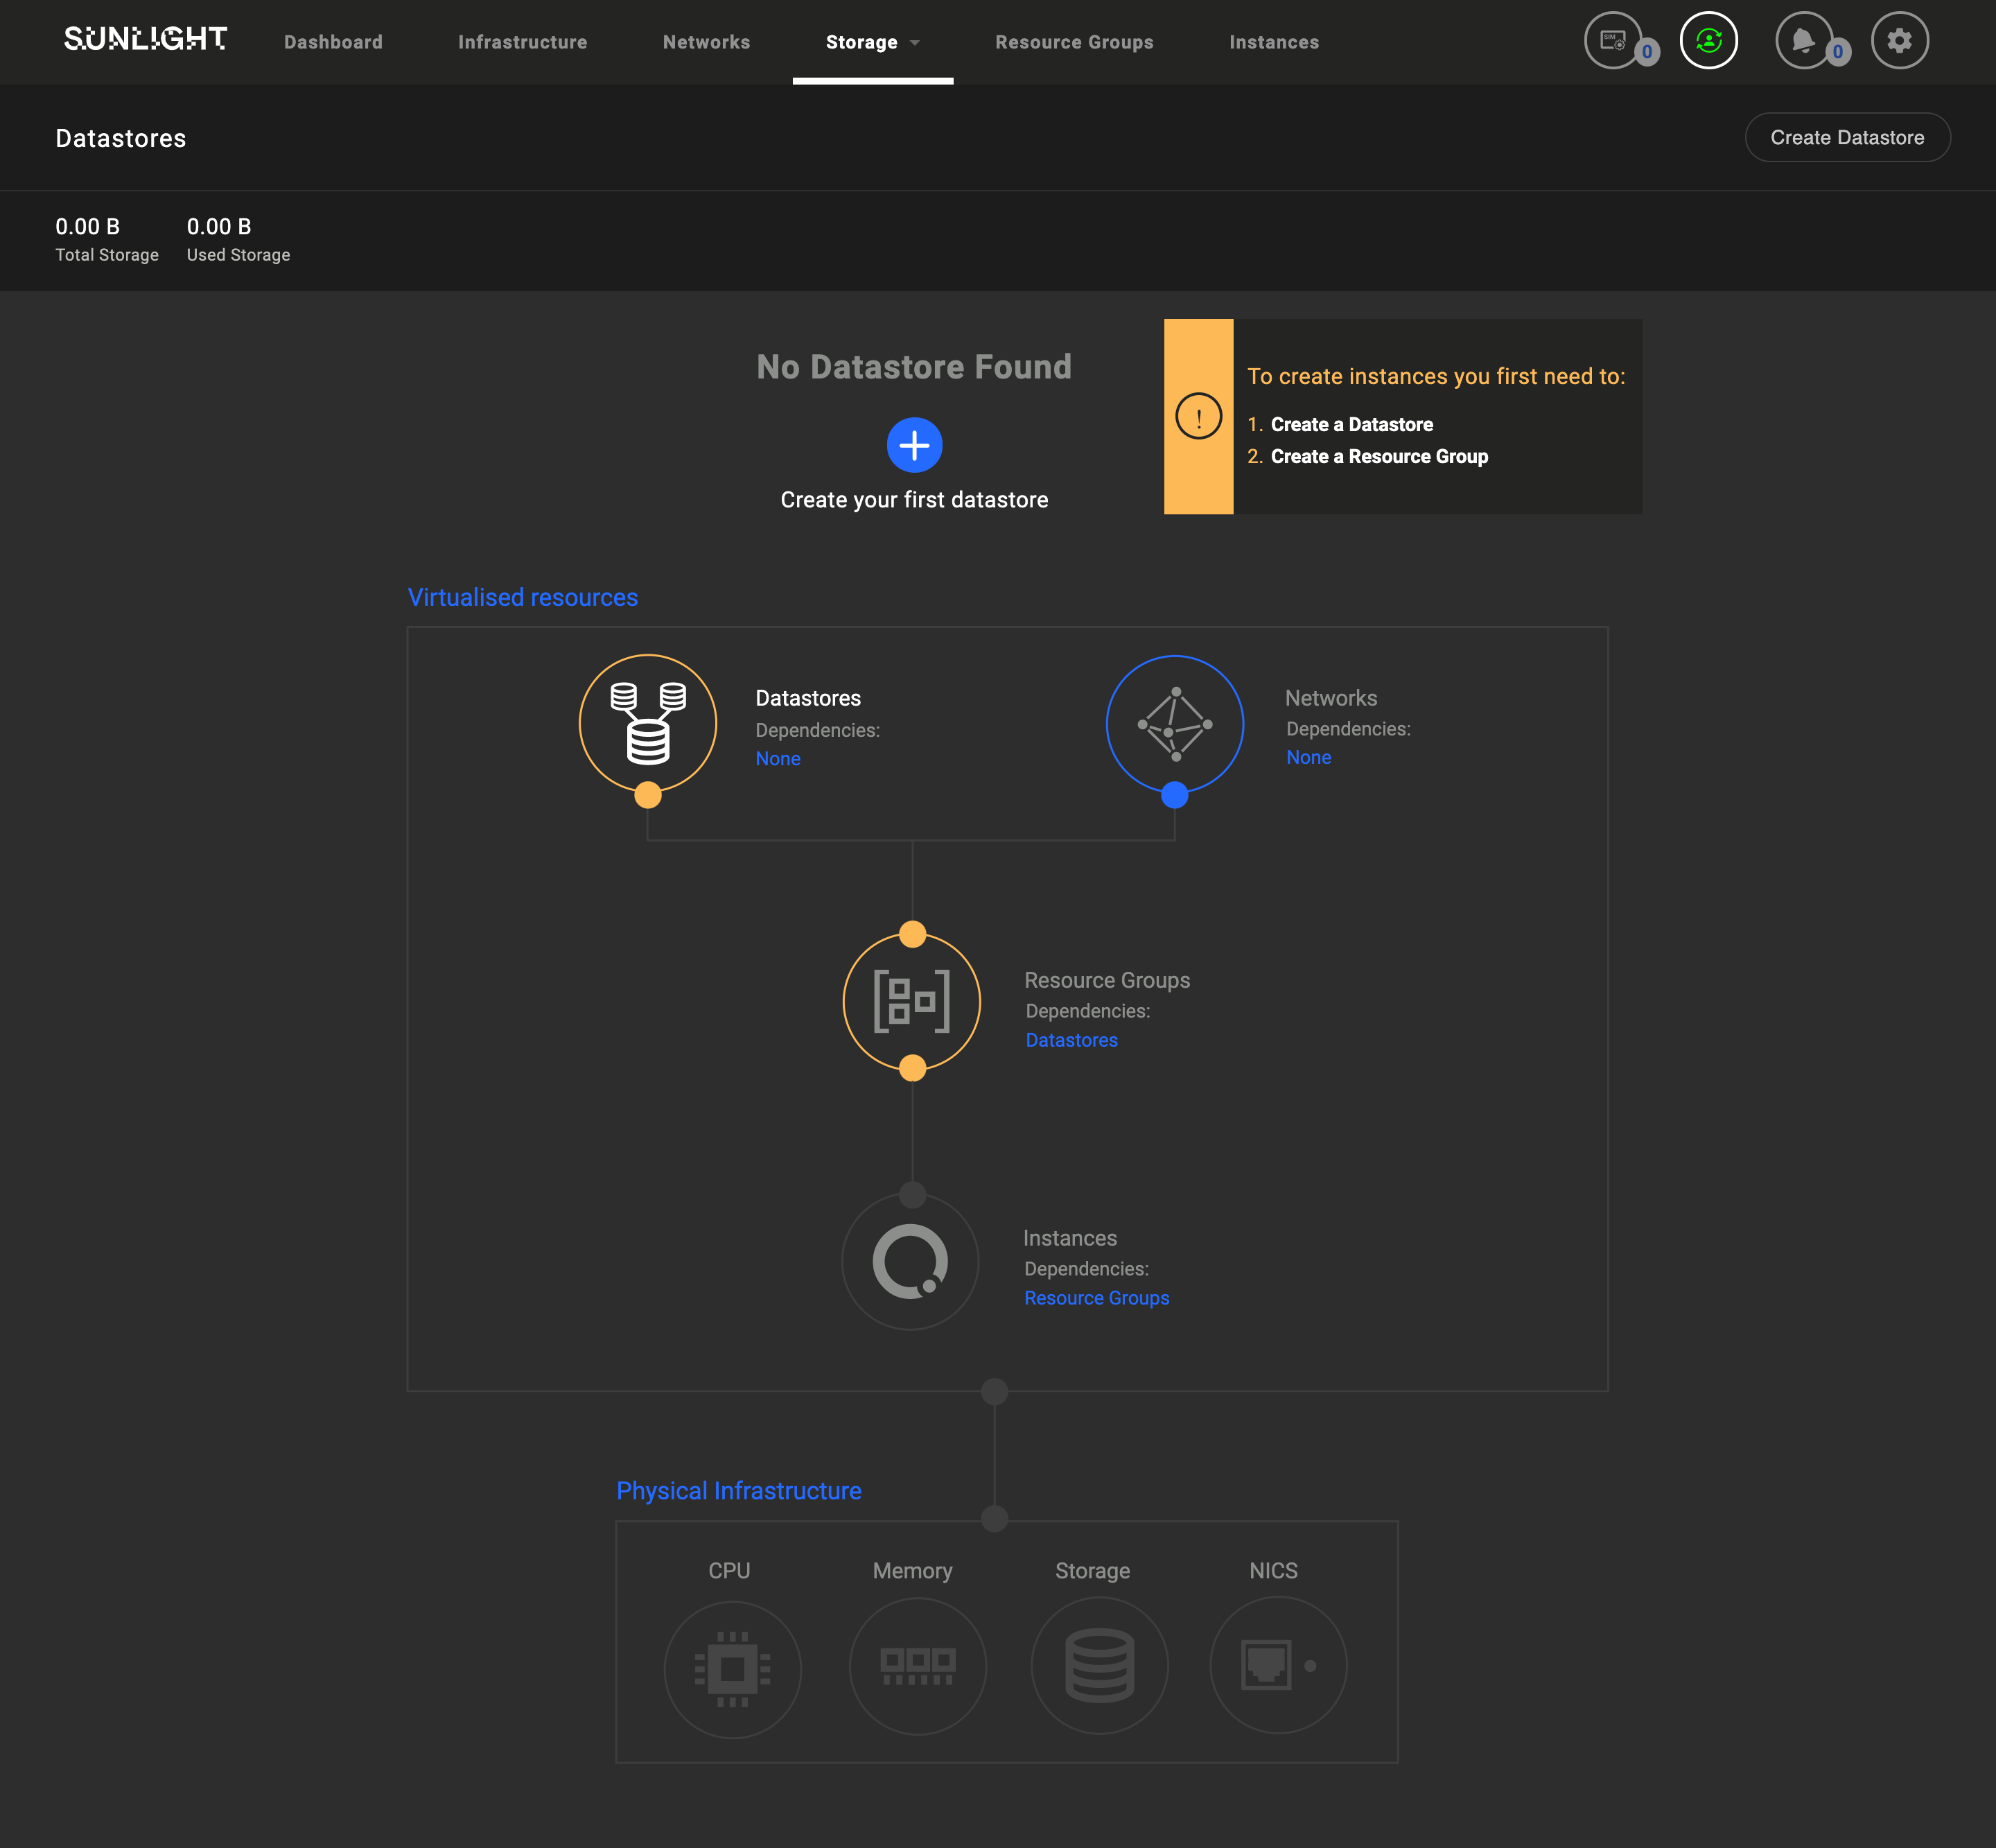
In case no datastore has been previously configured- the "Datastores" menu option should look like the following screenshot:

Step 1 of 5 - Select the Compute Resources:
Select the compute nodes with the physical storage you want to add to the Datastore. This will populate the available storage drives that are present across all the selected compute nodes.

Step 2 of 5 - Select the drives:
Select the drives you want to add into the Datastore.

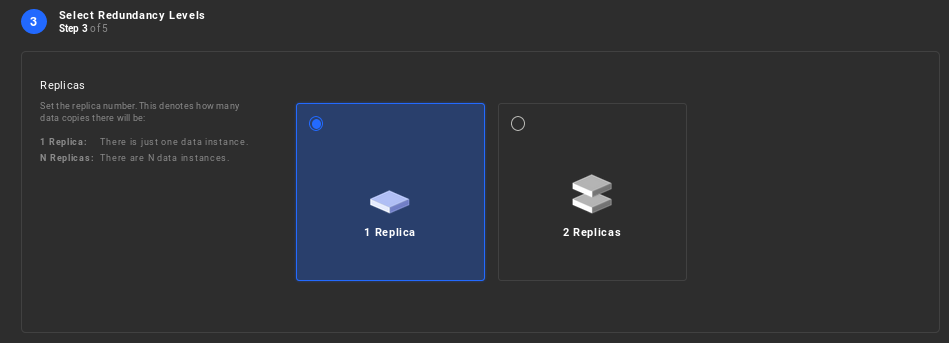
Step 3 of 5 - Select the Redundancy:
Select the redundancy level that you want to apply.

Step 4 of 5 - Enable DB metadata - (system DB backup):
Enable metadata, in order for the platform to automatically back up all system databases and restore data from a specific backup.

Step 5 - Finalizing the Datastore implementation:
Assign a Name and a Description to the new Datastore that has been created. This information will be displayed in the Datastore list and will be used to identify the storage group when assigning to a resource group. Select "Finish" in order to create the Datastore.

If the system has been properly configured,the Datastores menu option should look like the following example:

Warning :
The green check symbol (as seen on the screenshot above) indicates that the Datastore has metadata enabled.