Instances and Clusters
In the Instances tab, you can view information on instances that you created in your system:
| Resource | Value |
|---|---|
| Type | the type indicates if we are seeing a single instance or a cluster of instances |
| Name | the name of the instance/cluster |
| Image | the image this instance / cluster is built upon |
| Cores | the number of cores used by the instance |
| Memory | the amount of memory (MB) used by the instance |
| Storage | the amount of storage space (GB) used by the instance |
| Storage Optimized | if the instance is storage optimized |
| IP Addresses | the list of IP addresses used by the instance |
| Admin UI | indicates the availability of admin UI (applicable to Docker-based instances) |
| Actions | the icon with the list of available actions for the instance:
|

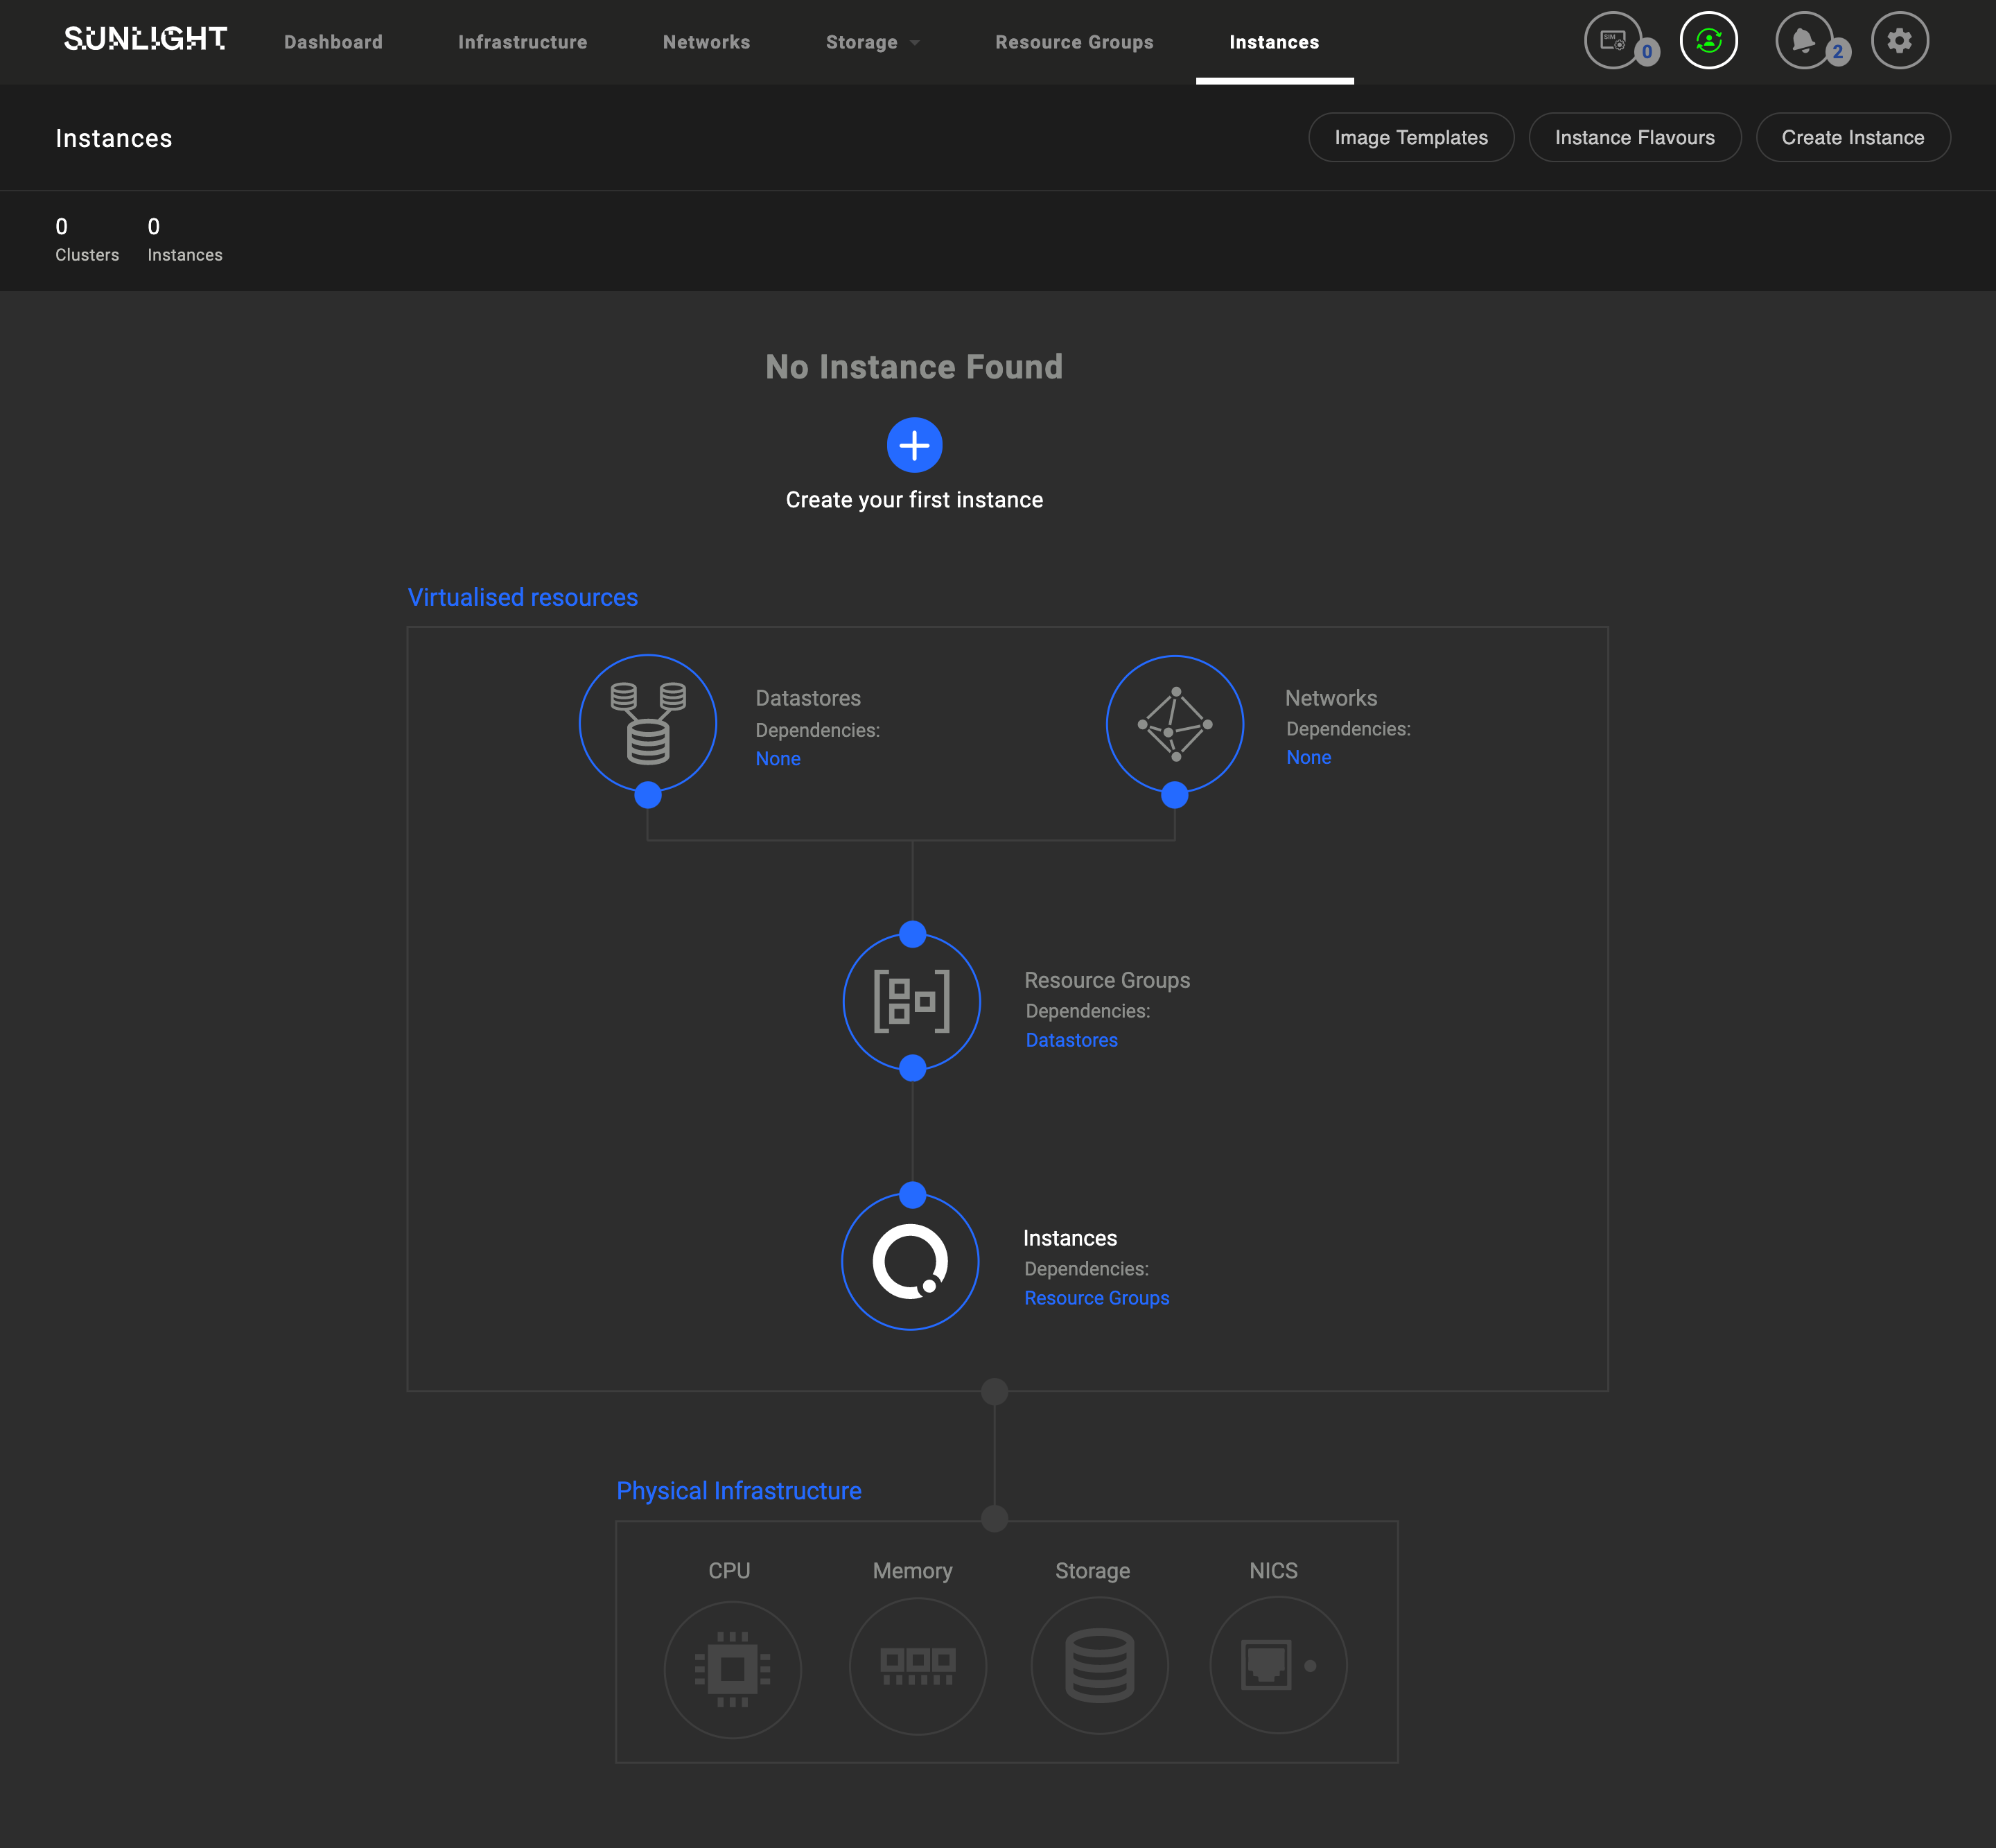
What should you see if there are no instances created?
If no instances/clusters exists you should see the following:
To create an instance/cluster, click the Create Instance button and go through the following steps:
Step 1 of 7 - Select to use CD/ISO

Step 2 of 7 - Select between creating a single instance or a cluster of the same instances

Step 3 of 7 - Select the Image template type
Select an image upon which the instance will be built.
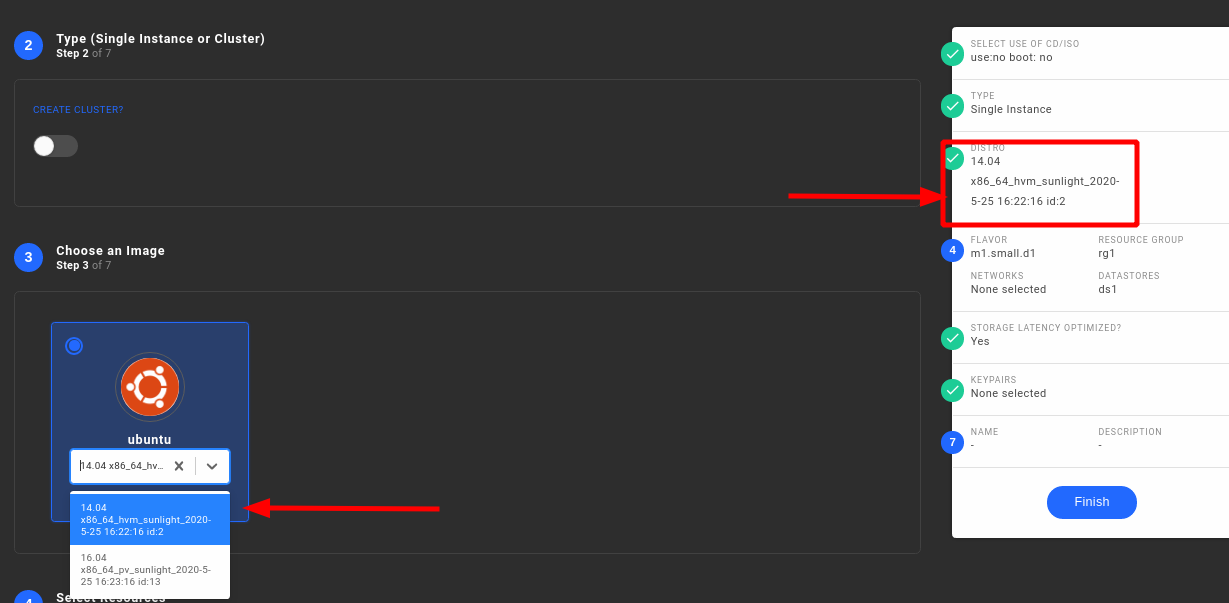
Step 4 of 7 - Select the flavour, the Resource Group, Network interfaces, Virtual disks and PCI device (if available)
Select the following resources for the instance:
- VM Specifications
- Resource Groups
- Networks
- Datastores
- PCI devices
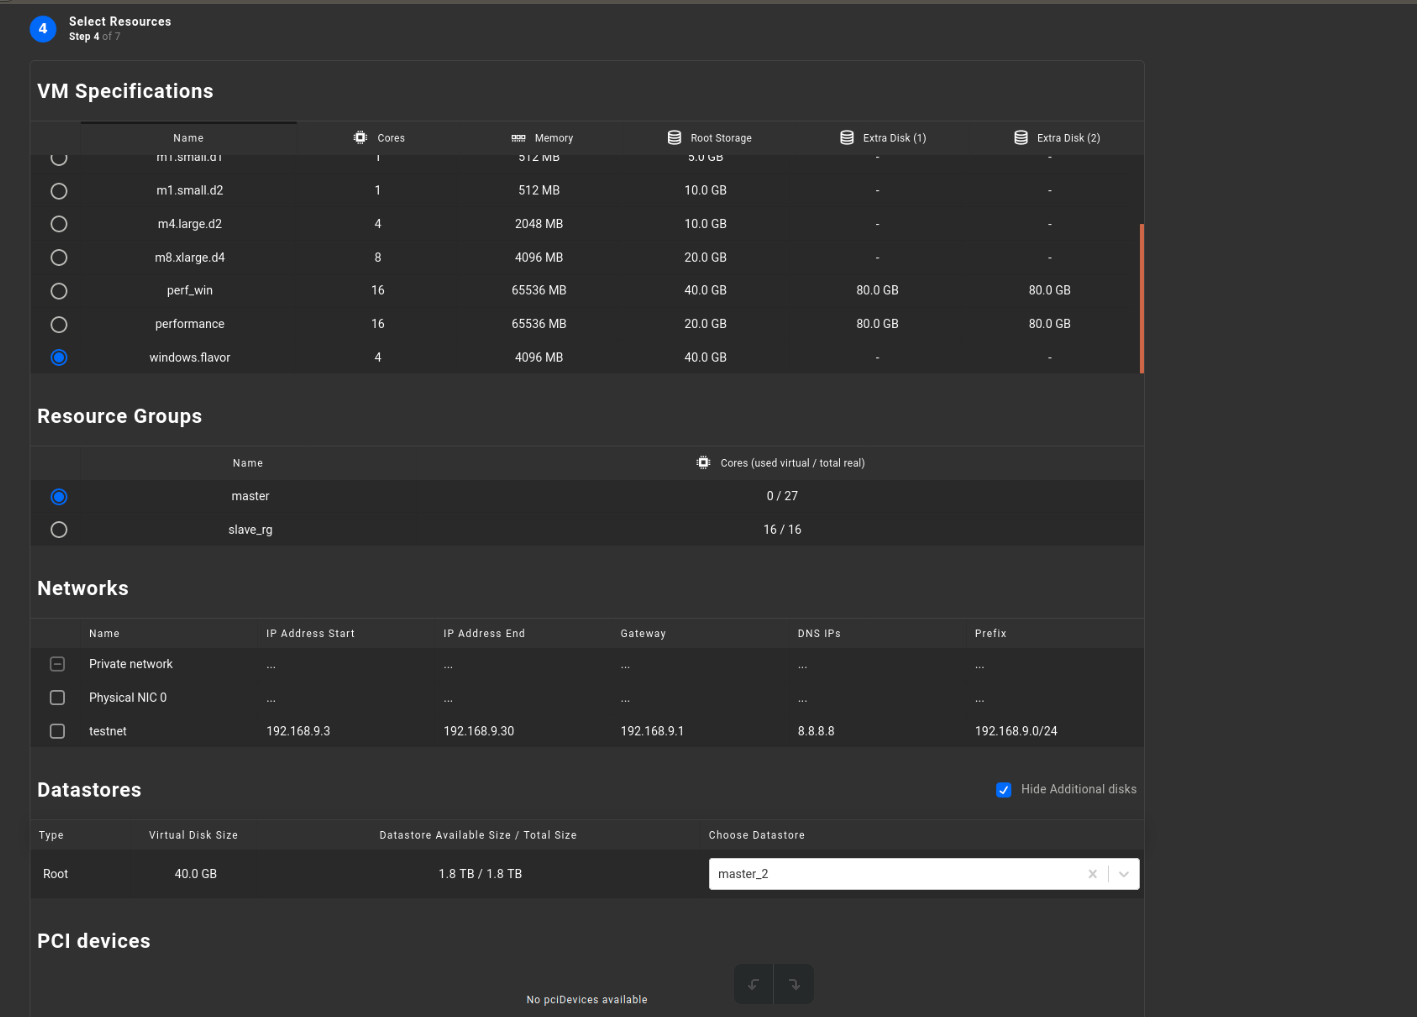
We have added a new flavour called windowsFLV for windows VM instance build

Warning
The resources declared in flavour specification (cores,memory,root storage) should not exceed the maximum available resource values of the specified resource group
Warning
Different templates have minimum resource requirements. Make sure you select the flavours that meet these minimum requirements.
Step 5 of 7 - Optimize Storage for Low Latency
Specify if the instance will be optimized for low storage latency.

Note
The default option is optimize for low latency
Step 6 of 7 - Adding public ssh keys to the VM
Add keypairs that will be used to access the instance.

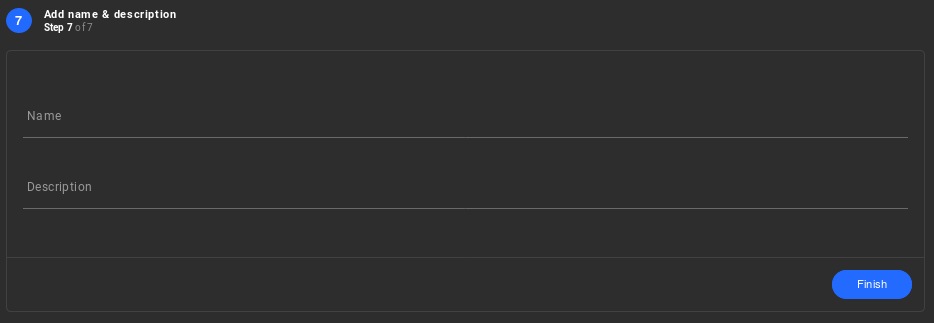
Step 7 of 7 - Finalise the Instance creation wizard
- Provide a name and description for the instance.
- Click the Finish button to create the instance.
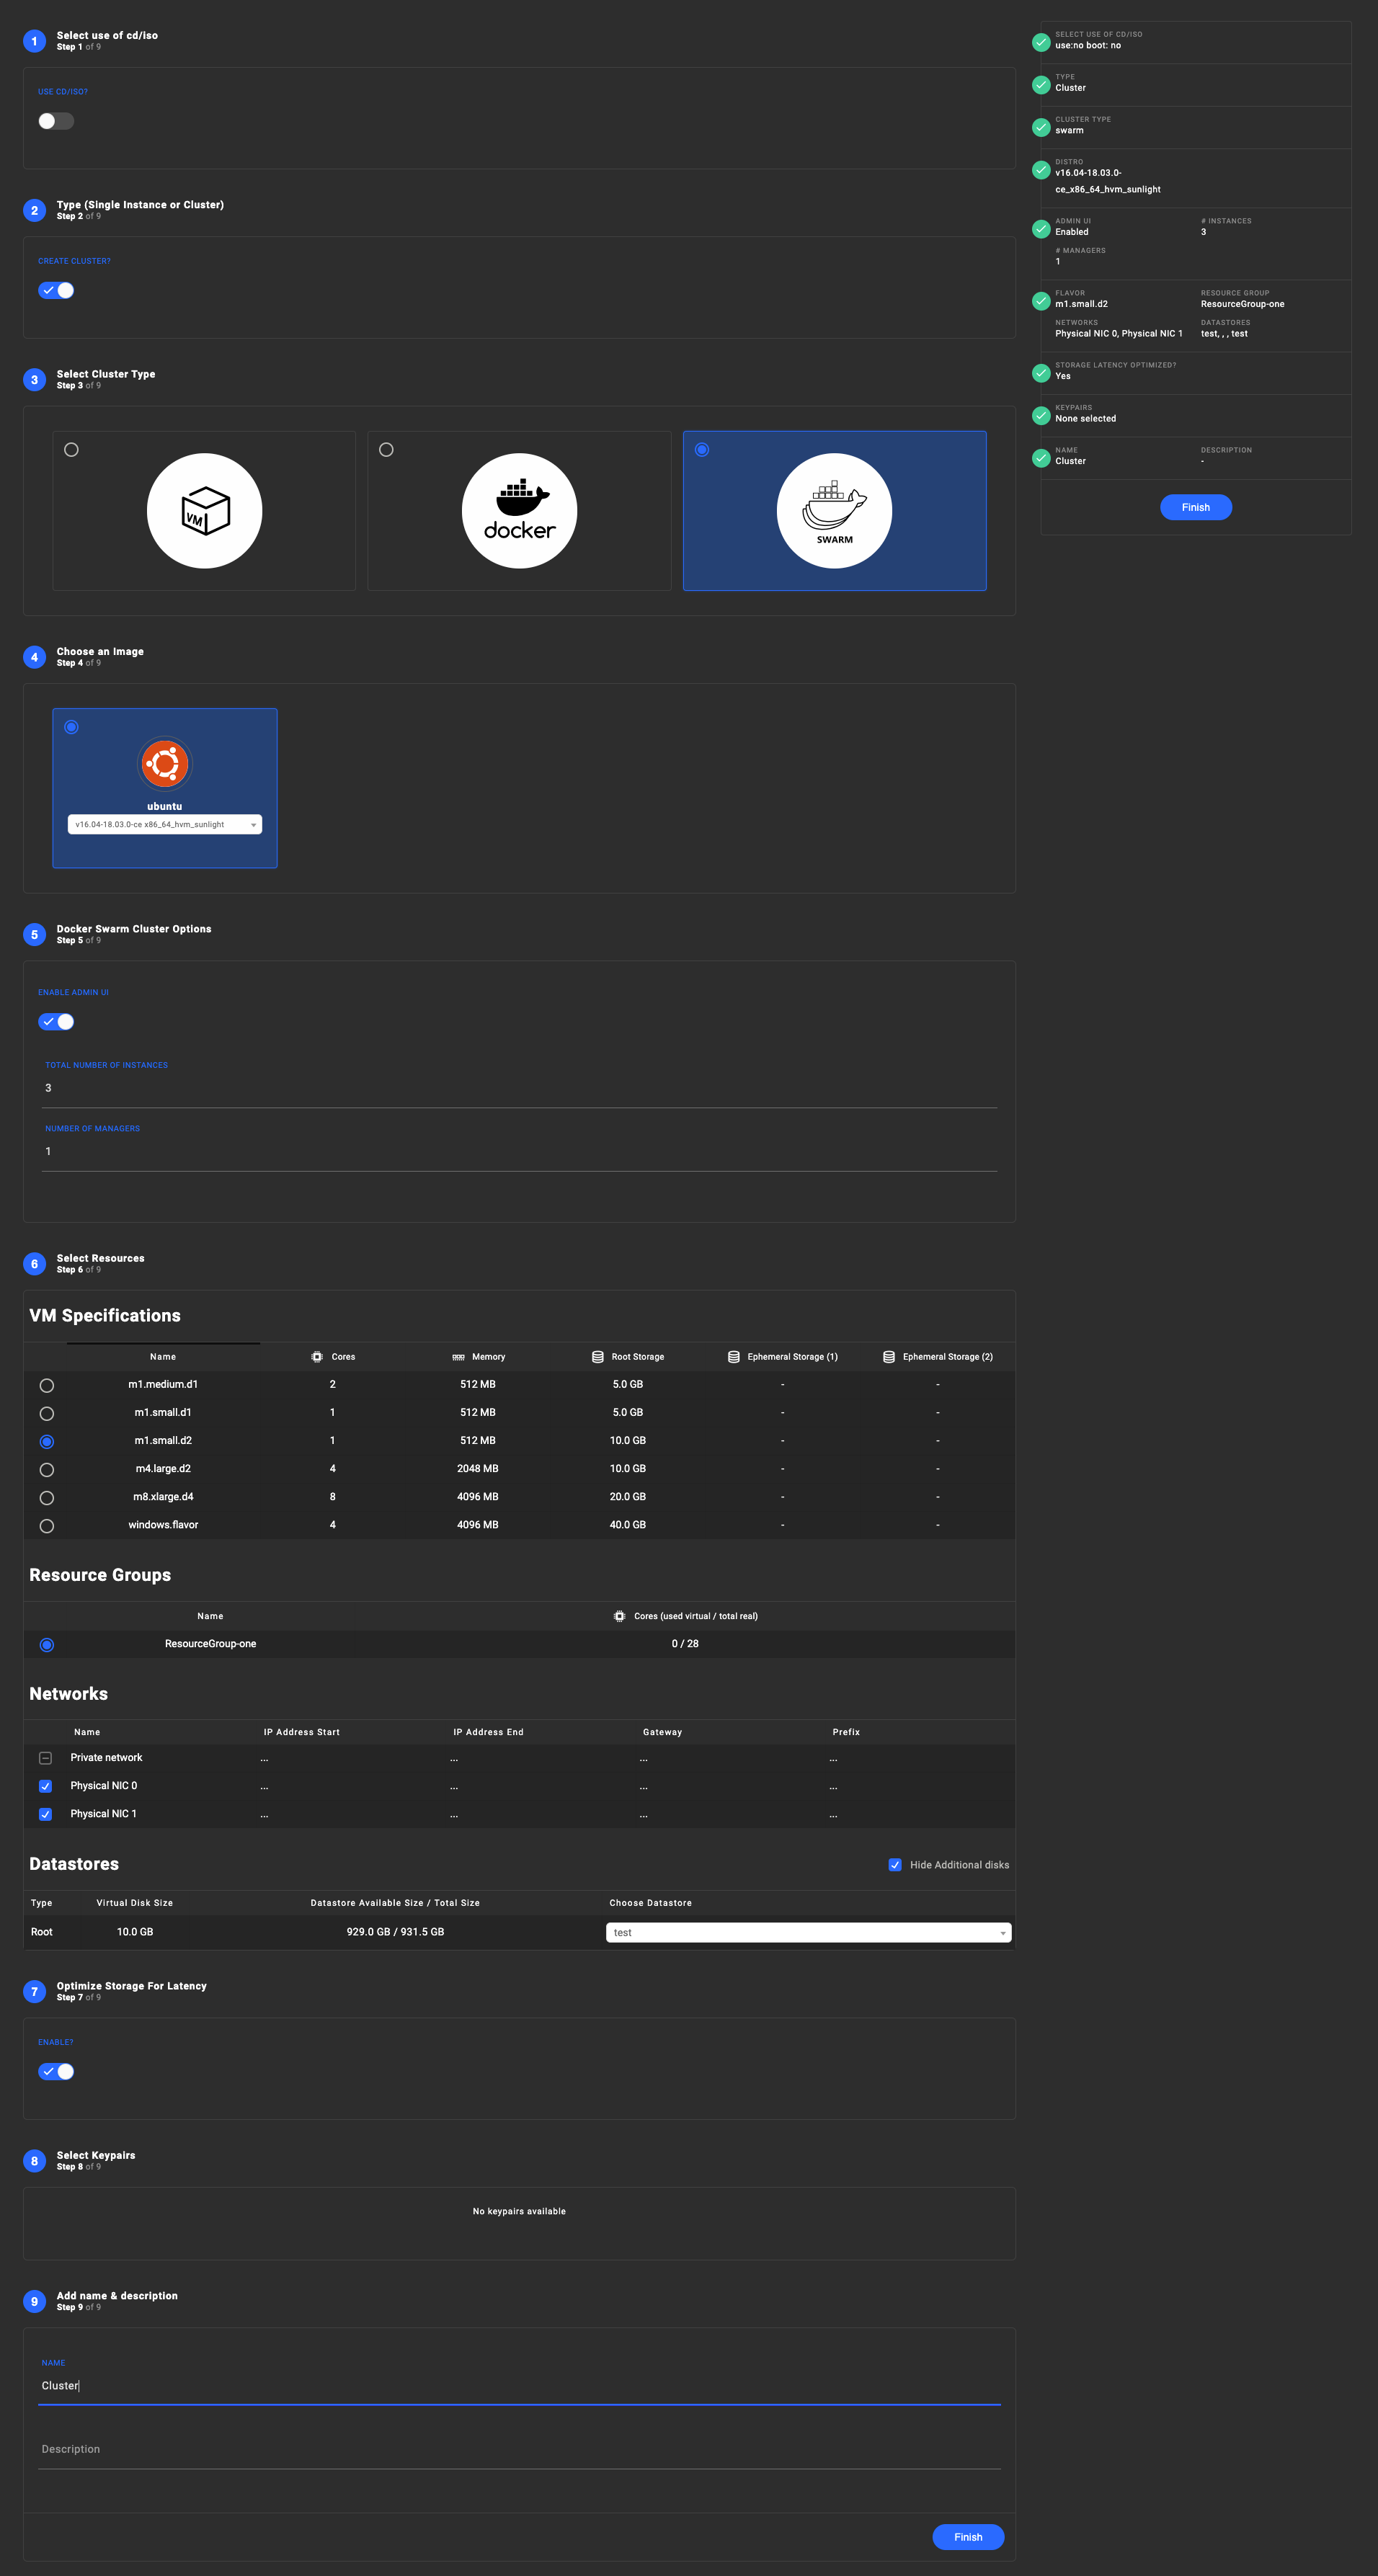
Full run down of a cluster create function (docker swarm version)
Note
On step 4, we need to select the number of nodes our swarm will have as well the number of managers. Also We have the option to enable a graphical UI for our docker swarm, based on Portainer UI.