Getting Started
The Sunlight support team is on stand by to assist with any installation and configuration issues you may encounter. Link : support portal
Note
In case your system is shipped with a preinstalled Sunlight Enterprise Software platform, you can skip this step and navigate straight to System Configuration.
Note
To get access to the installer images, please submit a request via our online request support portaland a Sunlight representative will get in touch to provide instructions.
In order to initialize the Sunlight Enterprise Software platform installation please ensure that a minimum 32GB USB thumb drive is available, such as the 32GB SanDisk Ultra Fit USB 3.0 flash drive.
Once the USB image is downloaded, please transfer the data to the raw USB flash drive (the image contains its own partition structure so the downloaded image should be transferred directly to the root directory, not an existing partition). The method for writing the image on the USB flash drive may vary, depending on the type of the Operating system you are using.
For additional information on installing the provided images, please visit the following links: - For MAC systems - For Windows systems
At this stage it must be decided which physical blade you wish to designate as the master node to host the cluster controller. In practice any blade can be used as a master node. Please proceed to powering on the 4 nodes for which the USB boot images have been downloaded for.
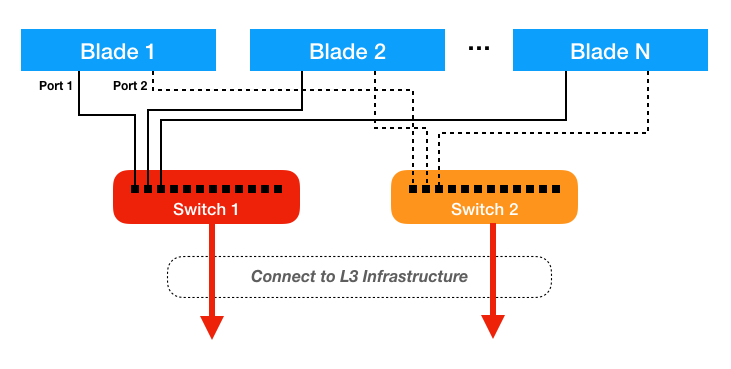
All of the 10GBit LOM NICs on the blades have to be cabled together into a single logical Layer 2 ethernet network segment. For redundancy reasons and in order to ensure that the High Availability algorithms work correctly, we strongly recommend using separate switches as indicated in the diagram below:
Please read the tutorials of BIOS settings for different hardware platforms, in order to make sure that the installation procedure meets the minimum requirements for running the Sunlight Enterprise Software.
Sunlight Enterprise Software Installation Steps
- Insert the USB drive and boot up the system
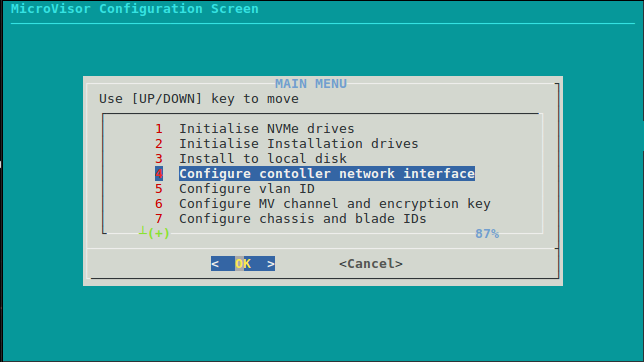
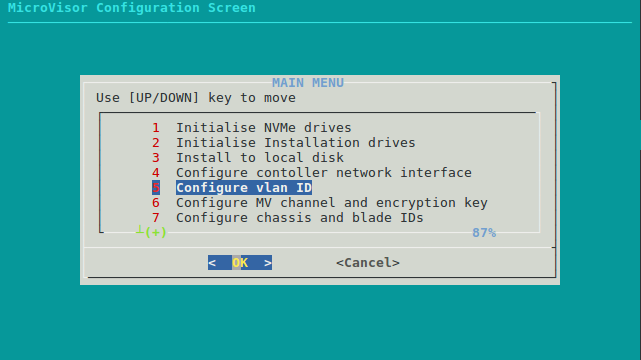
- Enter the NV-Configure utility
- Enter Option 1: - Initialise NVMe drives
- Enter Option 2: - Initialise Installation drives
- Enter Option 3: - Install to local disk
- Remove the USB drive when prompted. The system will reboot automatically.
- Enter the NV-Configure utility again
- Enter Option 4: - Configure controller network interface (only applies to master node)
- Enter Option 5: - Configure VLAN ID
- Enter Option 6: - Configure NexVisor channel and encryption key
- Enter Option 7: - Configure chassis and blade ids
- Select Option 8: - Exit and Restart
On first boot, you must ensure that the system BIOS is enabled in order to boot from the USB storage. The following menu options are provided:
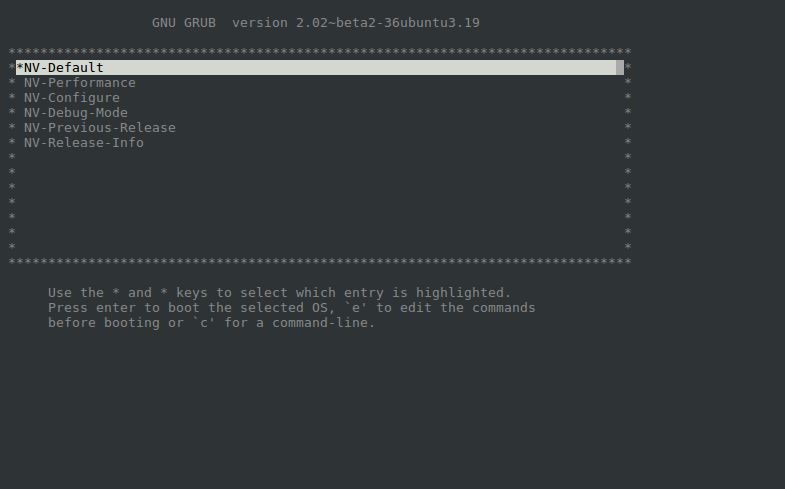
Select the NV-Configure option and press enter.
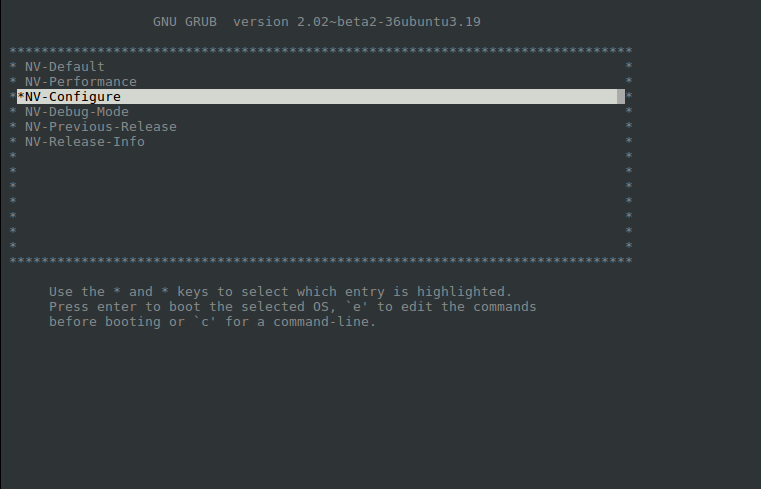
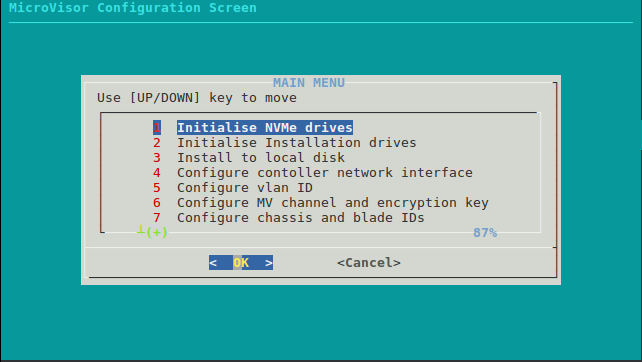
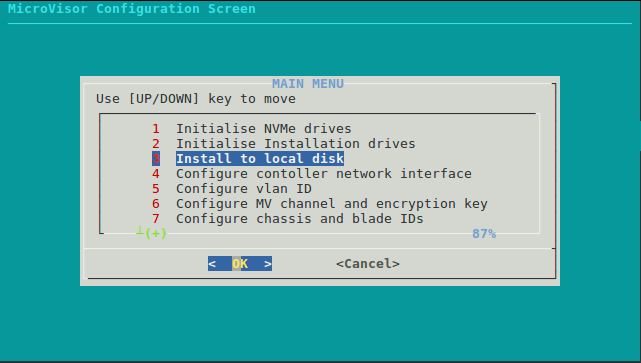
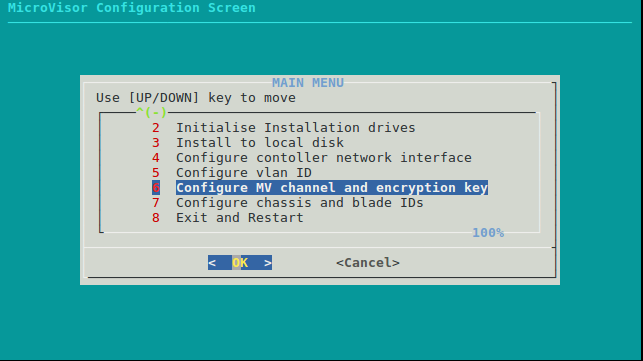
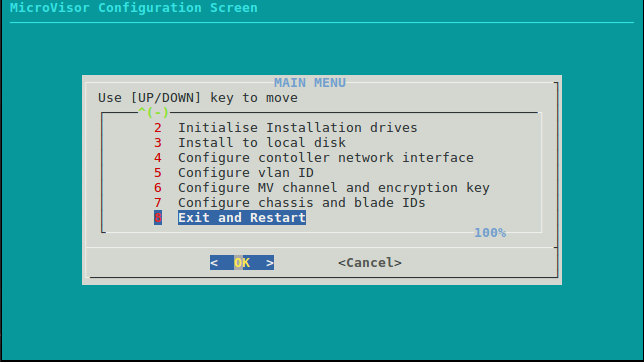
The system will boot to a menu system, which provides the following configuration options:
Note
When using the configuration utility, a keyboard must be attached (for a remote access, the IPMI interface should be used). Use the TAB key to navigate through the menu or input fields.
Option 1 - (Initialise NVMe drives)
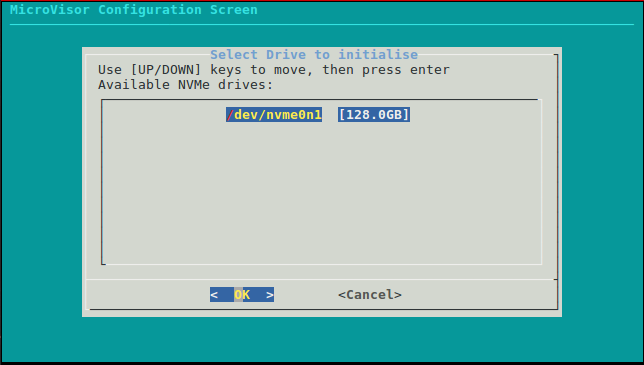
Initialise NVMe drives. All NVMe drives must be initialised in order to use them for local/distributed storage, when the system is booted up and running. Please select each drive on the list and go through the initialisation wizard.
Choose the drive to initialise:
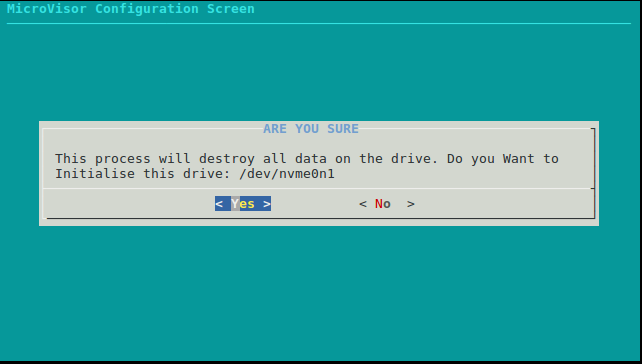
Accept and continue:
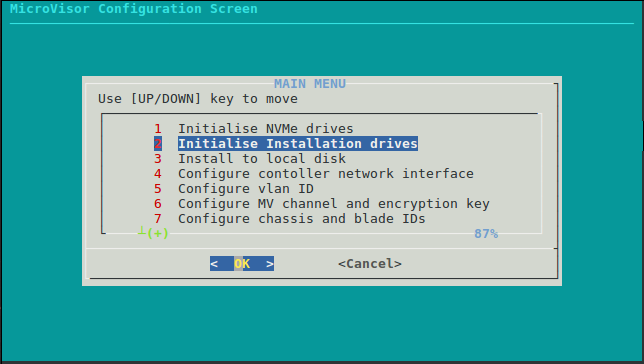
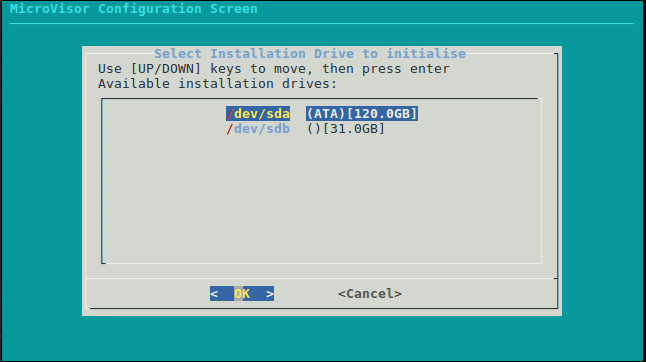
Option 2 - (Initialise Installation drives)
Initialise installation drives. When installing the system to a local SCSI device (e.g. SATA Dom, SATA SSD or SAS), formatting of the drive is required. This ensures there is no data or specific format applied to the drive.
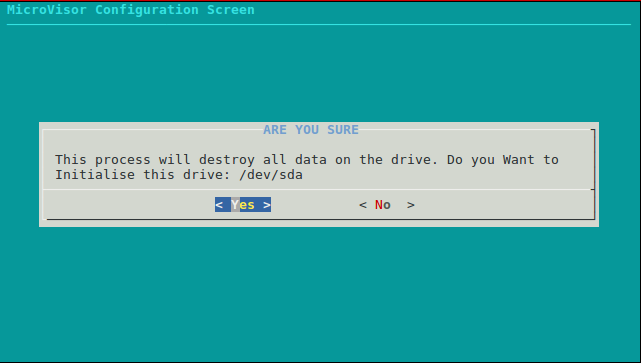
Choose Drive to initialise:
Accept and continue:
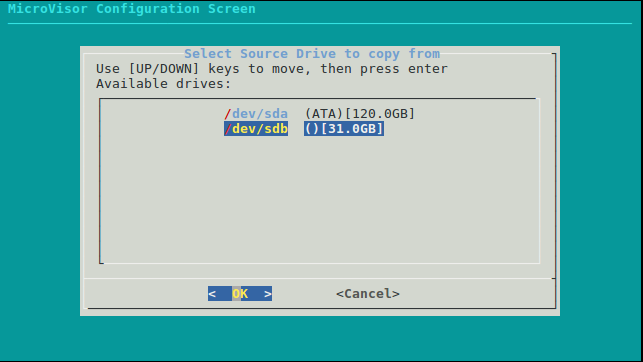
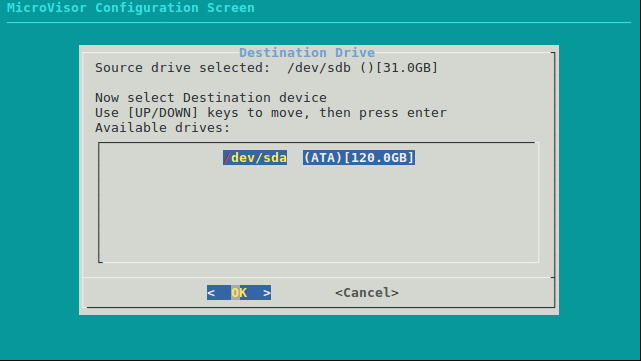
Option 3 - (Install to local disk)
Install to local disk. This wizard provides the option of selecting the source drive (USB drive) and then install the platform to the destination drive (local drive) as it has been explained in the previous step. Once complete, the system will prompt you to remove the USB drive and reboot the system. Please re-select the NV-Configure option at the boot up screen to return to this menu.
Choose source drive:
Choose destination drive:
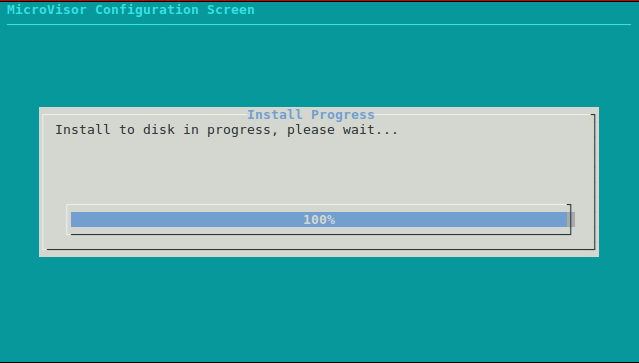
Process ended:
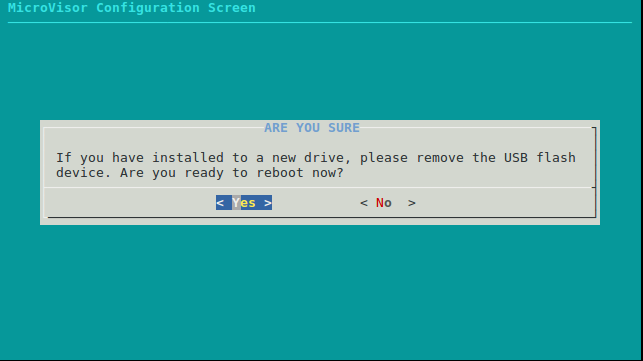
Accept and reboot:
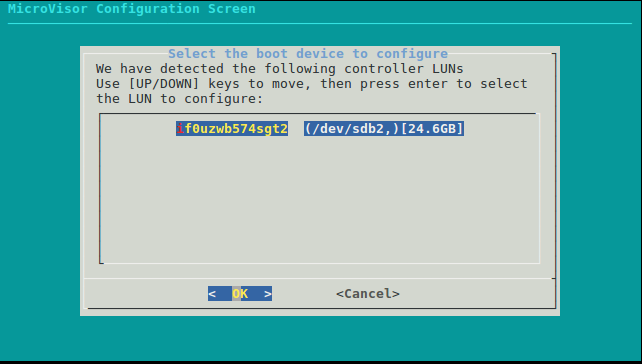
Option 4 - (Configure controller network interface)
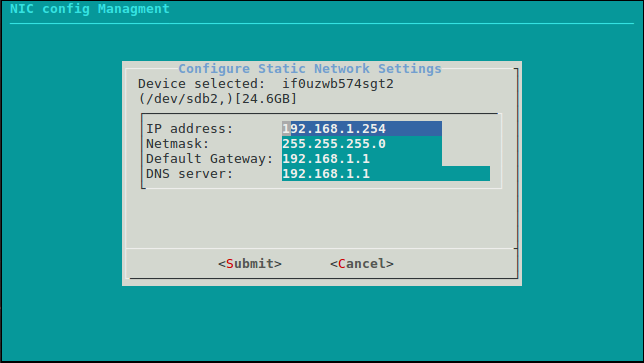
Configure controller network interface. This option allows the configuration of the IP address on the virtualised controller service that runs when the system boots up. Two options are available, DHCP and static. For the static option, the IP address, net mask, default gateway and DNS settings the controller can be specified.
Select OS drive:
Select DHCP or static IP settings:
- Provide dynamically DHCP settings
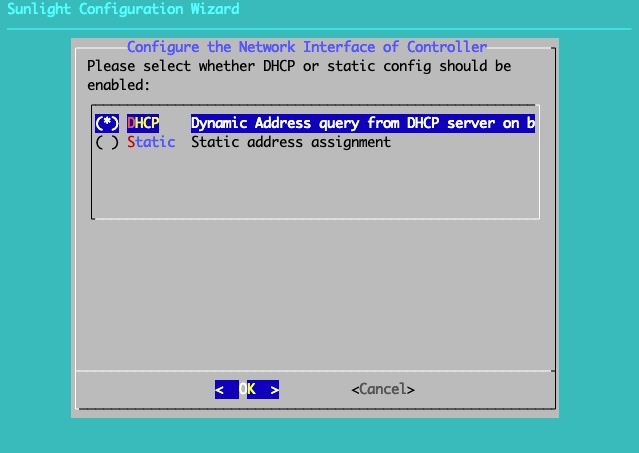
- Provide static settings

- Specify the IP address of the host, the default Gateway, the Netmask and the DNS server.
Option 5 - (Configure VLAN ID)
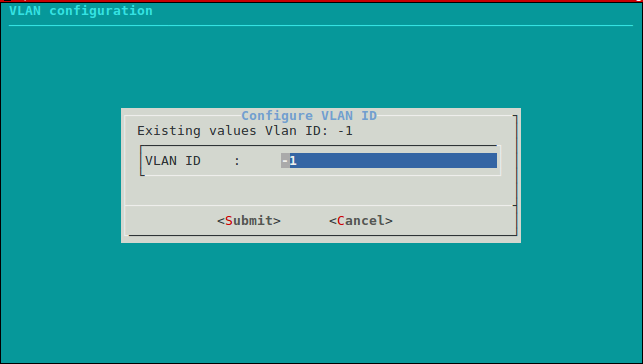
Configure Virtual LANs. This option allows the configuration of the VLAN on the virtualised controller service that runs when the system boots up. Two options are available, default and custom. Default option (defvlan = -1) disables the VLAN feature while the custom option enables this feature with the selected value.
- Select the Nexvisor drive to specify the VLAN ID
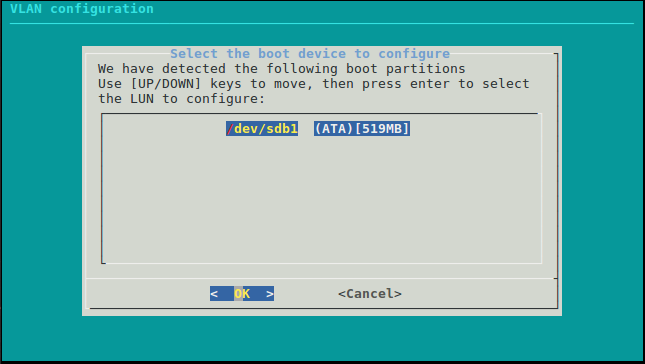
- Select a custom value which will represent the VLAN ID in order to activate the feature. Specify the default VLAN ID to -1 in order to deactivate the VLAN feature.
Warning
This option should be applied on both NexVisors (master/slave), regardless whether the VLAN feature is enabled or disabled during the installation process.
Option 6 - (Configure NexVisor channel and encryption key)
Configure the NV channel and the encryption key. This option allows the configuration of the NV channel, which isolates clusters on the same subnet according to the channel. The configuration of the encryption key is also provided, for allowing traffic to flow between the NVs with the same encryption key.
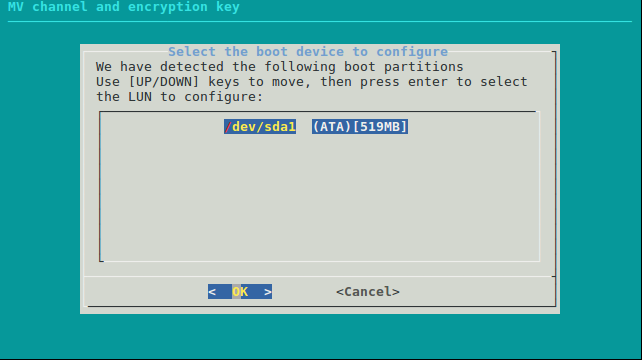
- Choose a drive with a bootable partition:
- Enter custom values and press TAB to submit:
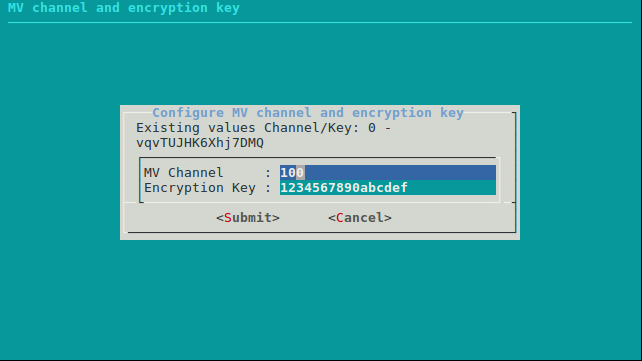
Warning
The Channel value must be a number between 0 and 65534.The Encryption key must be a string of exactly 16 characters, e.g. 0123456789abcdef
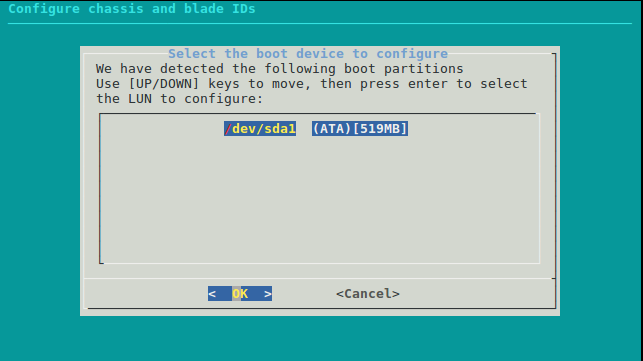
Option 7 - (Configure chassis and blade ids)
Configure chassis and blade id. This option allows the definition of the chassis id as well as the blade id for the specific node being installed. The chassis ID should be a hexadecimal number,(e.g 0x2f1a), while the blade ID should be a decimal number (e.g. 1).
Select a drive with a bootable partition:
Change the default values and press TAB to submit new ones:
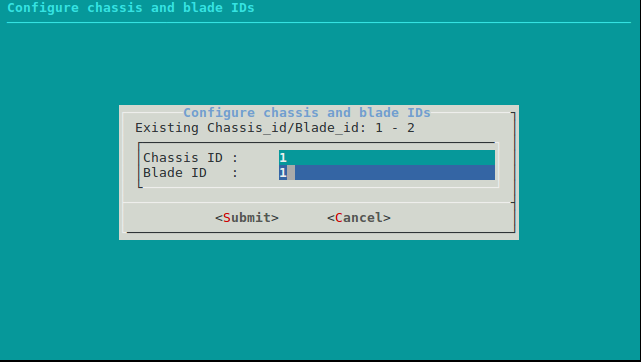
Warning
The Chassis id must be a Hex value in the format "0x##", e.g. 0xCC82. The Blade id must be a number between 1 and 99.
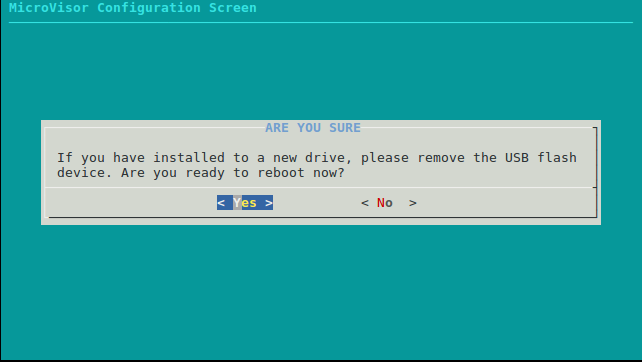
Option 8 - (Exit and Restart)
Exit and restart. This option will reboot the system back to the initial boot menu.
- Confirm reboot option
Following the configuration options described above, the controller UI will boot up with the declared IP settings, or a default pre-configured IP address:
| IP Address | 192.168.1.254 (link) |
| Netmask | 255.255.255.0 |
| Default Gateway | 192.168.1.1 |
| Default Username | administrator |
| Default Password | NexVisor |
Now the system is booted up and fully operational. Please configure a local method to access the ethernet segment with the network settings outlined above. The duration for the cluster controller to boot up is approximately one minute, however a web browser can be pointed at the IP address of the controller UI which has been configured previously. The following screen can be viewed: