Getting Started
The Sunlight Infrastructure Manager Dashboard is the fastest and recommended way to deploy and manage Sunlight clusters both in AWS and on-premise. It provides a single pane of glass to manage and monitor resources, take backups, move workloads around and deploy clusters on demand in AWS. It can be deployed instantly on-demand from the AWS marketplace as a free product and be up and running within minutes.
Sunlight Infrastructure Manager Deployment steps
The Sunlight on AWS Dashboard AMI is available through the AWS marketplace as a free AMI and is fast and simple to deploy by following four simple steps.
STEP 1 - Subscribe to the Sunlight products via the AWS marketplace
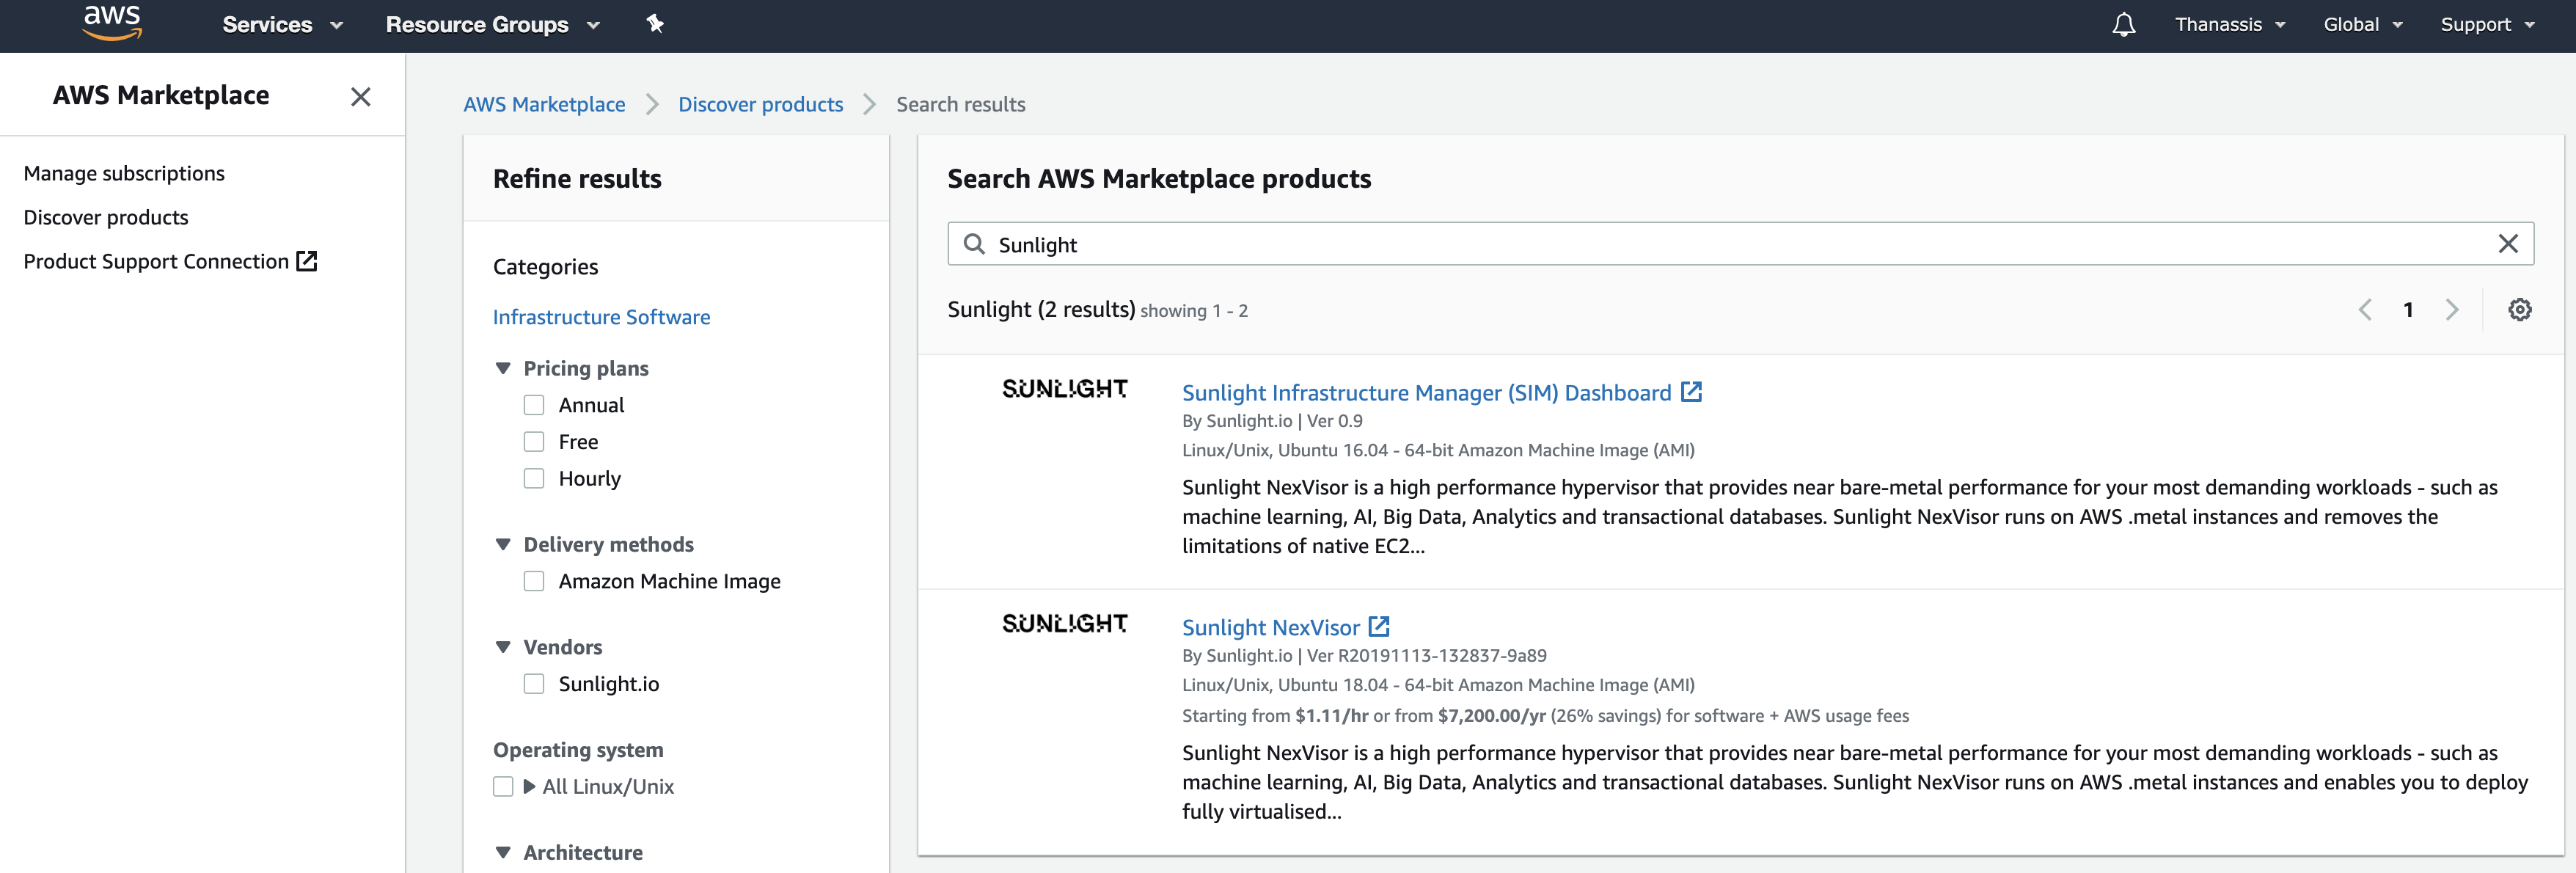
To use the Sunlight products from the AWS marketplace you must firstly subscribe to the two Sunlight products on offer on the Marketplace.
When you follow the link above which searches for Sunlight on the AWS marketplace you should see something like the following:

You will need to subscribe to both products; the SIM as well as the NexVisor.
STEP 2 - Create an IAM role
You will need to setup an IAM role with a policy for your SIM instance in order to be able to deploy Sunlight clusters on-demand and associate S3 storage in AWS.
Create a custom role (e.g. named SunlightIAM) and enter the following sample policy to be applied to the new role. You must enter this into the IAM wizard for the new role you are creating. We will subsequently use this role for the SIM instance that you will be deploying:
{
    "Version": "2012-10-17",
    "Statement": [
        {
            "Sid": "VisualEditor0",
            "Effect": "Allow",
            "Action": [
                "s3:*",
                "ec2:*",
                "iam:*"
            ],
            "Resource": "*"
        }
    ]
}
Note
Sunlight strongly recommends using the IAM security facility in AWS rather than inserting secret access keys
For more information on IAM roles and how to configure them, please visit the following AWS link: IAM Roles for Amazon EC2 - Amazon Elastic Compute Cloud
STEP 3 - Create a Sunlight on AWS Dashboard VM
In order to deploy a Dashboard VM you can now select the AMI from the AWS marketplace images (using either the AWS Console, or AWS CLI/API). You must assign the IAM role created in the previous step to the new instance.
When creating the instance, make sure that the http, https and ssh services are allowed in the Network Security Group configuration.
Make a note of the AWS assigned public IP address and the random AWS assigned instance ID of your new SIM instance.
STEP 4 - Login to your new SIM and change the default password
From your AWS console you can find the AWS assigned IP address and the instance ID of your new SIM v2 instance. We recommend assigning an elastic IP address and then generating an SSL certificate. This is also described in the optional steps below.
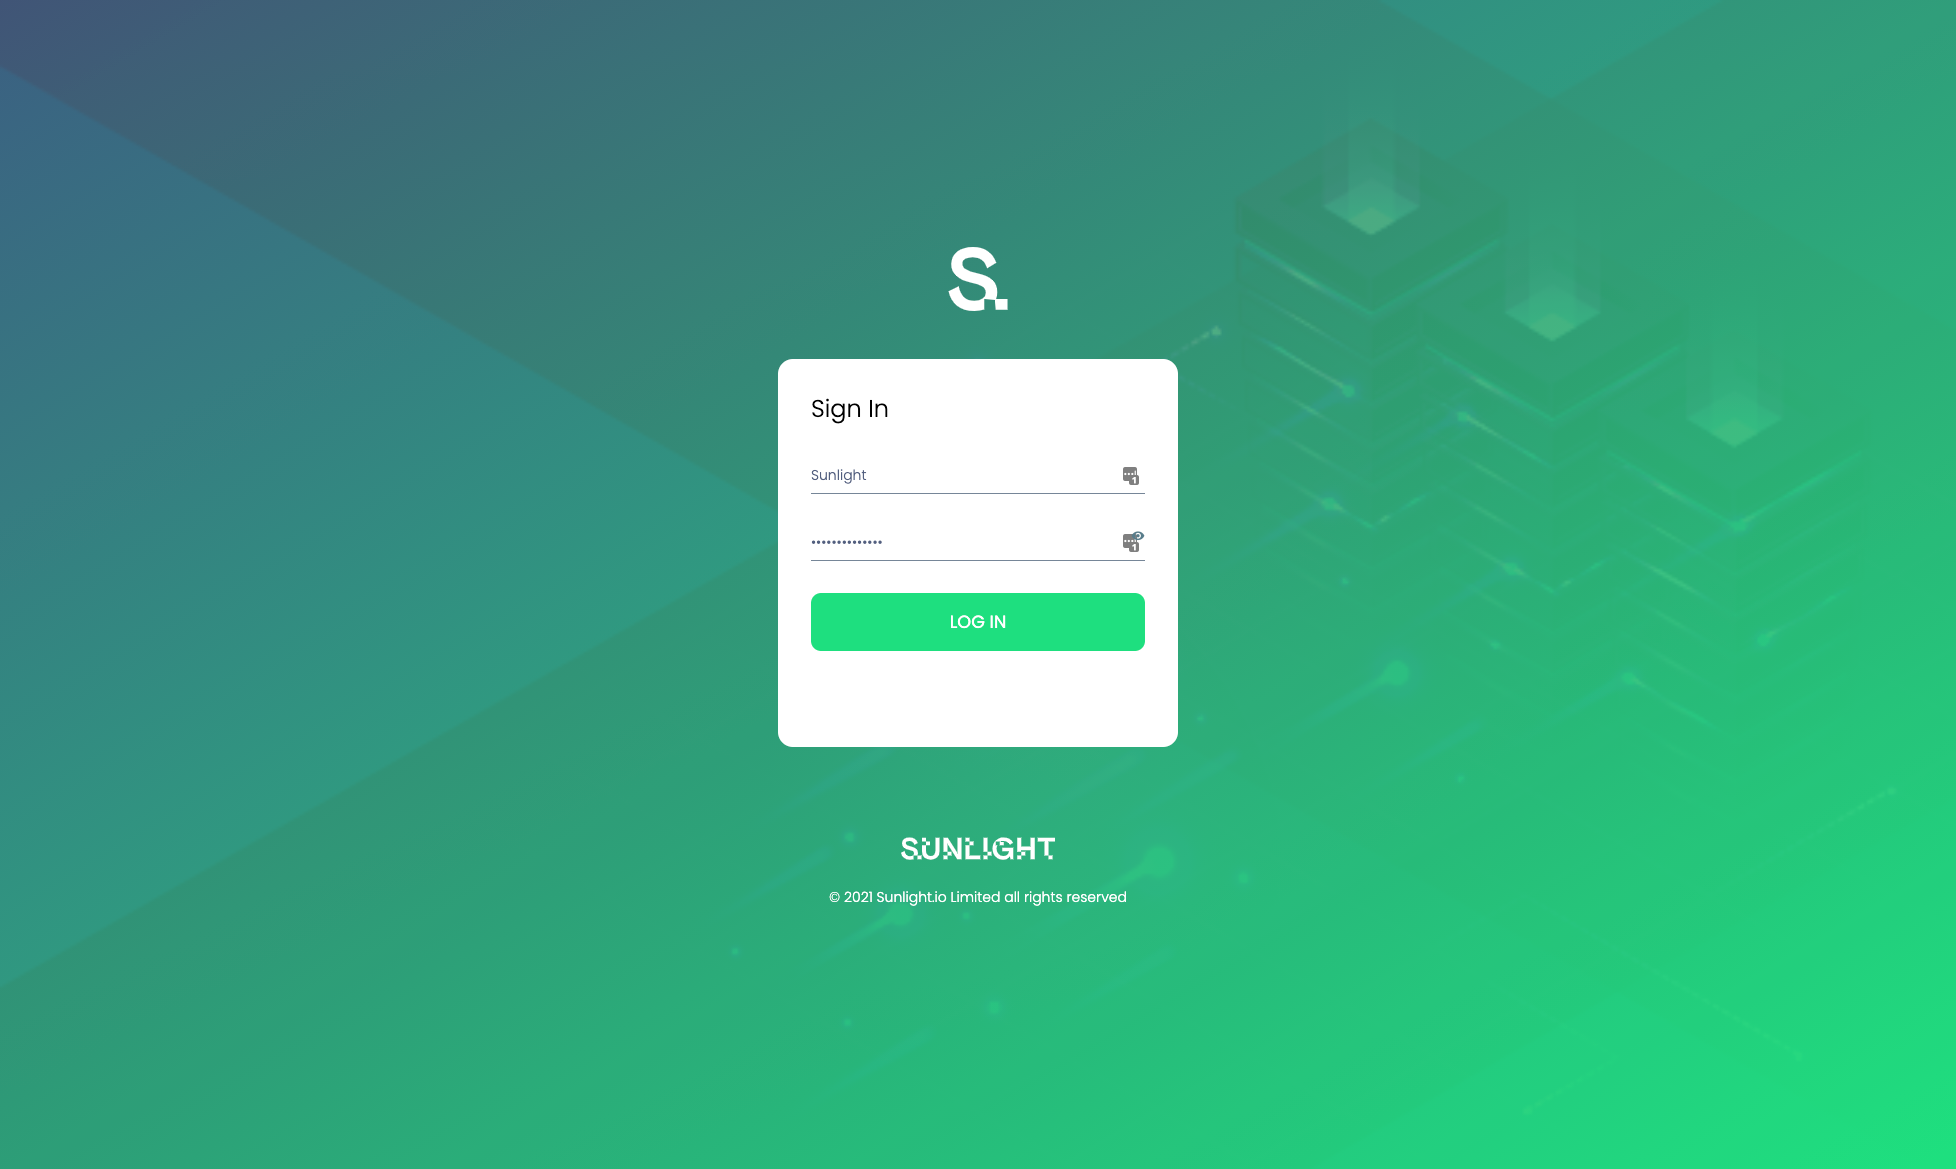
In your browser window, enter the IP address of the new SIM instance you have deployed and the following screen should appear:

Enter the default username sunlight. The password for your first time login is the AWS assigned instance ID you noted in the previous step from the AWS console.
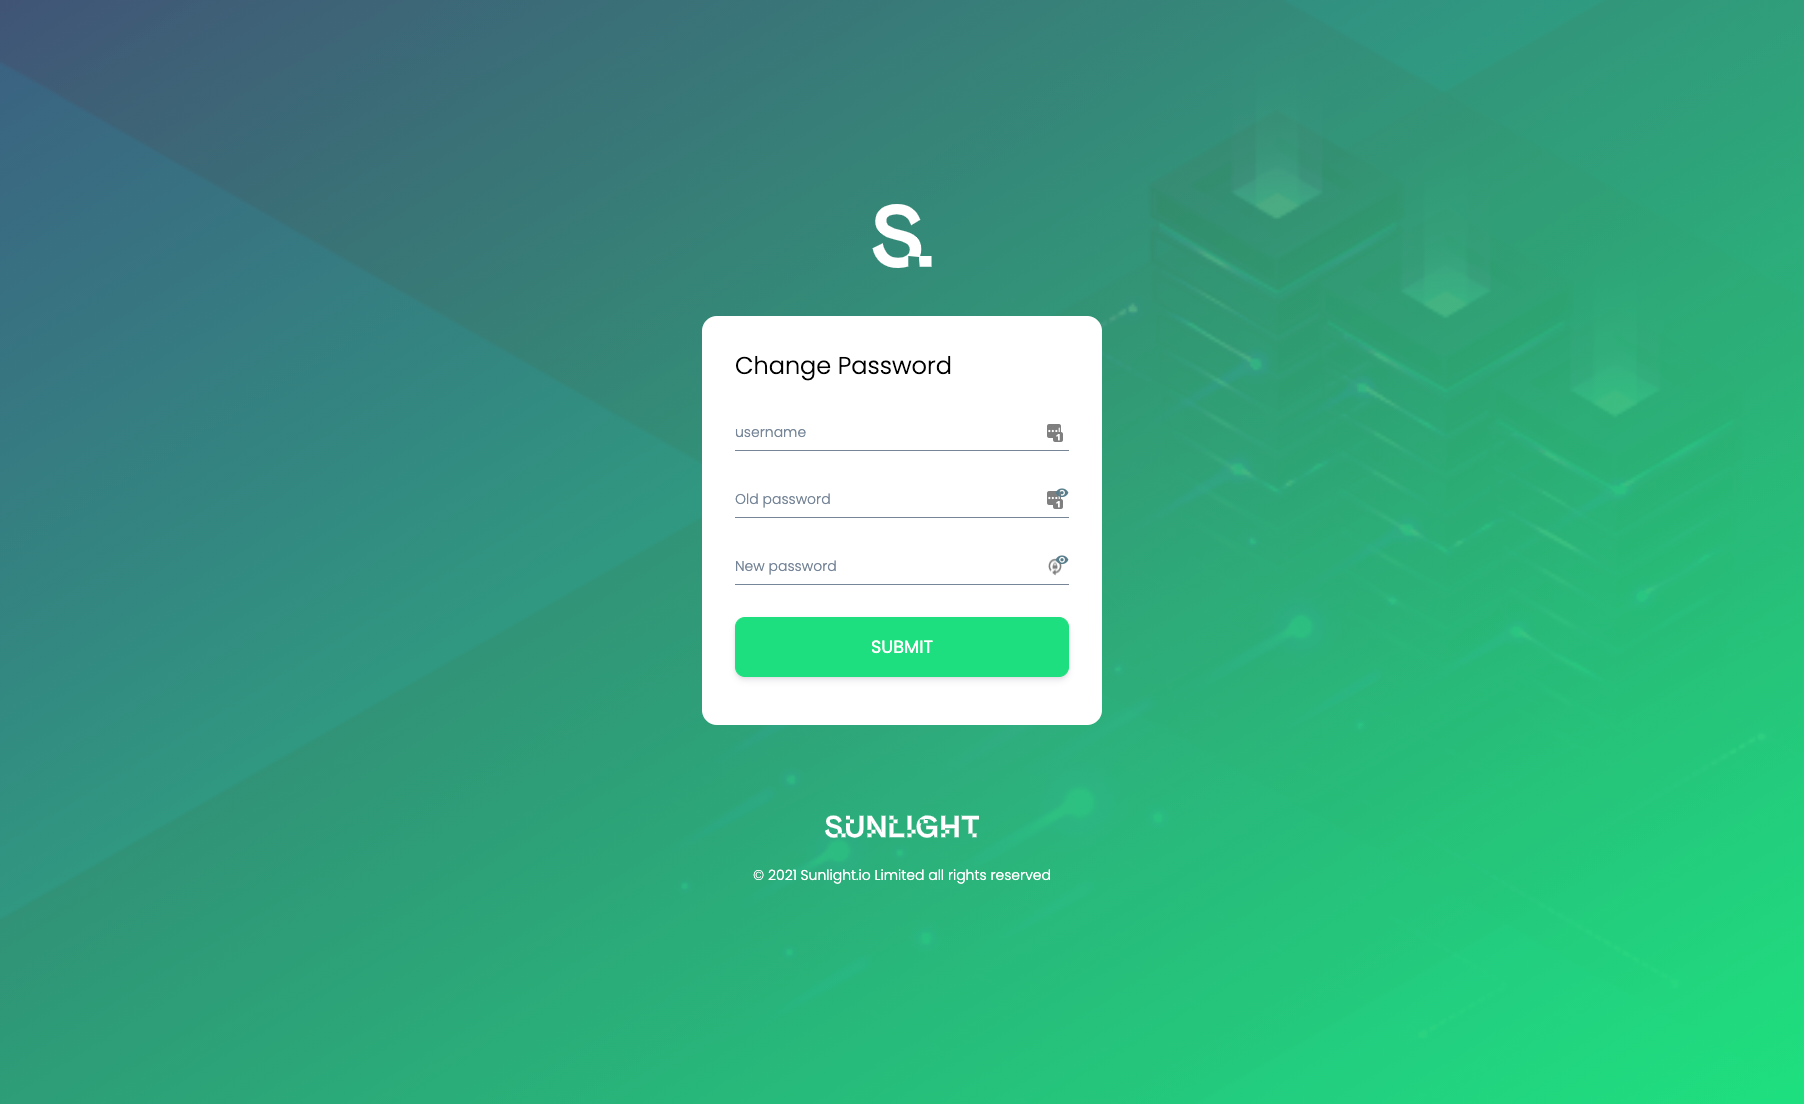
The system immediately redirects the user to change the password on the first login:

Following a successful password change, the system redirects the user to login again.
With a changed password, you should now be able to login and view the main dashboard.
At this point there are two types of Sunlight infrastructure clusters that you can now manage via the SIM :
(1.) Connect your on-premise Sunlight clusters, in order to access and manage them from the SIM over a secure tunnel.
How to connect the SIM with an on-premise cluster
(2.) Deploying and managing Sunlight clusters on-demand in AWS.
Note
The IAM role is required in both cases mentioned above.
Sunlight Platform Deployment
Now you are ready to start deploying and managing Sunlight hypervisor resources. Please review individual user guides through the following link, for information on how to achieve this in each environment:
How to create an AWS cluster with SIM
Note
The Sunlight support team is always available to assist with any installation and configuration issues you may encounter. Link : support portal
Optional post-install steps
Following are some optional post install steps that are recommended by Sunlight in order to secure your SIM dashboard with an SSL certificate and allow https secure connections to the dashboard.
STEP 1 - Assign an elastic IP to the SIM
In order to assign an SSL certificate it is necessary to have a DNS name and a static IP address configured for your SIM instance. AWS assigns a static IP address by default, but having the same IP address after a reboot in not guaranteed, so this is not sufficient for the purposes of generating a permanent SSL certificate.
To generate an SSL certificate you must create a domain/subdomain entry via your DNS service. If you are unfamiliar with DNS record assignment, please contact the Sunlight support team for assistance.
It is suggested that you wait for full DNS propagation before attempting to run step 2, to avoid SSL issue problems, otherwise you can continue using the IP address assigned.
STEP 2 - Assign the new domain name and generate an SSL certificate
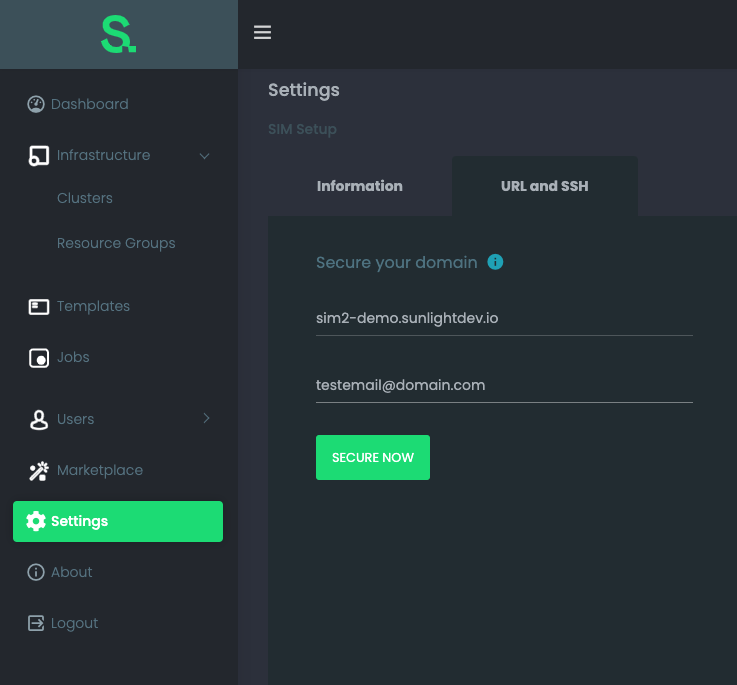
In this step you can proceed to 'Settings' in the SIM UI in order to input the domain/subdomain assigned to the elastic IP and configure the manager to respond under https to that domain/subdomain url request.
By clicking on 'Settings' you should be able to view the following screen:

The important configuration step here is to insert the domain/subdomain selected in step 1, as well as a verification email, in order for the proper SSL to be issued.
If this step concludes successfully then your web browser URL will be changed to the one that has just been secured and the Sunlight Infrastructure Manager will be available under a https connection.